Content Index
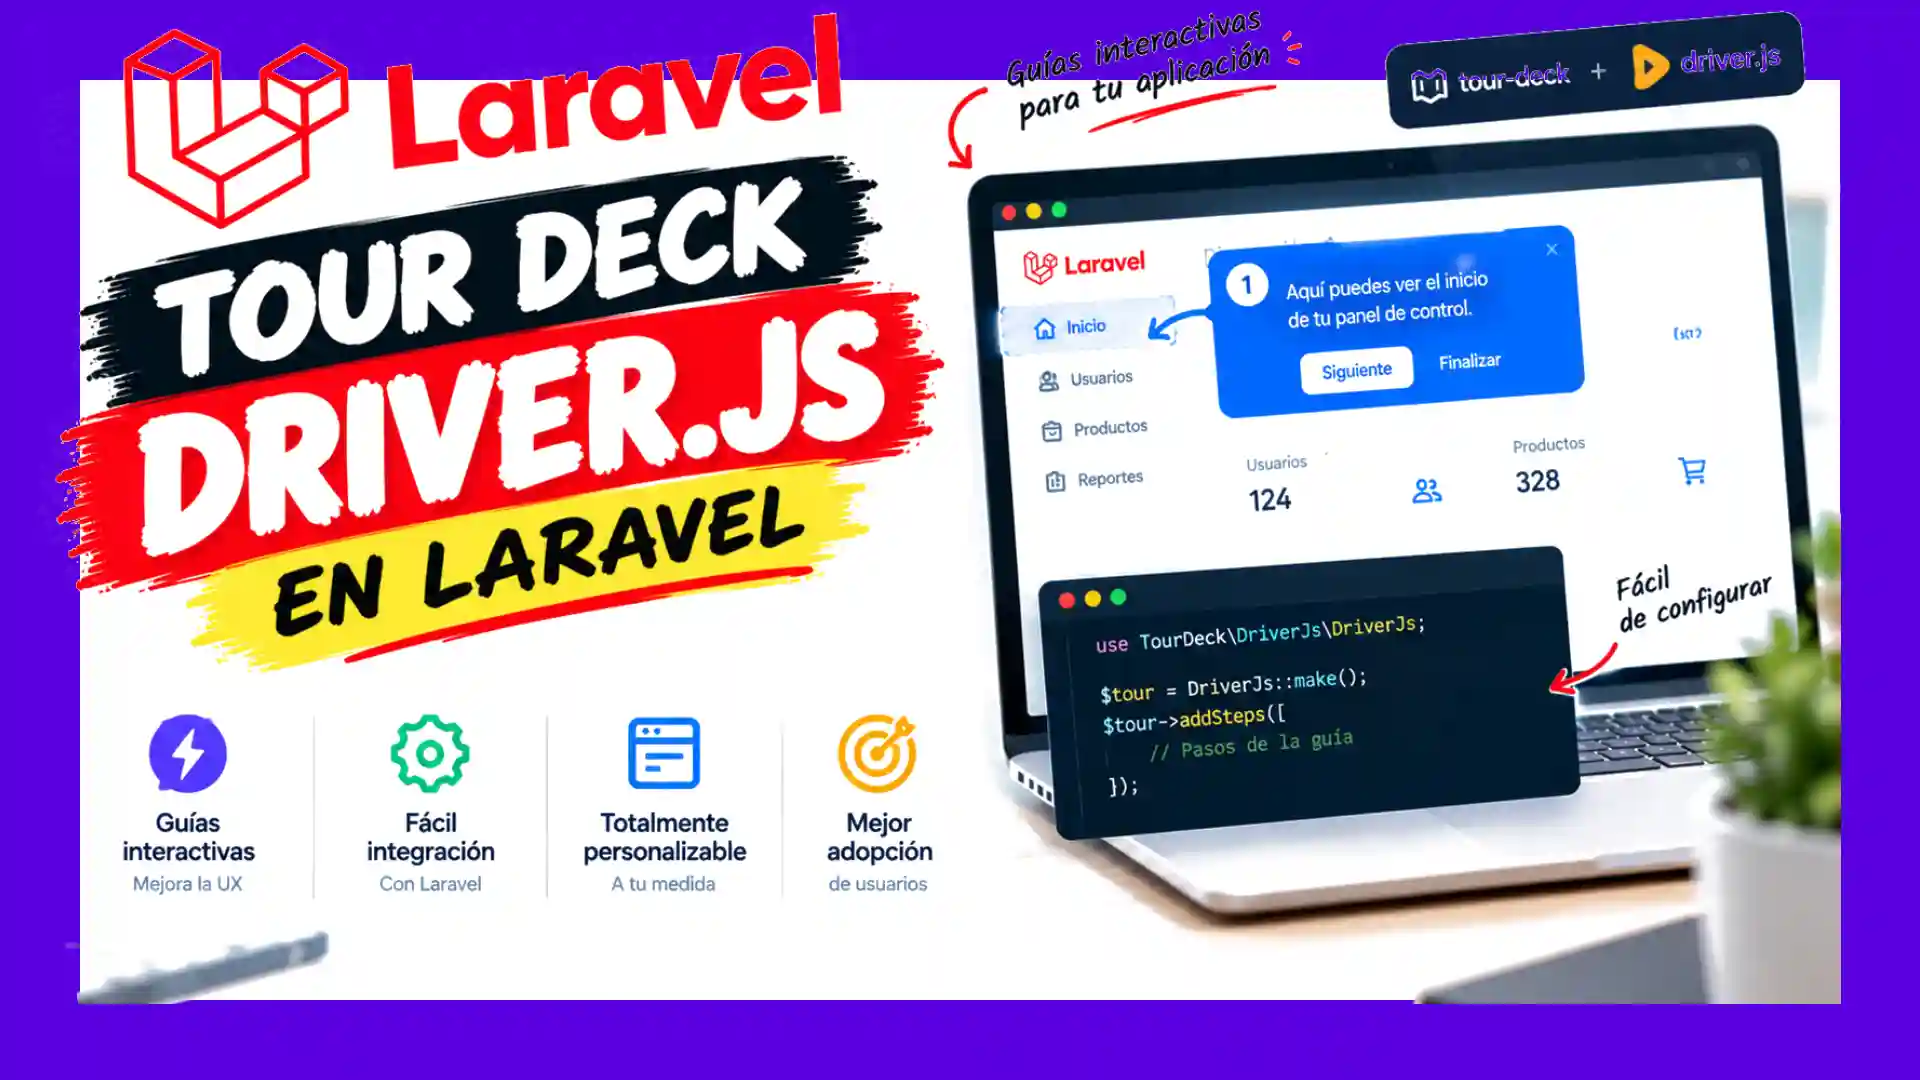
Driver.js is a lightweight JavaScript plugin designed to create interactive guides, tutorials, and guided tours in web interfaces. Its primary functionality consists of focusing specific DOM elements using a descriptive tooltip, guiding the user step-by-step through the key sections of the application.
In addition to the standard JavaScript version, there are integrations and adaptations oriented towards Laravel that allow managing or rendering the tour configuration from the server side.
- Original JavaScript library: Offers greater versatility and performance, since DOM manipulation, transitions, and the tour state are processed entirely on the client side.
- Packages adapted for Laravel: Allow structuring the steps from PHP or controllers. However, since the interaction relies on HTML elements in the browser, using the JavaScript plugin directly is usually the most efficient option.
Configuration and Customization Options
Driver.js allows adjusting multiple visual and behavioral parameters according to design requirements:
- Animations and opacity: Control of transition speed and background layer (overlay) transparency.
- Automatic scrolling: Enabling automatic scroll to the focused element when it is not visible on the screen.
- User interaction: Control to allow or prevent closing when clicking outside the current step, keyboard navigation, and forward or back buttons.
- Highlight styles: Lighting modes to highlight individual elements or overlay modal information panels.
Why use a Laravel wrapper?
The main advantage of using this dedicated integration is the ability to configure and control guided tours directly with PHP syntax from our backend. However, since its operation relies on referencing DOM identifiers, applying styles, and manipulating interactive elements in the browser, the native JavaScript version is usually more than enough for most cases.
Both alternatives offer an identical experience for the end user, as they share the same codebase. The choice between the original JavaScript library or the integrated Laravel package will mainly depend on the development workflow and the architecture you prefer to implement.
Practical demonstration of functions
In the following Blade view file, several interactive examples are included for you to try out. Among them, buttons to restart the tour, interface highlights, and pop-up modals stand out.
As for the HTML code returned in the main view (index), it corresponds to the standard structure of the page on which the tutorial will be executed. The most interesting part of the process lies in how we initialize each of the explanatory sequences:
public function index(): View
{
    // Each method already returns the final JavaScript, so there is no way
    // for a tour to get "contaminated" with the steps of the previous one.
    $scripts = [
        'tourCompleta' => $this->tourCompleta(),
        'highlightBanner' => $this->highlightBanner(),
        'modalBienvenida' => $this->modalBienvenida(),
        'tourConConfirmacion' => $this->tourConConfirmacionAlSalir(),
        'tourHooksPersonalizados' => $this->tourHooksPersonalizados(),
        'tourFluentSteps' => $this->tourFluentSteps(),
        'tourDesdeArray' => $this->tourDesdeArray(),
        'tourAislada' => $this->tourAislada(),
    ];

    // The last tour is NOT rendered here: it is left configured in the
    // singleton so that the @driverjsTour Blade directive emits it.
    $this->configurarTourDeBienvenida();

    return view('driverjs.demo', $scripts + [
        // tourCompleted() checks storage (session by default)
        // to know if the user has already seen the welcome tour.
        'bienvenidaCompletada' => DriverJs::tourCompleted('demo-bienvenida'),
    ]);
}
From the main template, we call the functions responsible for returning a configured instance of Driver.js with the options defined previously. To organize the logic, we instantiate a custom object that executes when detecting the click event on the interactive elements.
private function tourCompleta(): string
{
    return DriverJs::tour('demo-tour-completa')
        // ── Global driver configuration ──────────────────────────────
        ->animate(true)                    // animated transitions between steps
        ->overlayColor('#0f172a')          // overlay color (any CSS color)
        ->overlayOpacity(0.75)             // overlay opacity (0.0 – 1.0)
        ->smoothScroll(true)               // smooth scroll to highlighted element
        ->allowClose(true)                  // Escape / click on overlay closes the tour
        ->overlayClickBehavior('nextStep') // 'close' | 'nextStep' | JS expression
        ->stagePadding(8)                  // separation element <-> cutout (px)
        ->stageRadius(12)                  // cutout corner radius (px)
        ->allowKeyboardControl(true)        // Escape and keyboard arrows
        ->disableActiveInteraction(false)  // allows interacting with the highlighted element

        // ── Global popover configuration ─────────────────────────────
        ->popoverClass('demo-popover')     // extra CSS class for the popover
        ->popoverOffset(16)                // distance popover <-> element (px)
        ->showProgress()                   // shows "X of Y"
        ->progressText('Step {{current}} of {{total}}')
        ->showButtons(['next', 'previous', 'close'])
        ->disableButtons([])               // buttons visible but disabled
        ->nextBtnText('Next →')
        ->prevBtnText('← Previous')
        ->doneBtnText('Got it!')

        // ── Global hooks ───────────────────────────────────────────────
        // Passed as TEXT: the name of a global function or a
        // JS expression (function / arrow). The package emits them without quotes.
        ->onHighlightStarted('function (element, step, opts) { console.log("[demo] onHighlightStarted", element); }')
        ->onHighlighted(StepHooks::logStep())
        ->onDeselected('function (element, step, opts) { console.log("[demo] onDeselected", element); }')
        ->onPopoverRender('function (popover, opts) { popover.classList.add("is-rendered"); }')
        ->onDestroyStarted('function (element, step, opts) { console.log("[demo] onDestroyStarted"); }')
        ->onDestroyed('function (element, step, opts) { console.log("[demo] onDestroyed"); }')
        // If you override onNextClick / onPrevClick / onCloseClick you have to
        // move the driver manually (opts.driver), or the tour stays still.
        ->onNextClick('function (element, step, opts) { opts.driver.moveNext(); }')
        ->onPrevClick('function (element, step, opts) { opts.driver.movePrevious(); }')
        ->onCloseClick('function (element, step, opts) { opts.driver.destroy(); }')

        // ── Steps ─────────────────────────────────────────────────────────
        // step() accepts an array of options, but NOTE: only keys that are
        // method names in a single word work ('side',
        // 'align', 'element', 'title', 'description'). For snake_case like
        // 'popover_class' or 'show_progress', use addStep().
        ->step('#demo-header', ' Welcome', 'This tour goes through almost all options of the package.', [
            'side' => 'bottom',
            'align' => 'center',
        ])
        ->step('#demo-kpis', ' Metrics', 'Step with position and alignment.', [
            'side' => 'bottom',
            'align' => 'start',
        ])

        // addStep() returns the Step, and Step forwards to the builder the
        // methods that are not its own, so steps can be chained.
        ->addStep('#demo-grafico')
        ->title(' Interactive Chart')
        ->description('This step disables the "previous" button and hides progress.')
        ->top()                        // shortcut for ->side('top')
        ->alignEnd()                   // shortcut for ->align('end')
        ->popoverClass('demo-popover demo-popover--kpi')
        ->disableButtons(['previous']) // visible, but cannot be used
        ->showProgress(false)
        ->progressText('This is step {{current}} of {{total}}')
        ->onNextClick('function (element, step, opts) { console.log("[demo] next from step", opts.state.activeIndex); opts.driver.moveNext(); }')

        ->addStep('#demo-tabla')
        ->title('️ Table')
        ->description('Changes the "next" button text only for this step.')
        ->left()
        ->alignStart()
        ->nextBtnText('See more →')
        ->onPopoverRender('function (popover, opts) { popover.classList.add("is-rendered"); console.log("[demo] popover ready"); }')

        ->addStep('#demo-form')
        ->title(' Form')
        ->description('disableActiveInteraction(true) blocks the element while highlighted.')
        ->right()
        ->disableActiveInteraction(true)
        ->doneBtnText(' All set!')

        // toJavaScript() returns the code; toScriptTag() wraps it in
        // <script>. In both cases the builder resets when finished.
        ->toJavaScript();
}
The view is your normal HTML:
<>
<section class="panel">
    <h2>Demonstrations</h2>
    <p class="hint">
        All this JavaScript is generated by the package in the controller. Open the browser
        console to see system logs.
    </p>

    <div class="grid">
        <button class="btn primary" data-demo="tourCompleta">
            <strong>1 · Complete Tour</strong>
            <small>Global options, hooks, steps, and positioning</small>
        </button>

        <button class="btn" data-demo="highlightBanner">
            <strong>2 · Highlight</strong>
            <small>Highlights an element without navigation buttons</small>
        </button>

        <button class="btn" data-demo="modalBienvenida">
            <strong>3 · Modal</strong>
            <small>Centered popover, without element selection</small>
        </button>
    </div>
</section>
Controller Implementation
From the Laravel controller, tour construction is handled using a fluent interface. You can define overlay colors, animations, opacity, smooth scrolling, and custom event hooks:
namespace App\Http\Controllers;

use Illuminate\View\View;
use RealRashid\LaravelDriverJs\Facades\DriverJs;

class DriverJsDemoController extends Controller
{
    /**
     * Defines a complete guided tour from the controller.
     */
    private function tourCompleta(): string
    {
        return DriverJs::tour('demo-tour-completa')
            ->animate(true)
            ->overlayColor('#0f172a')
            ->overlayOpacity(0.75)
            ->smoothScroll(true)
            ->allowClose(true)
            ->popoverClass('demo-popover')
            ->showProgress()
            ->nextBtnText('Next →')
            ->prevBtnText('← Previous')
            ->doneBtnText('Got it!')
            ->step('#demo-header', ' Welcome', 'This tour reviews the package options.', [
                'side' => 'bottom',
                'align' => 'center',
            ])
            ->toJavaScript();
    }
}
Code Structure and Step Definition
The operational logic is based on defining a sequence of steps by identifying HTML elements using their identifiers (ID) or CSS classes:
import { driver } from "driver.js";
import "driver.js/dist/driver.css";

const driverObj = driver({
    showProgress: true,
    animate: true,
    steps: [
        {
            element: '#dashboard-stats',
            popover: {
                title: 'Statistics Dashboard',
                description: 'Here you can check the main metrics of your account.',
                side: "left",
                align: 'start'
            }
        },
        {
            element: '#create-report-btn',
            popover: {
                title: 'Generate Reports',
                description: 'Click here to export data in PDF or Excel format.',
                side: "bottom"
            }
        }
    ]
});

// Start the interactive tour
driverObj.drive();
Conclusion
For most projects, the main recommendation is to go directly to the official Driver.js documentation and library to execute the entire flow on the client side. However, if your application requires dynamically generating informative panels or onboarding guides from Laravel's template engine or controllers, this package proves to be an extremely practical and well-integrated alternative.
The complete source code for this example is available in the book's repository for detailed reference and review.
https://github.com/libredesarrollo/book-course-laravel-base-package