Text is one of the most basic (and at the same time most important) elements in any application. It doesn't matter if you are displaying a simple message, a login form, or the main content of an app: if you don't handle text well, the user experience suffers.
In SwiftUI, Apple offers us very powerful tools to work with text in a declarative and flexible way. In this article, I am going to give a complete introduction to text handling in SwiftUI, starting with the basics and moving towards real-world cases, just as you would normally use it in a production app.
We are going to see two fundamental types of text: simply displaying plain text, static for the application, and also text fields to request our user to enter or provide content text.
We left off with learning how to use Text, Images and VStack.
Text in SwiftUI: a key piece in any application
When I started working with SwiftUI, something I was clear about from the beginning is that text is not just “putting words on the screen.” Displaying information and capturing what the user writes are two different problems, and SwiftUI addresses them with different views.
Therefore, throughout the article, we will see two large blocks:
- Displaying text (read-only)
- Receiving text from the user (data input)
Mentally separating these concepts helps a lot to understand SwiftUI and avoid common mistakes.
Displaying text in SwiftUI with Text
What is the Text view in SwiftUI
Text is a read-only view used to render strings in the user interface. It is the equivalent of UILabel in UIKit, but with a much more expressive API.
The Text view:
- Displays one or multiple lines of text
- Automatically adapts to the platform (iOS, iPadOS, macOS, etc.)
- Works perfectly with Dynamic Type and accessibility
To display text using SwiftUI, nothing is easier; for that, we have a class called Text that, as you can guess, expects to receive text or a String:
struct ContentView: View {
    var body: some View {
        VStack{
            Text("Hello World")
        }
     }
}
And with this, we get the following result:

Text styles in SwiftUI
One of SwiftUI's strengths is the number of modifiers available to customize text without complications.
Changing font and text size
You can use system fonts with predefined styles:
Text("Hello World")
   .font(.headline)
Or define a more specific system font:
Text("Hello World")
   .font(.system(size: 20, weight: .bold))
This is especially useful because it automatically adapts to each platform, something Apple takes great care of.
Bold, Italics, and Underline
To vary text styles, of course, we have multiple methods to style the text: bold, strikethrough, spacing between letters and lines, etc. For that, we use the following methods:
fontWeight() Method: Bold, italics, and underline
With this function, we can display in bold or vary the weight of our text:
Text("Hello World").fontWeight(.bold)
Text("Hello World").italic()
Text("Hello World").underline()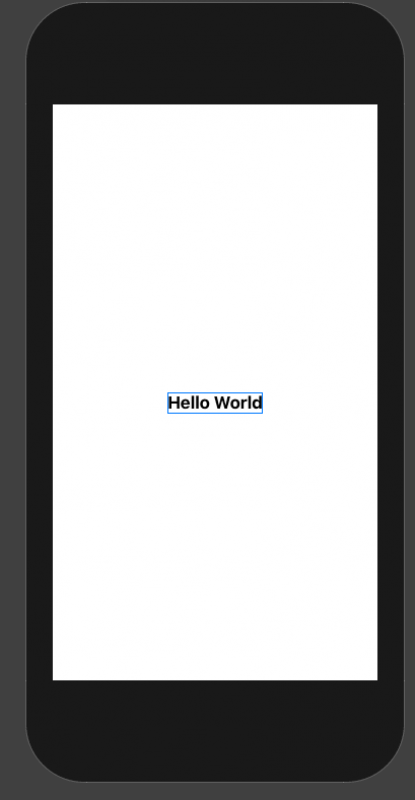
italic() Method: display text in italics
For this, we use the italic function:
Text("Hello World").italic() 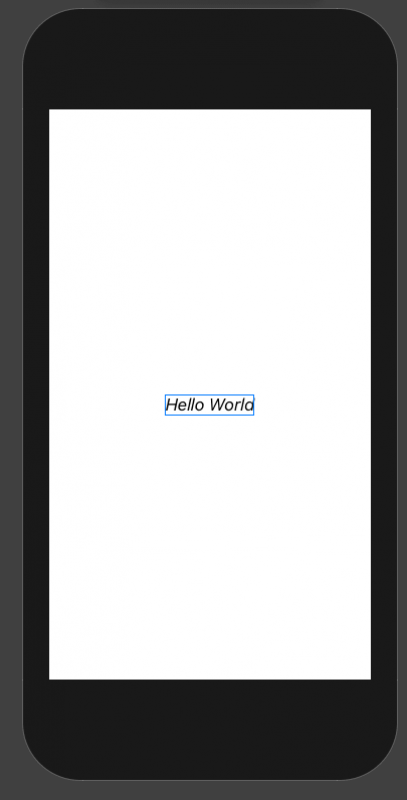
font() Method
With this function, we can indicate the type of text or the size using predefined options like headline for headers, body for the body text, etc:
Text("Hello World").font(.headline)underline() Method
With this function, we can indicate an underline for our text.
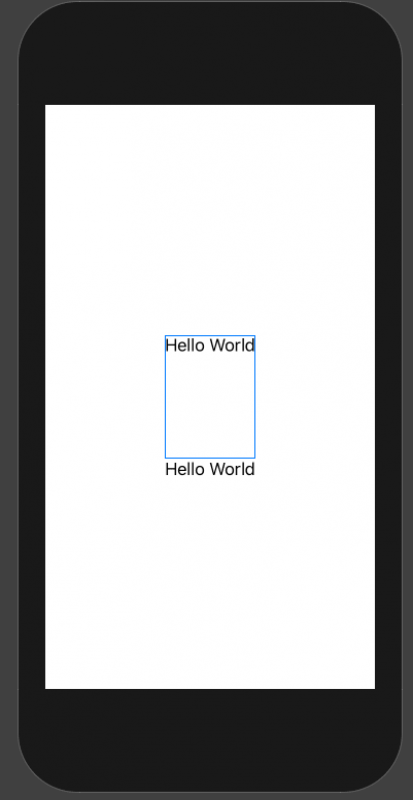
Text("Hello World").underline()baselineOffset Method
With this option, we can define the spacing between the text and other content, which, of course, can be other text:
VStack{
  Text("Hello World").baselineOffset(100.0)
  Text("Hello World")
}
Text Color and Background
Currently, the recommended way to change text color is using foregroundStyle:
Text("Hello World")
   .foregroundStyle(.red)
You can also use adaptive colors like .primary or .secondary, which work very well with light and dark mode.
For the background:
Text("Hello World")
  .padding()
  .background(.yellow)
More functions for text
Of course, there are many more functions you can use with text, such as background to change the background color, multilineTextAlignment to indicate the type of alignment, and even the space between lines with lineSpacing; we also have another to indicate the separation between characters with kerning.
Spacing, Alignment, and Long Texts
Aligning text on several lines
When working with long texts, alignment starts to matter:
Text("Texto largo de ejemplo...")
   .multilineTextAlignment(.center)
This only takes effect when the text occupies more than one line, something worth keeping in mind.
Handling long texts without breaking the design
This is a very common problem in real apps. SwiftUI offers several tools to control it:
Text("Lorem ipsum dolor sit amet...")
   .lineLimit(2)
If you want to go a step further:
Text("Lorem ipsum dolor sit amet...")
   .lineLimit(2)
   .allowsTightening(true)
   .minimumScaleFactor(0.5)
This allows the text to compress or reduce in size before being truncated, something I usually use quite a bit in cards or list cells.
Spacing between lines and characters
You can also adjust the visual spacing:
Text("Texto de ejemplo")
   .lineSpacing(12)
   .kerning(2)
And if you need to adjust the baseline:
Text("Hello World")
   .baselineOffset(10)
Text Input
To be able to receive texts from the user through the famous text fields or inputs in HTML, we can use the following functions, which allow us to build blocks like the following:
In this case, we have two: for plain text and these obfuscated ones that we use for protected fields like passwords.
To use them, we have to use variables or class properties, to be able to query these values or consume them whenever we want in the application. With this, we can obtain the data and send it to a server through a Rest resource, save it in a local database, and so on; anything you want to do with these values or texts, you can do.
Difference between Text, TextField, and SecureField
- Text: read-only
- TextField: normal text input
- SecureField: protected text input (passwords)
This distinction is key, and many tutorials do not explain it well from the beginning.
Capturing user text with TextField
To receive text, we need a property that stores that value. This is where @State comes into play.
@State var user = ""
var body: some View {
   VStack {
       TextField("User", text: $user)
       Text("User provided: \(user)")
   }
}
Protected fields with SecureField
For passwords or other sensitive data:
@State var password = ""
SecureField("Password", text: $password)
The operation is exactly the same as TextField, but without showing the content in plain text.
Using @State to handle dynamic text
What is @State and why is it necessary
- @State tells SwiftUI that a property can change and that the view depends on it.
- If you don't use @State, SwiftUI won't know that it should redraw the interface when the value changes.
This is fundamental when working with forms, inputs, or any editable data.
Showing the text entered by the user
The binding ($) connects the text field with the property:
TextField("User", text: $user)Every time the user writes, "user" is updated automatically. In a real app, this value doesn't just stay there: normally you send it to a backend, validate it, or save it locally.
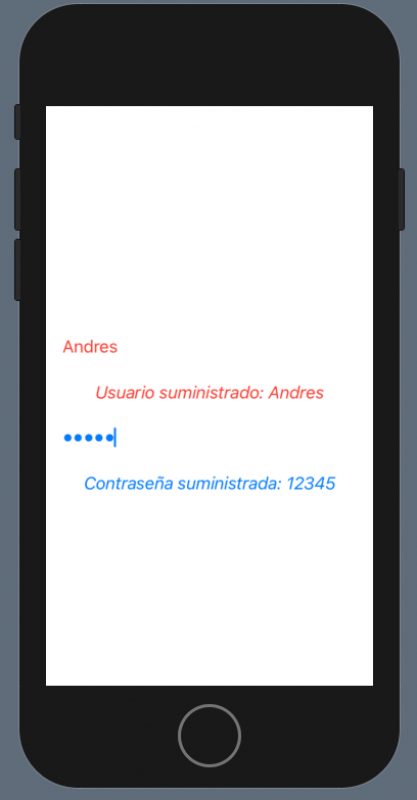
State Variables
To use these values, you have to declare these properties as states, with which the SwiftUI framework knows that these properties can be set in this type of field.
@State var password = ""
@State var user = ""

    var body: some View {
        VStack{
            TextField("Usuario", text: $user)
                .foregroundColor(.red)
                .padding()
            Text("Usuario suministrado: \(user)")
                .foregroundColor(.red)
                .italic()

            SecureField("Contraseña", text: $password)
                .foregroundColor(/*@START_MENU_TOKEN@*/.blue/*@END_MENU_TOKEN@*/)
                .padding()
            Text("Contraseña suministrada: \(password)")
                .foregroundColor(/*@START_MENU_TOKEN@*/.blue/*@END_MENU_TOKEN@*/)
                .italic()
        }
    }
What to do with entered text in a real app
In real projects, user text is typically used to:
- Send data to a REST server
- Save information in a local database
- Validate forms
- Display errors or dynamic messages
Localization and Accessibility of text in SwiftUI
SwiftUI treats text literals as localization keys by default:
Text("pencil")If it exists in Localizable.strings, it will be translated automatically.
If you don't want localization:
Text(verbatim: "pencil")You can also interpolate values without breaking localization:
Text("Hello, \(user)")This is important if your app will be used in several languages or in RTL languages.
Best practices when working with text in SwiftUI
Some tips based on real experience:
- Avoid hardcoded texts without localization
- Use consistent styles
- Do not abuse repeated modifiers (centralize styles if you can)
- Always think about accessibility and Dynamic Type
These small details make a difference as the app grows.
Conclusion: mastering text in SwiftUI
Mastering text in SwiftUI goes far beyond writing Text("Hello World").
It involves understanding:
- How the text is rendered
- How it is styled
- How it adapts to the design
- How user input is captured
- How state flows within the app
If you control these concepts well, you will have a solid foundation to build clean, accessible, and easy-to-maintain interfaces.
Next step, let's learn the use of HStack, VStack, and ZStack in SwiftUI