
In this post, we are going to continue working on creating our applications in SwiftUI; previously, we talked a bit about SwiftUI, which is Apple's new framework for creating our applications declaratively; in other words, SwiftUI is Google's Flutter but in Apple's best style:
First steps with SwiftUI to build your declarative interface.
In addition to this, we saw the environment we must use to develop our first apps, which is Xcode 11 starting from iOS 13, some examples of lists, foreach, etc., to get used to its syntax, its organization, and some resources to start working with SwiftUI.
In short, SwiftUI is a simple declarative interface with which we can build our interfaces in the Apple ecosystem.
SwiftUI is Apple's declarative framework for creating user interfaces on iOS, macOS, and more. If you come from Android, Flutter, or even classic UIKit, at first it might seem "too simple"... until you start running into typical errors like not being able to use a Text and an Image together, text being cut off, or images breaking the entire layout.
In this guide, I'm going to show you, step by step, how to combine Text, Image, and VStack in SwiftUI, solving the real problems that appear when you start.
What is SwiftUI and why use VStack to organize views
SwiftUI is based on a key principle: everything is a view and views are composed together. There is no XML, no separate storyboards. In the same file, you define the logic and the interface.
In my case, what caught my attention the most at the beginning was that with very little code you are already rendering a real UI, something very different from UIKit or even Android with layouts and more similar to Flutter.
Creating a basic app with SwiftUI
Let's start creating a fairly simple app which consists of some texts, a central image, and a container element to place all this, and we're going to create a text; for that, we use the struct Text:
import SwiftUI

struct texto_imagen: View {
    var body: some View {
            Text("Hello World")
    }
}
And we get:
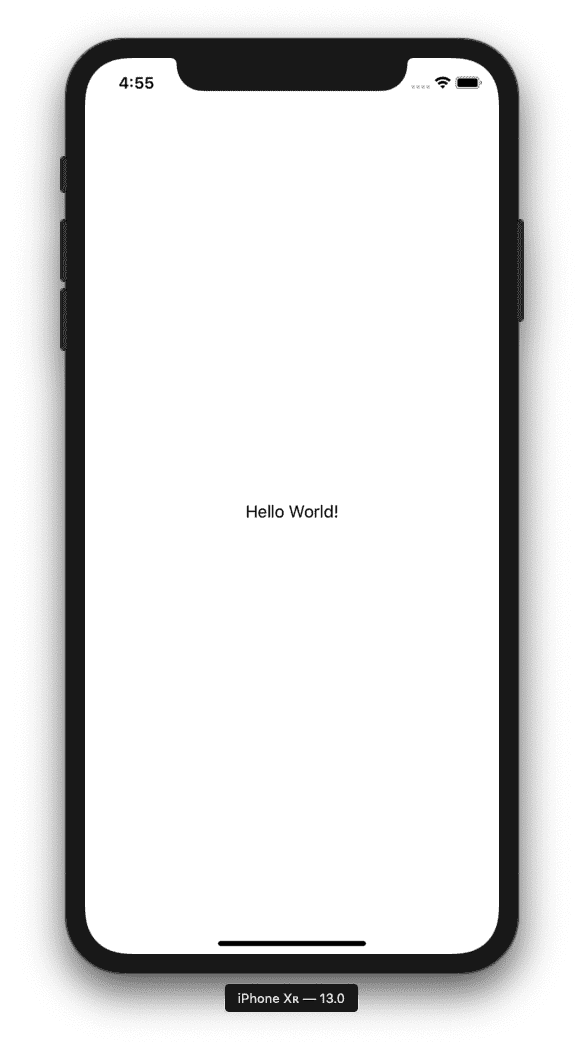
This is where it all begins; as you can see, this is why SwiftUI is a declarative interface framework, since in the same file where we are declaring the functionality (like our controller), this same view element also displays what would be an interface. That is, that Text to which we can apply some logic also causes a text to be rendered in our interface without the need to apply a separate view file as it would be in Android with layouts or in classic Swift with the Main Storyboard.
The initial problem: Text and Image cannot go alone in the body
As you can see, we see our text on our screen; now we want to add a simple image; for that, we use Image specifying the image that must be loaded in the Assets.xcassets folder in the traditional way, then we reference it by name and that's it; you'd think we could do the following:

import SwiftUI

struct texto_imagen: View {
    var body: some View {
            Image("final_udemy")
            Text("Hello World")
    }
}
And we get an error:
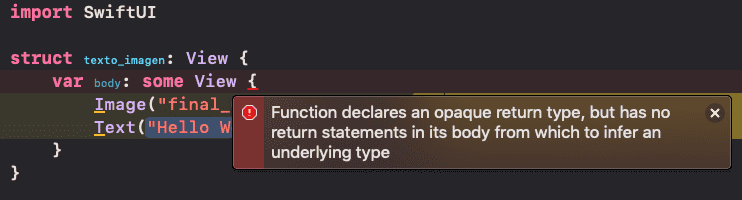
This is very common when you start. It happened to me immediately and the typical reaction is to think that the problem is in the image or the text... but no.
Why SwiftUI requires a root view
The body can only return one view. If you want more than one, you need a container. This is where Stacks come in:
- VStack → vertical views
- HStack → horizontal views
- ZStack → overlapping views
Using VStack to combine Text and Image correctly
But this will give us an error since we cannot use multiple elements in the root; for that, we need a root element, an element that allows us to add other structs just like in Flutter, we use -for example- the Column widget to add a list of widgets, which in other words means one or more widgets; here we can also do the same and use a container element.
In this case, since we want to place everything as if it were a stack, that is, one on top of the other, we are going to use what would be a container of type VStack and inside it, the code for our image and text:
import SwiftUI

struct texto_imagen: View {
    var body: some View {
        VStack {
            Image("final_udemy")
            Text("Hello World")
        }
    }
}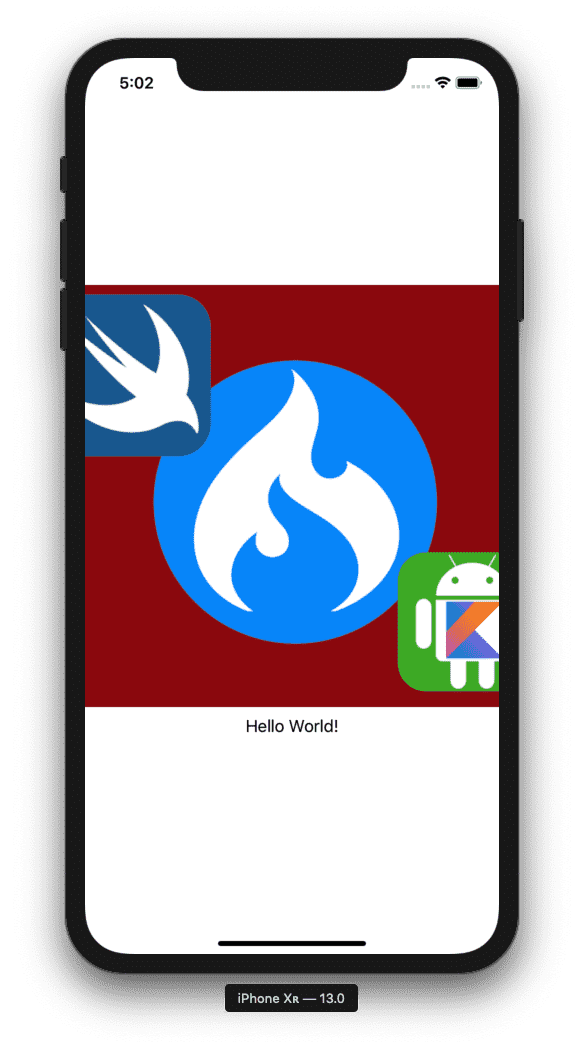
In this case, I placed an image of my course on Udemy in which we teach how to create our first mobile apps with Android and iOS and connect them to a Rest API.
Modifiers on our view elements
Here comes the good part: from our file, we can call functions with parameters that allow us to alter the style, position, and behavior of our elements; these are known as modifiers since they allow "modifying" or varying the style, position and/or behavior of our view elements, of which we have seen three today:
TextImageVStack
Adding multiline texts in SwiftUI with lineLimit
When adding a title and a longer description, another typical problem appears:
the text is cut off and only shows one line.
VStack {
   Text("Learn how to create apps on Android and iOS with a RestAPI in PHP")
   Image("final_udemy")
   Text("Create your native apps for Android and iOS and connect them to a Rest API...")
}
Solution: lineLimit and font:
Text("Learn how to create apps on Android and iOS with a RestAPI in PHP"
   .lineLimit(3)
   .font(.title)
Text("Create your native apps for Android and iOS and connect them to a Rest API...").lineLimit(nil).font(.body)
Let's go with our example.
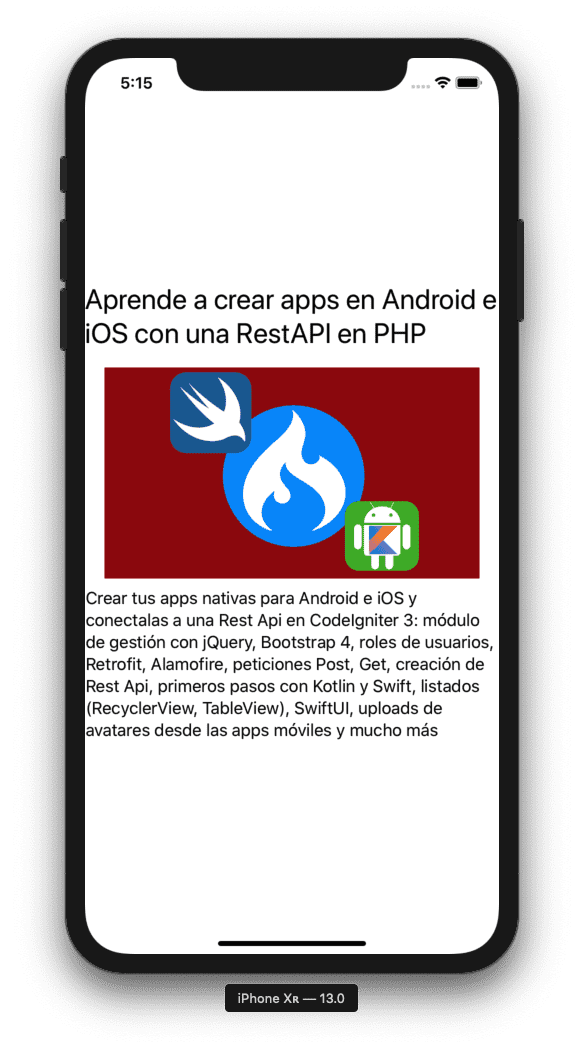
Now, before going into some modifiers, we want to add a title to our image and a more original description, and with our VStack this fits perfectly:
import SwiftUI

struct texto_imagen: View {
    var body: some View {
        VStack {
            Text("Aprende a crear apps en Android e iOS con una RestAPI en PHP")
            Image("final_udemy")
            Text("Create your native apps for Android and iOS and connect them to a Rest API in CodeIgniter 3: management module with jQuery, Bootstrap 4, user roles, Retrofit, Alamofire, Post requests, Get, creation of Rest API, first steps with Kotlin and Swift")
        }
    }
}
As you can see, everything is stacked perfectly; but you can see we have several problems: the first is that the text is cut off and only one line appears, the next would be that the upper and lower text have the same presentation; let's vary it a bit with the font modifier/function to vary the text and another modifier to indicate that it presents the content in several lines if necessary:
import SwiftUI

struct texto_imagen: View {
    var body: some View {
        VStack {
            Text("Aprende a crear apps en Android e iOS con una RestAPI en PHP")
                .lineLimit(3)
                .font(.title)
            Image("final_udemy")
            Text("Create your native apps for Android and iOS and connect them to a Rest API in CodeIgniter 3: management module with jQuery, Bootstrap 4, user roles, Retrofit, Alamofire, Post requests, Get, creation of Rest API, first steps with Kotlin and Swift")
                .lineLimit(nil)
                .font(.body)
        }
    }
}
As you can see, it looks a bit better, but we still have some problems. Before that, as you can see, we added a couple of modifiers: one to indicate the font type, but you are free to explore and try different combinations. As you can see, it receives different parameters and some values such as body, title, largeTitle, etc. These automatically vary the presentation of our text.
As for the lines of text, you can now see that the description is presented in several lines, and we achieve this with the lineLimit modifier which receives a number indicating the maximum number of lines the text will have, or nil so that iOS applies the number of lines over our elements.
Let's solve the problem with the texts and images: as you can see, the image is very large and stretches our container, which also causes it not to be fully seen on the screen. We can fix this by indicating a size for the image; for that, we use the frame modifier:
struct texto_imagen: View {
    var body: some View {
        VStack {
            Text("Learn how to create Android and iOS apps with a REST API in PHP")
                .lineLimit(3)
                .font(.title)
            Image("final_udemy")
                .resizable()
                .frame(width: 375, height: 211)
            Text("Create your native apps for Android and iOS and connect them to a Rest API in CodeIgniter 3: management module with jQuery, Bootstrap 4, user roles, Retrofit, Alamofire, Post requests, Get, creation of Rest API, first steps with Kotlin and Swift")
                .lineLimit(nil)
                .font(.body)
        }
    }
}
How to change the size of an Image in SwiftUI
We also apply the resizable modifier, which must be accompanied by the frame modifier to indicate that we want to rescale the image; as a task, comment out or temporarily remove the resizable modifier and you will see the behavior.
Another classic: the image is giant and stretches the entire view.
Now everything looks much better than before, at least our application has a better appearance; however, now everything is like too close together. Let's apply another modifier but this time on our image since it is our central element and this way we don't have to apply a padding for each of the texts; we will also apply a padding to our container:
struct texto_imagen: View {
    var body: some View {
        VStack {
           Text("Learn how to create Android and iOS apps with a REST API in PHP")
                .lineLimit(3)
                .font(.title)
            Image("final_udemy")
                .resizable()
                .frame(width: 375, height: 211)
                .padding()
            Text("Create your native apps for Android and iOS and connect them to a Rest API in CodeIgniter 3: management module with jQuery, Bootstrap 4, user roles, Retrofit, Alamofire, Post requests, Get, creation of Rest API, first steps with Kotlin and Swift")
                .lineLimit(nil)
                .font(.body)
        }.padding()
    }
}
Applying padding and spacing in VStack
By simply placing padding, which as you can see corresponds to another modifier, a margin is automatically applied, but it can receive different values indicating the amount of points the padding will have; for example, 30 points to apply them on each of its sides, that is, on the top, left, right, and bottom:
struct texto_imagen: View {
    var body: some View {
        VStack {
            Text("Learn how to create Android and iOS apps with a REST API in PHP")
                .lineLimit(3)
                .font(.title)
            Image("final_udemy")
                .resizable()
                .frame(width: 375, height: 211)
                .padding(30)
            Text("Create your native apps for Android and iOS and connect them to a Rest API in CodeIgniter 3: management module with jQuery, Bootstrap 4, user roles, Retrofit, Alamofire, Post requests, Get, creation of Rest API, first steps with Kotlin and Swift")
                .lineLimit(nil)
                .font(.body)
        }.padding()
    }
}
Just like all modifiers, it receives different constructors which you are free to explore.
Always remember to help yourself with the autocomplete and suggestions for parameters and view elements that Xcode offers to develop your applications in SwiftUI and in general.
Modifiers in SwiftUI: order and best practices
Modifiers are functions that return new views. Therefore:
- Order does matter
- Each modifier transforms the result of the previous one
A good tip (that saved me time):
use Xcode's autocomplete. There you discover options like .largeTitle, .padding(.horizontal), or .frame(maxWidth:).
Final result and complete view
In the end, with a single file and a few lines, you have a complete, clear, and functional interface. In my case, this was what finally convinced me that SwiftUI really speeds up development, especially for prototypes and simple apps.
Quick FAQs
- How to put Text and Image together in SwiftUI?
- By using a container like VStack or HStack.
- Why doesn't SwiftUI allow several views in the body?
- Because the body must return a single root view.
- How to make a Text multiline?
- With .lineLimit(nil) or a specific number of lines.
- How to change the size of an Image?
- Using .resizable() along with .frame().
Conclusion
With this simple example, we have been able to create a simple application that, although not the most functional in the world, allowed us to see that with a few lines of code and a single file we can build complete interfaces without much effort. We learned to use some view elements as well as their most basic modifiers.
In summary:
- Using Text and Image in SwiftUI
- Resolving the multiple views error in the body
- Organizing content with VStack
- Creating multiline texts with lineLimit
- Resizing images correctly
- Improving the layout with padding
It's not the most complex app in the world, but it reflects exactly the real problems that appear at the beginning. In future guides, you can take this further with lists, ForEach, navigation, and reusable components.
In upcoming posts, we will see how to empower all this more and also new structures and view elements; in the next entry, we will see how to create listings and the foreach and other aspects of interest.
The next step is to learn how to use text in SwiftUI.