Content Index
- Adding Objects
- The 3D Cursor
- ️ Object Creation and Transformation
- Axis Constraint
- Gizmos
- ️ Object Mode vs. Edit Mode
- Transformations per Axis
- Essential Modeling Tools
- ✅ Applying Transformations
- Lifesaving Shortcuts
- Selecting Objects in Blender
- Adding Objects in Blender
- Where is the figure added?
- Deleting Objects in Blender
- Duplicating Objects in Blender
In the previous post, we introduced the graphical interface and panel system. At this point, I assume you've already mastered basic movement in the 3D environment of Blender. Remember that the mouse wheel is your best friend: press it to rotate, use Ctrl + Wheel to zoom, and Shift + Wheel to pan.
Before starting, clear your scene: select everything with the A key and press X or Delete to erase the initial objects (the lamp and the camera).
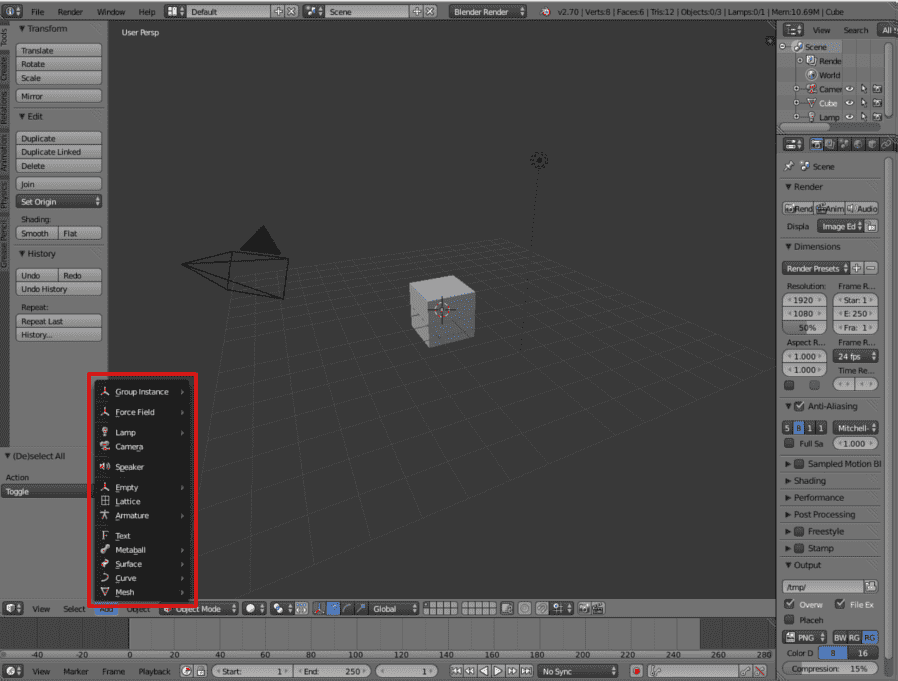
Adding Objects
If you press Shift + A, this menu will appear.
Remember that you can also search for options, but Shift + A is the keyboard shortcut:

From here, you can add a cube again if you want, but you also have a circle, a sphere, and many other figures. We are going to start working with the cube since it is excellent for learning: it doesn't have much geometry and is ideal for practicing.
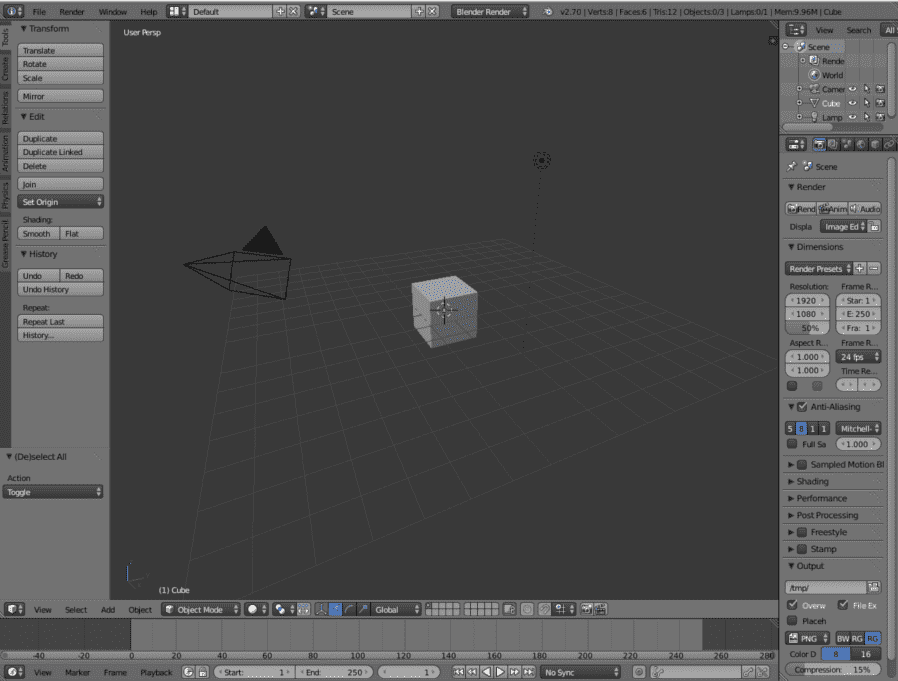
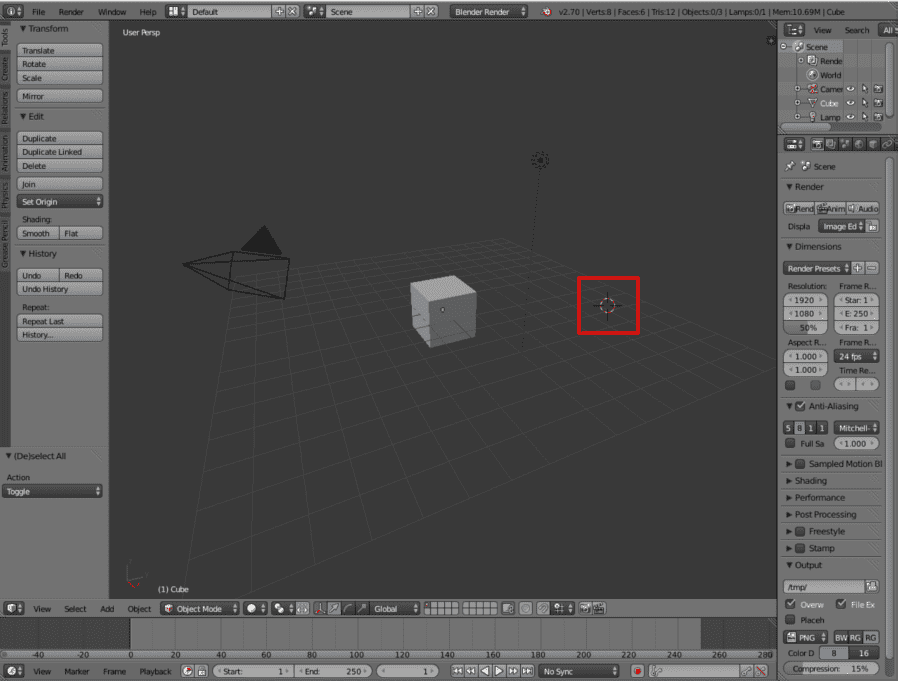
The 3D Cursor
That small red and white target you see in the center is the 3D Cursor. It is a very powerful tool that serves, among other things, as a reference point to indicate where new objects will be added.

️ Object Creation and Transformation
To add a figure, use the shortcut Shift + A. You will see a menu where you can choose basic meshes. Let's start with a Cube, as it has a simple geometry to practice basic operations:
- G (Grab/Move): To translate or move the object.
- R (Rotate): To rotate.
- S (Scale): To scale or change the size.
Axis Constraint
If you want to be precise, you can restrict any operation to a specific axis (X, Y, or Z). For example, press S and then Z to scale the cube only upwards. Once you reach the desired size, confirm with a left click.
Gizmos
We also have gizmos, which are these controls you see here:
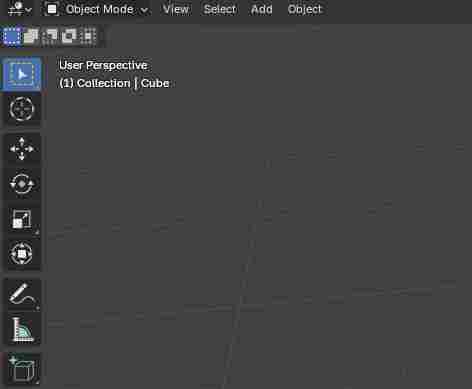
For example, you can activate the rotation gizmo and see how you can rotate the object on all axes. The same happens with scaling.
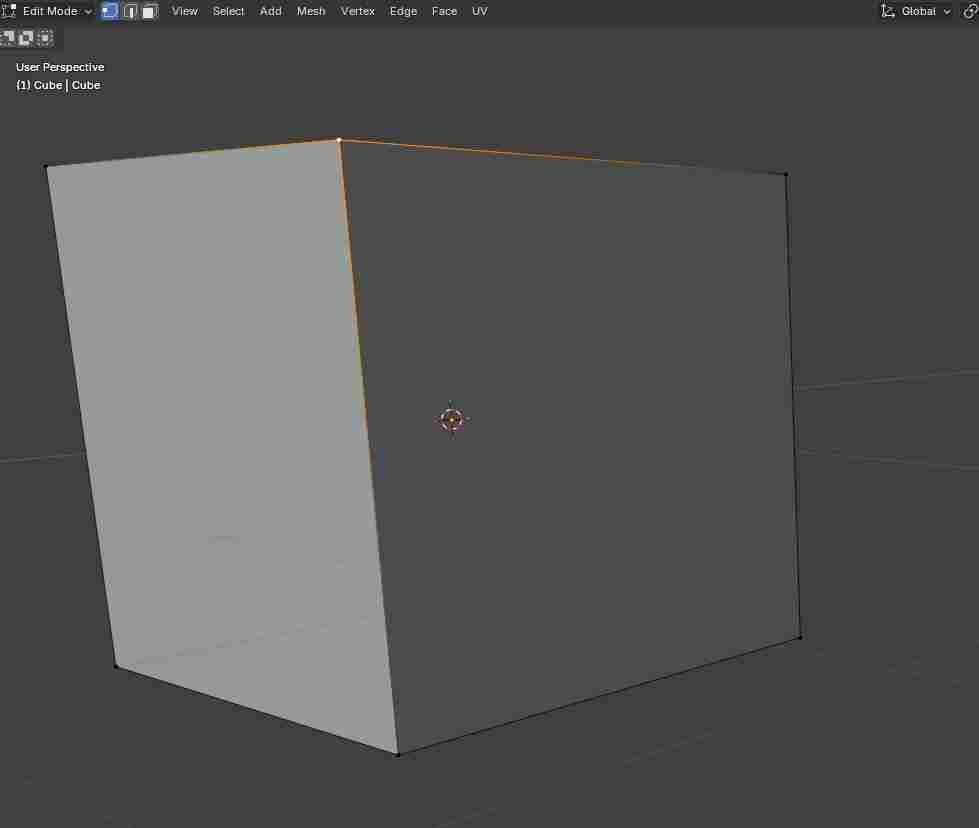
️ Object Mode vs. Edit Mode
So far we have worked in Object Mode (structural). However, 3D objects are made up of a mesh of vertices, edges, and faces. To interact with them, we must enter Edit Mode by pressing the Tab key or using the menu (in the previous image you can see a selector that says “Object Mode”, look for “Edit Mode”).
Inside Edit Mode, you can toggle the selection type using the numbers on the top row (not the numeric keypad):
- Vertices: The connection points (Key 1).
- Edges: The lines that join the vertices (Key 2).
- Faces: The flat surfaces (Key 3).
In Edit Mode you can work with:
- Vertices
- Edges
- Faces
You can switch between these modes using the buttons at the top or with keys 1, 2, and 3.
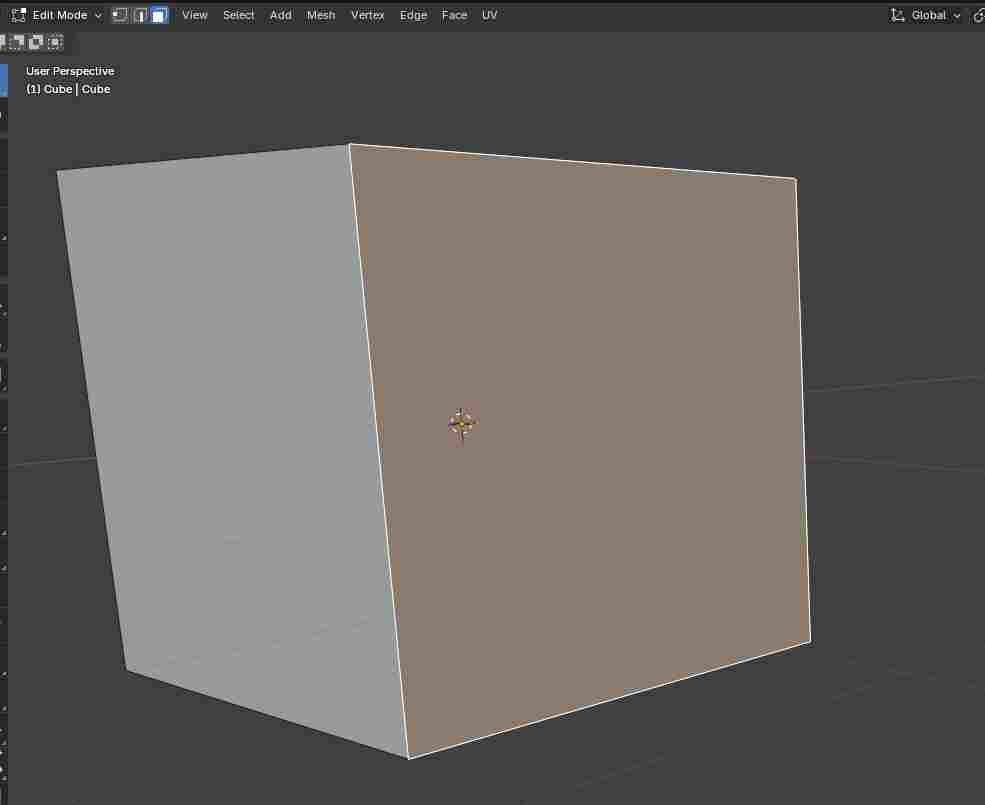
Among other tools (in the following image, you can see the 3 marked options in the top panel next to the SELECT that says “Edit Mode”):
All vertices, edges, or faces can also have geometric transformations applied to them, just like in Object Mode.
Remember:
- Blue → Z axis
- Red → X axis
- Green → Y axis
We also have keyboard shortcuts, which are the ones I recommend learning:
- G → move (grab)
- R → rotate (rotation)
- S → scale (scale)
For example, you press G and move the object wherever you want. With R you rotate it and with S you scale it.
Transformations per Axis
If you want to apply any of these operations on a single axis, first activate the operation and then press the axis:
- X
- Y
- Z
For example: you press S to scale or move and then X, and it will only scale on the X axis:
When you're done, click and that's it.
Learn this well, because it saves a lot of time.
Here you can move, scale, or rotate individual vertices, edges, or faces, exactly as before, but now at the geometry level.
Practice this a lot: select several elements with Shift, move them, scale them, rotate them, and see what happens.
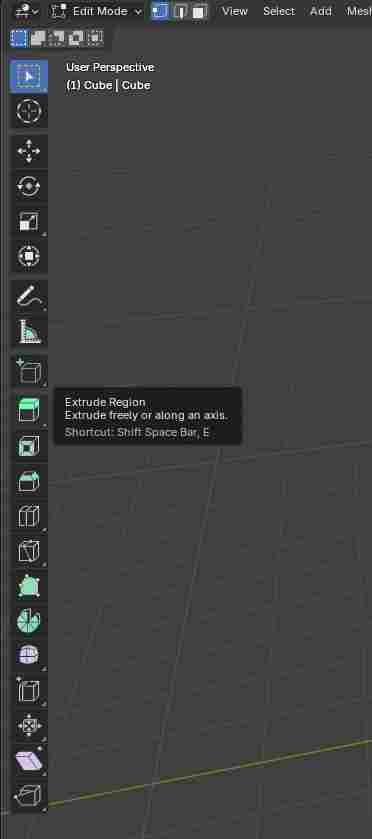
Essential Modeling Tools
This is where the modeling magic begins. I present to you the two most used tools:
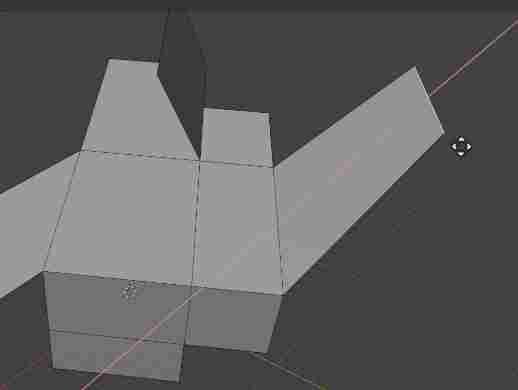
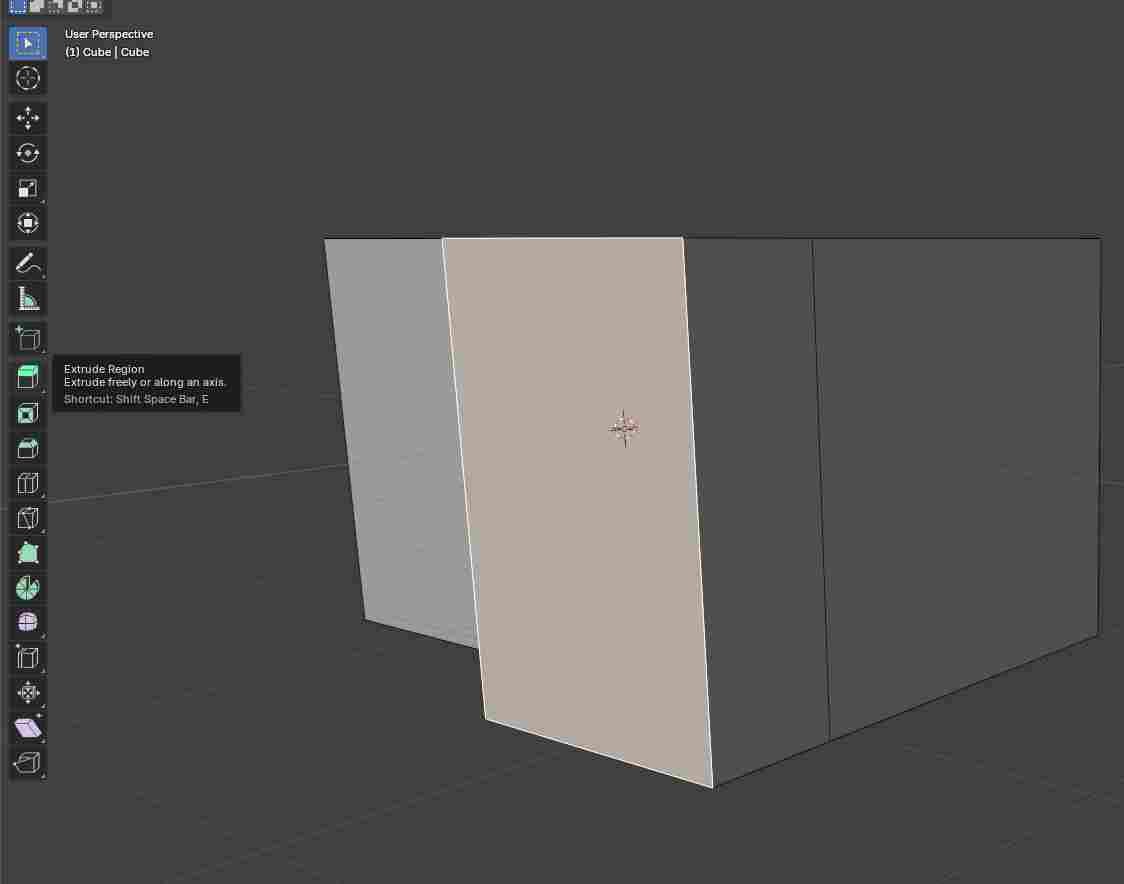
- Extrude (E): Allows you to duplicate the selected geometry and move it, creating new volume. It is ideal for pulling out arms or the backrests of a chair; the key is E and you can also access it from the panel in the previous image:
- Inset (I): Creates an internal face inside the selected one. It is very useful for defining areas where you could then extrude inwards or outwards (like the legs of a piece of furniture):
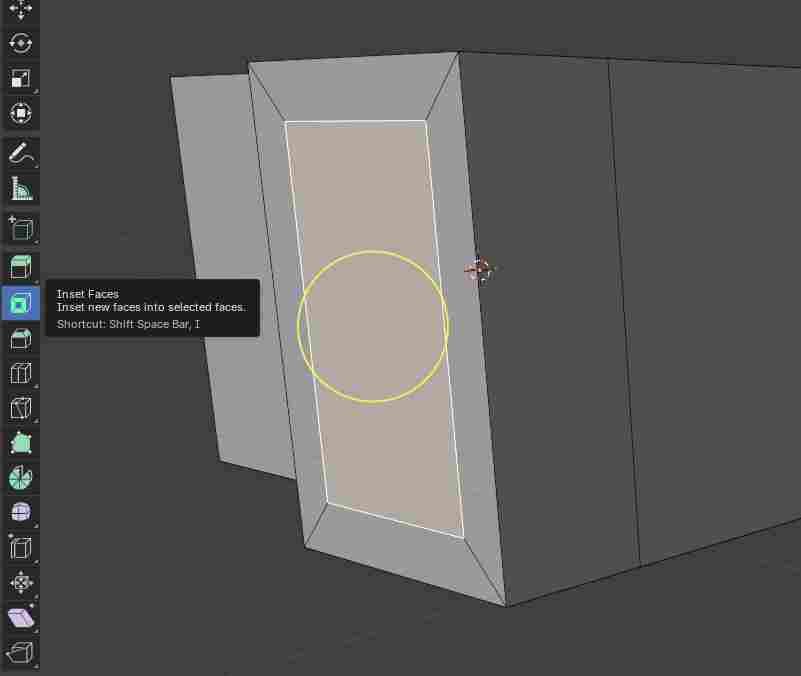
Workflow tip: For the Inset, keep the mouse a bit far from the geometry before pressing I. This will give you more maneuvering space to adjust the thickness precisely.
✅ Applying Transformations
A critical step when scaling or rotating objects is to Apply Transformations. If your scale is not at 1.0 in all directions, tools like Extrude or Bevel can become distorted. To fix it, in Object Mode, press Ctrl + A and select All Transforms. This will reset the internal values without changing the shape of your model:

Finally, if you want to try something with more geometry, add Suzanne (Shift + A -> Mesh -> Monkey). She is Blender's official mascot and serves perfectly for testing more complex shadows and textures.
Lifesaving Shortcuts
- F3: The global search bar. If you forget where a tool or its shortcut is, look it up by its name here.
- Numpad Period (.): Automatically centers the camera on the selected object. Ideal if you get lost in 3D space.
- Tab: Switch between Object Mode and Edit Mode.
Selecting Objects in Blender
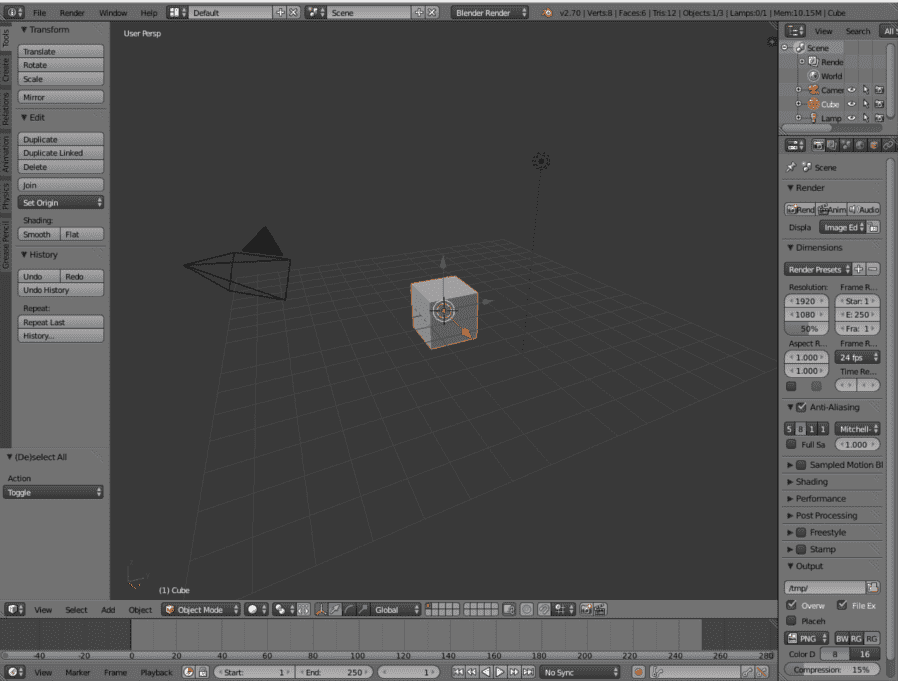
The first thing we must be clear about is that to select objects in Blender; meaning geometric figures, cameras, lamps, among others; it is enough to use the right click on the object. (Note: Modern versions of Blender use Left Click by default).
How do we know the object is selected? Blender marks said object with an orange outline around it:
We can select all objects by pressing the A key.
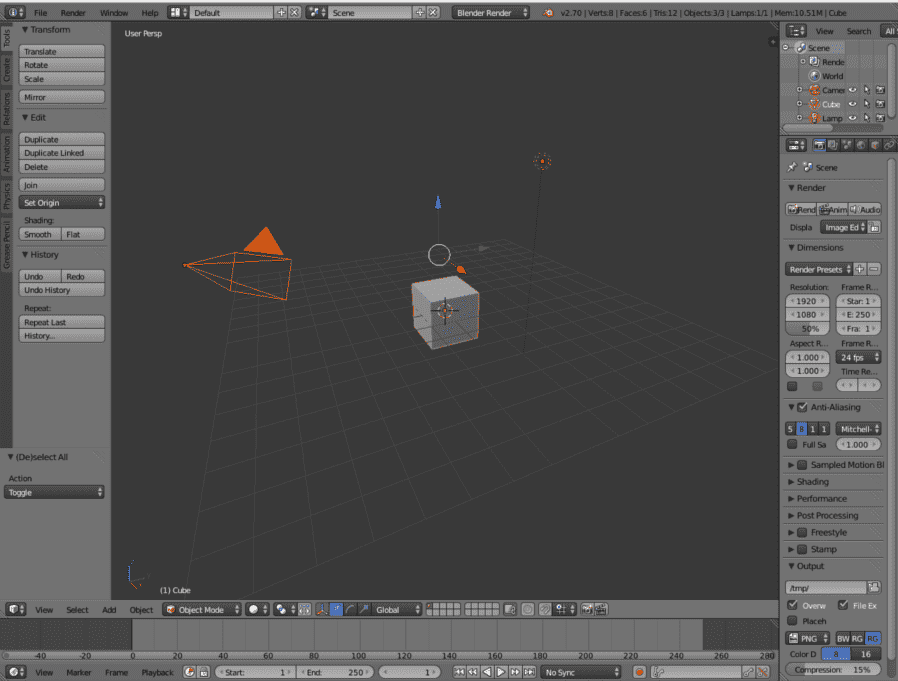
If we press A twice (or Alt + A), it will have the opposite effect; that is, deselect all objects.
Adding Objects in Blender
To add objects in Blender, we have to press Add in the menu or we can use the keyboard shortcut Shift + A to display the menu.
We have several options: curves, meshes, lamps, cameras, etc. For this article, we will add Suzanne, the Blender mascot: Add >> Mesh >> Monkey.

Where is the figure added?
An important point is that the figure is added where we have the 3D cursor positioned; this is our view:
Now, we add the object: Add >> Mesh >> Monkey.

The figure has the position of the 3D cursor as its center.
Deleting Objects in Blender
Select the object(s) you wish to delete, then we can choose from the following options:
- Press the Delete key; a dialog will appear asking if we want to delete the selected object(s). Press delete.
- Press the X key; a dialog will appear asking if we want to delete the selected object(s). Press delete.
- In the bar on the right, under the Tools tab, press Delete.
Duplicating Objects in Blender
We select the object and then we have several ways:
- Control + C to copy it and Control + V to paste it.
- In the bar on the right, under the Tools tab, press Duplicate. (Note: Shift + D is the more common shortcut).
Next step, learn how to model your first figure, a chessboard and pawn in Blender.