
Continuing with the entry we saw previously in which we modeled a Chess board.
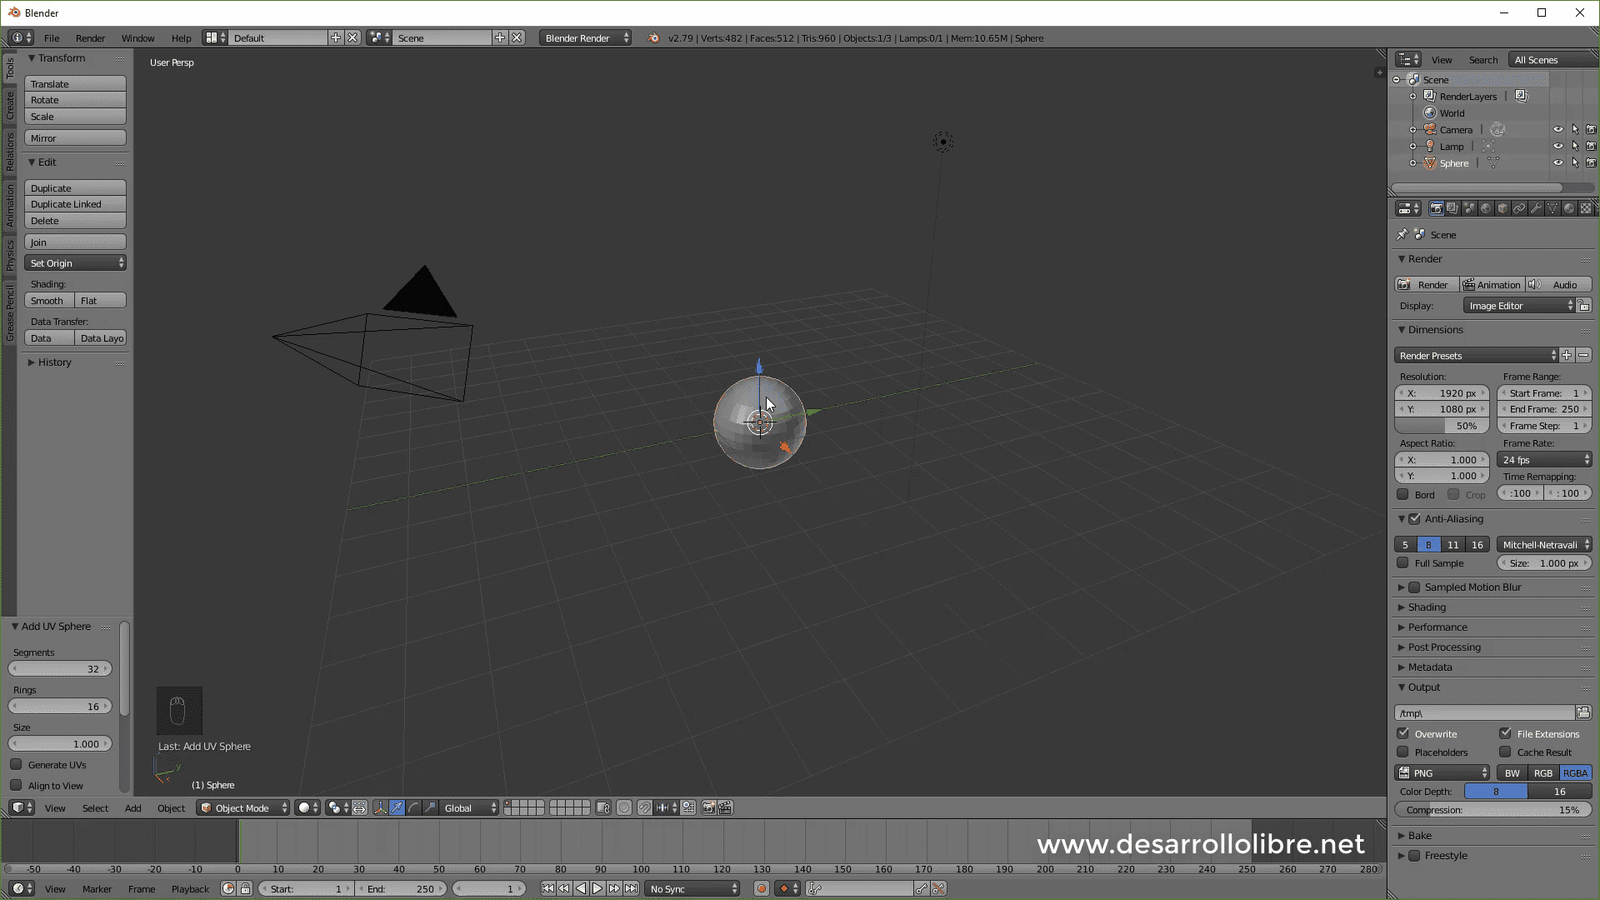
In this entry we will see how to model a chess pawn with Blender; for this we are going to use a sphere instead of the cube that we have by default, so we select the cube and then X to delete; Once this is done we press shift A and then add a UV sphere:
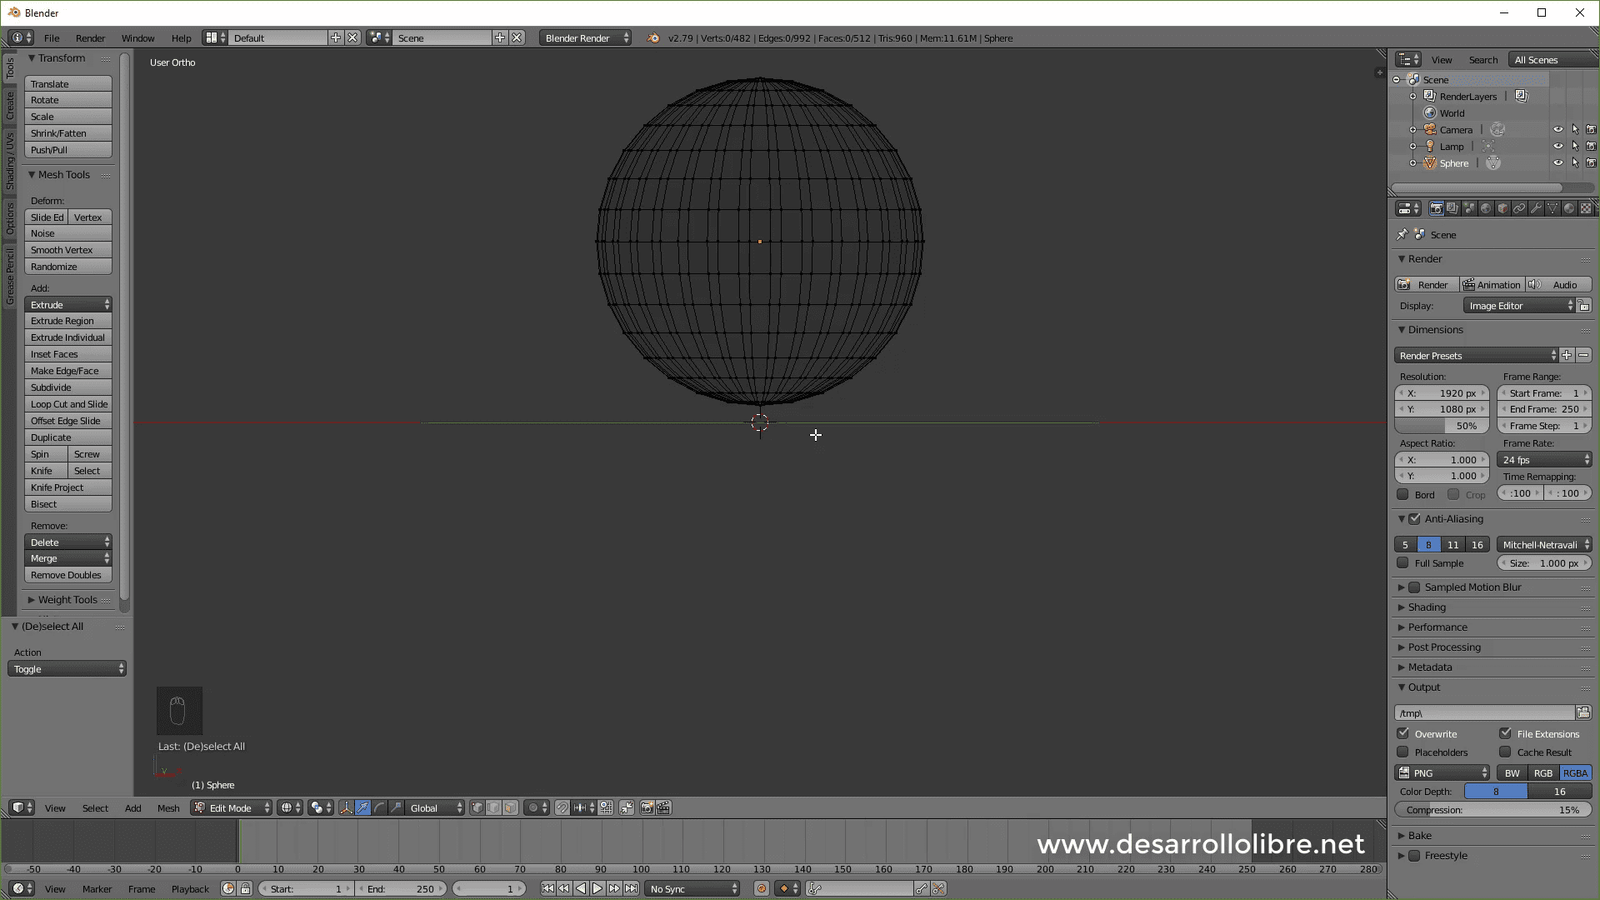
The next step we are going to take will be to go to the orthogonal view with 5, then 6 to position ourselves on one of the sides of the sphere; Finally we press TAB to go to the Edit view and the Z key on the keyboard to activate the wireframe:
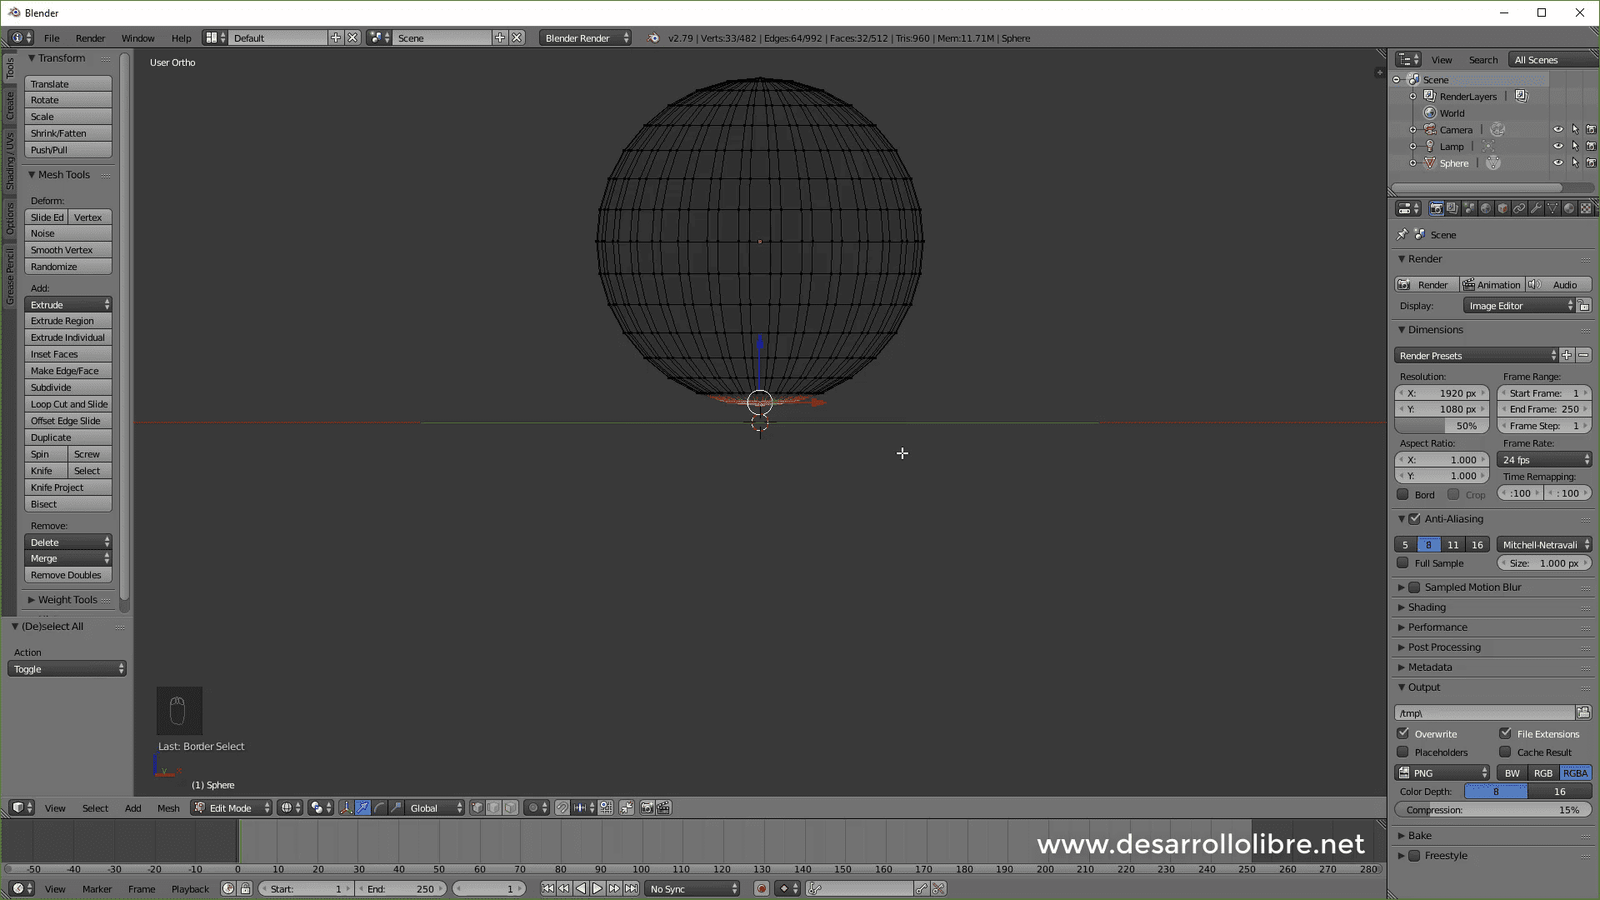
We select the lower vertices with the box selection tool (B key):
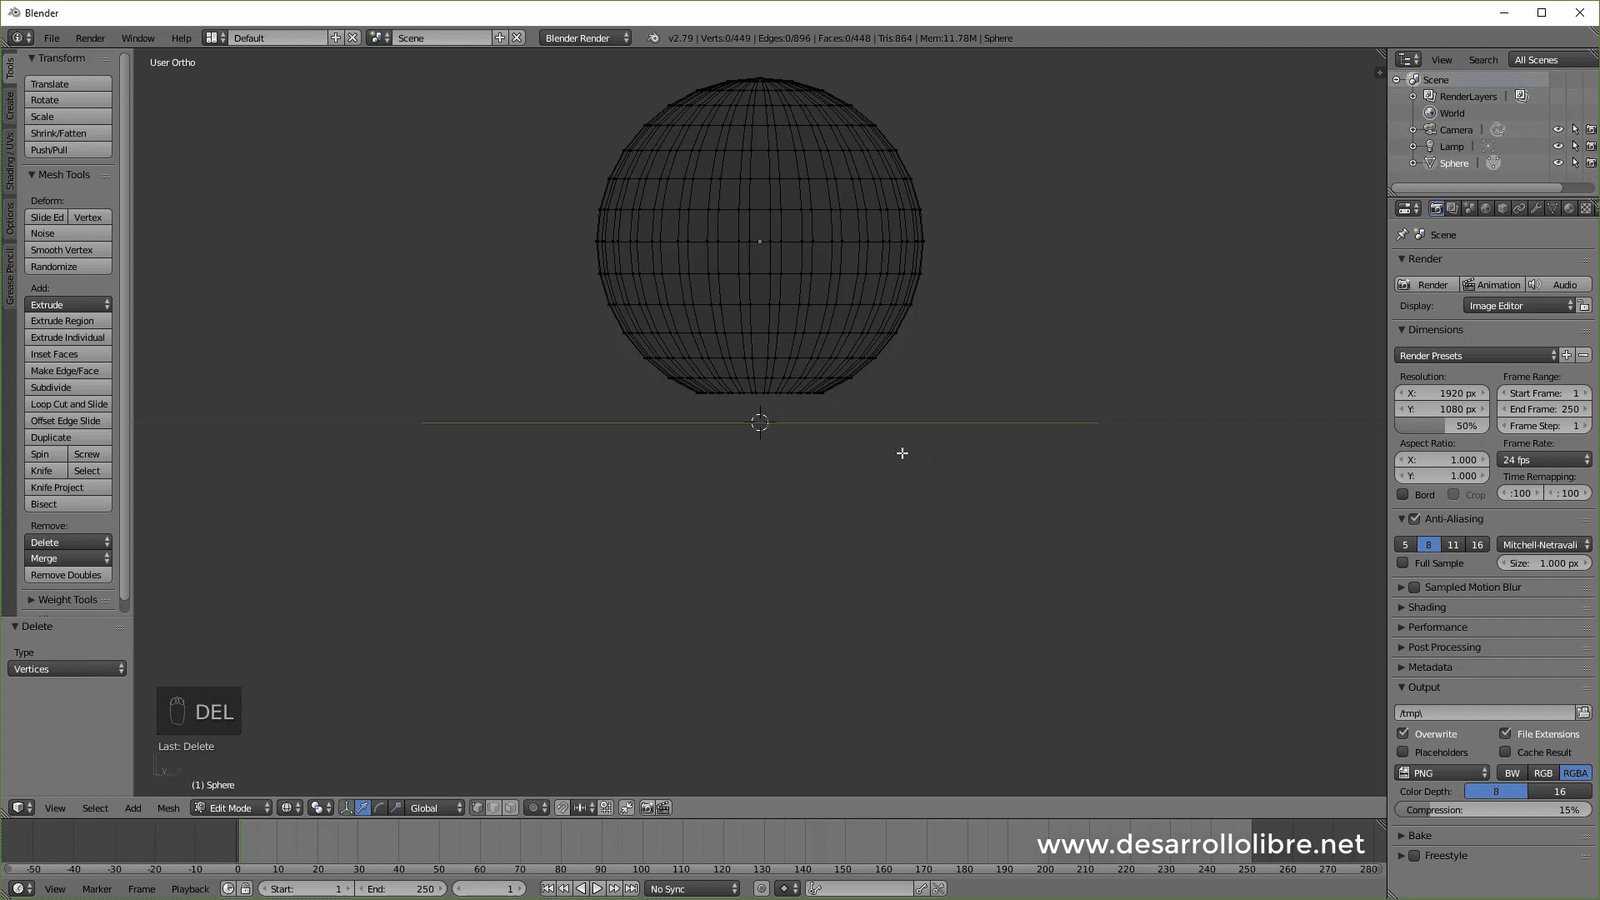
And we delete the selected vertices:
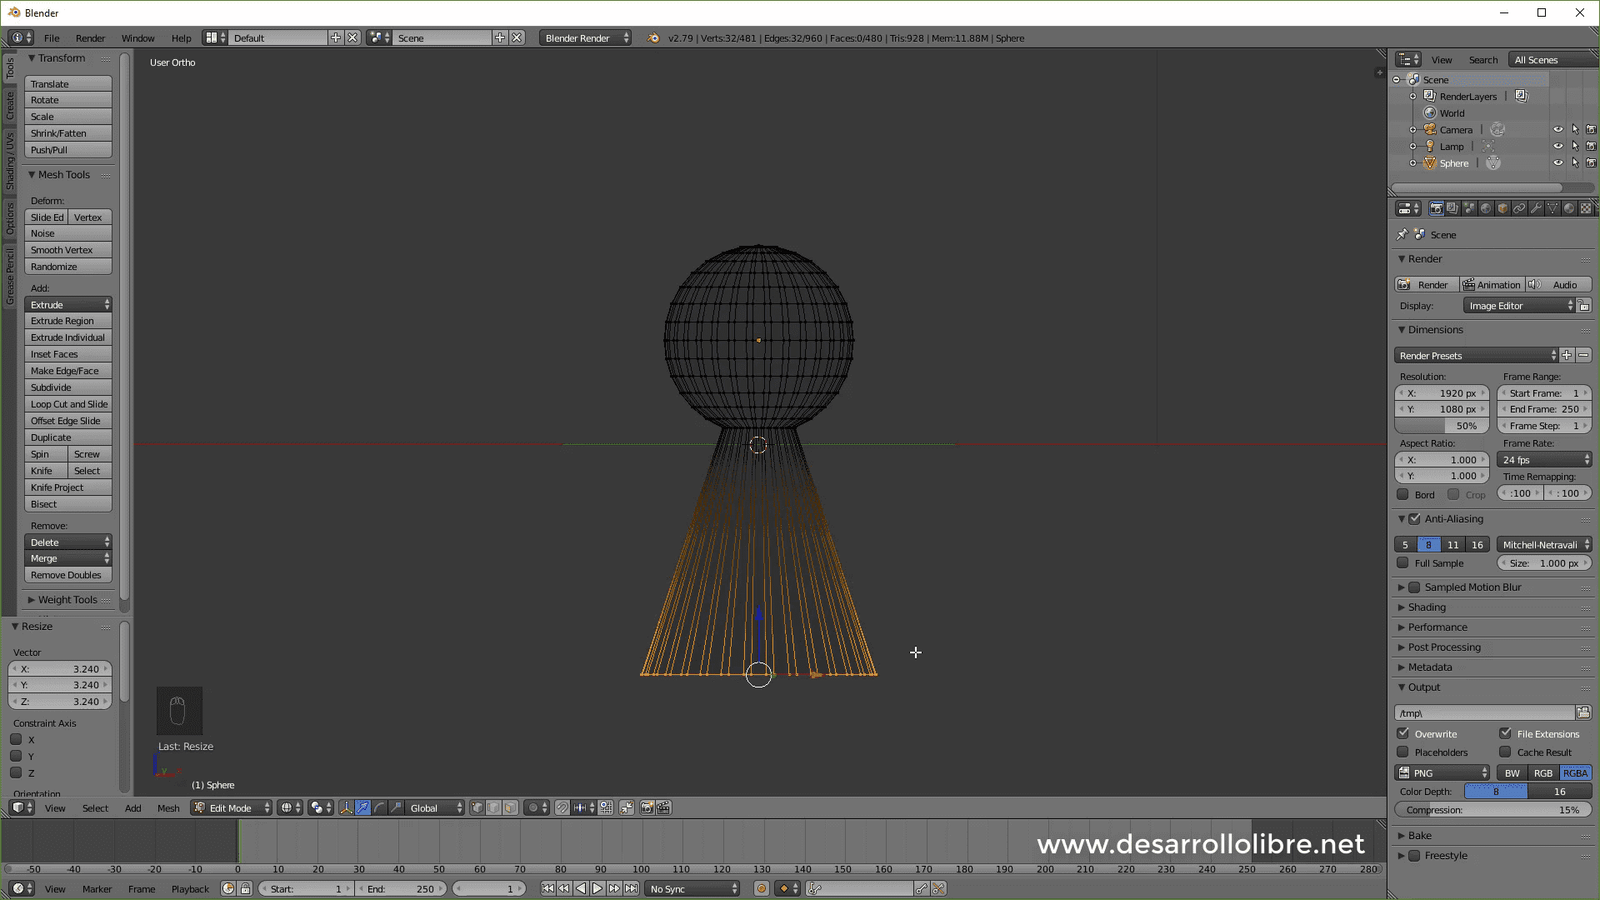
The next step is to select the lower vertices of the sphere with the box selection, with the B key and press E to extrude, then Z to extrude in the Z axis only and leave the other vertices fixed, we go down as shown in the following image:

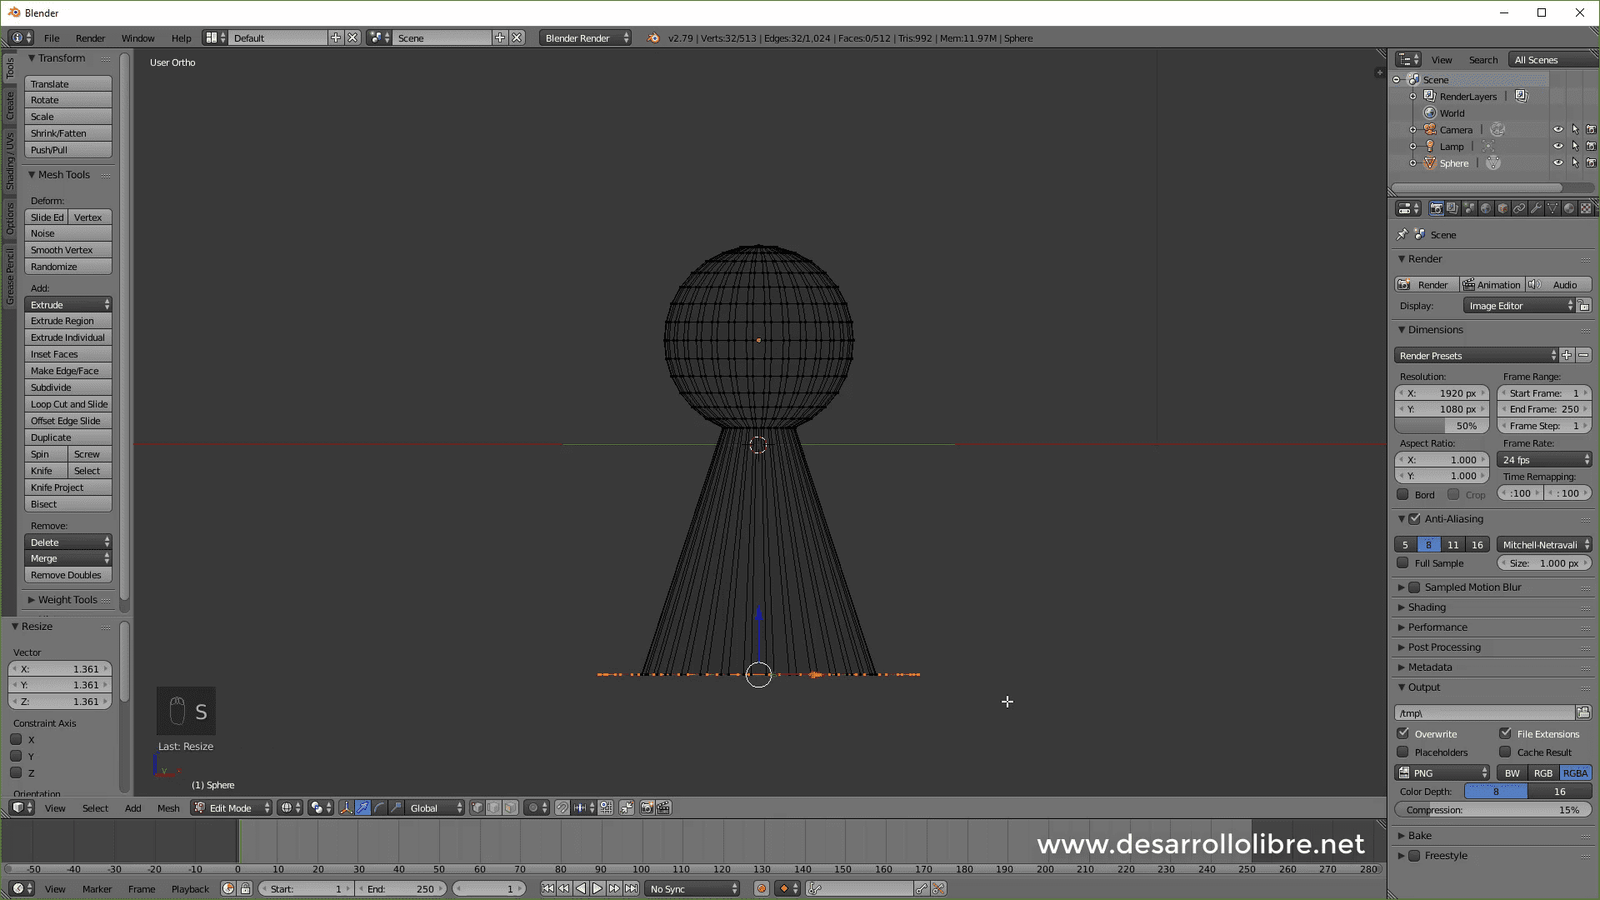
Next step, we climb by pressing the S key:
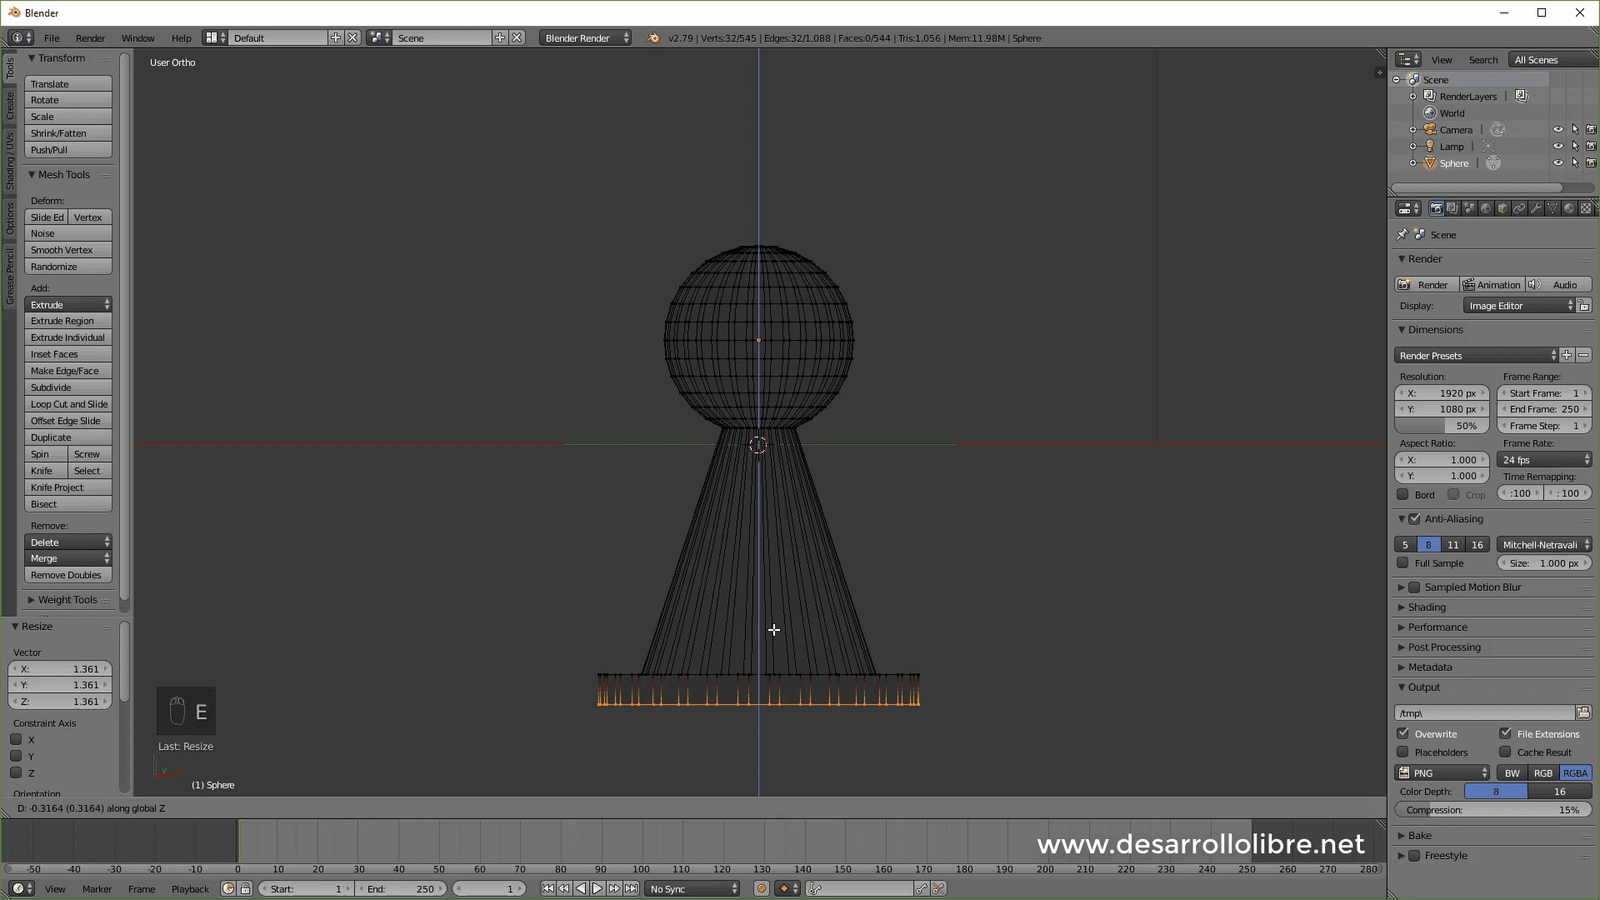
And then we extrude again with E and then click to leave the new vertices in the same place; With this we scale out:
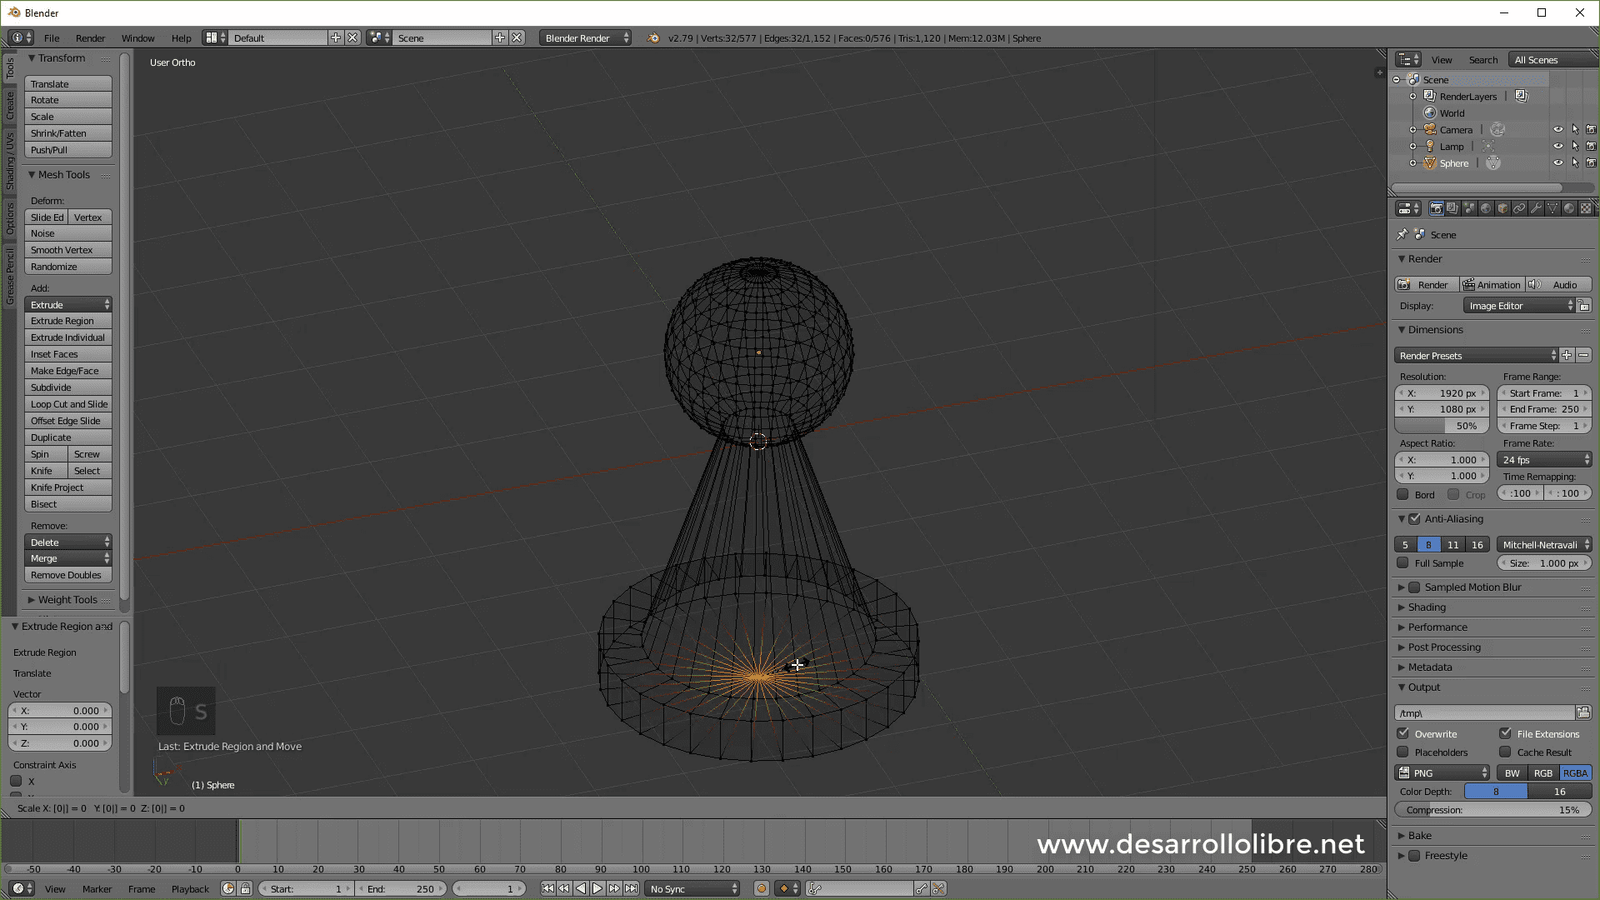
Then we extrude with E and press Z and lower the vertices a little:
Again we extrude with E and click immediately after extruding, then we press Z and then 0 and with this we have finished the model or the base mesh:
Now we go to the object view with TAB and we are going to add a Subdivision Surface in Blender so that it does not look so square; To do this, we click on the key-shaped icon, look for the modifier and configure it as follows:

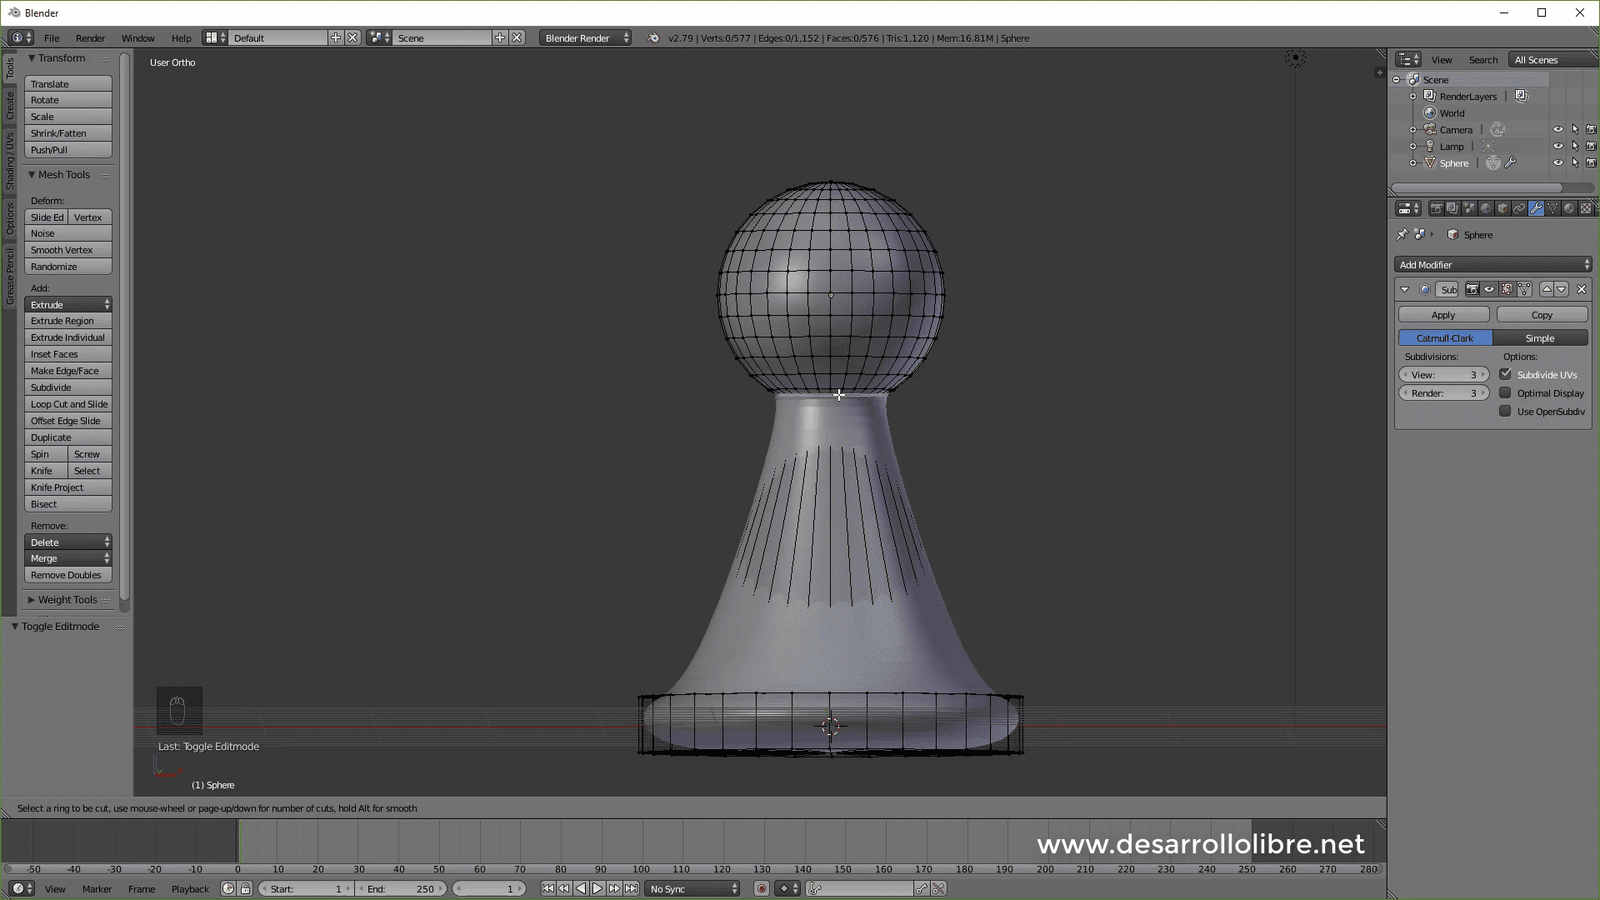
Our figure or pawn is very rounded all around it, we have to add some cuts to avoid this; To do this, we go to the Edit view with TAB and add a cut in the neck of the figure:
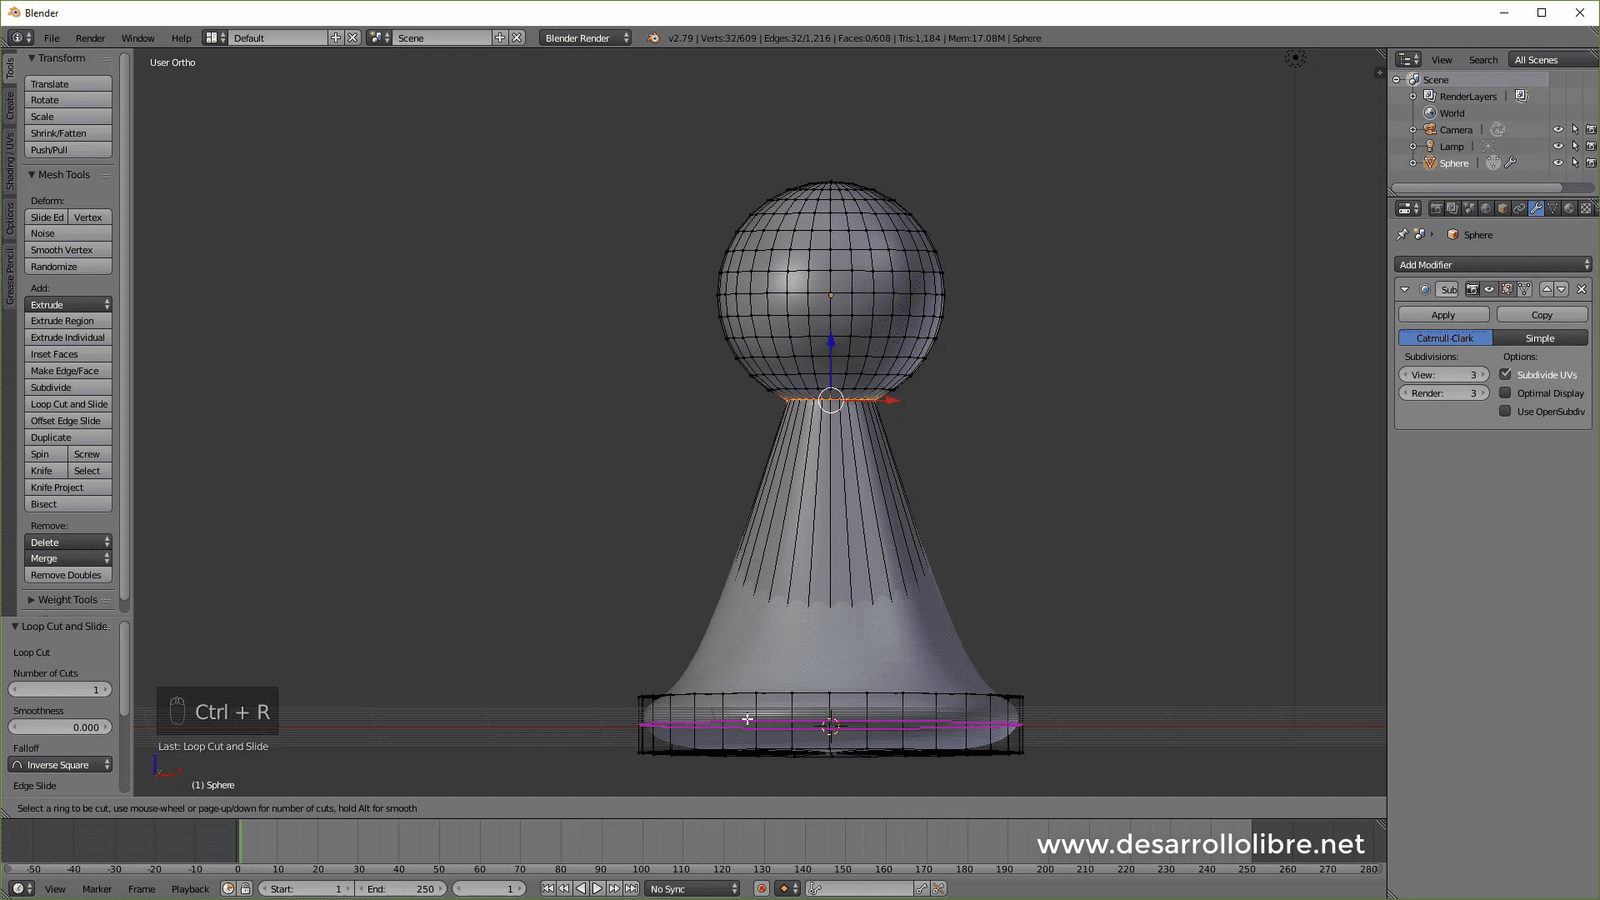
We are going to apply another cut at the base of our figure and we are going to raise it but NOT all the way so that we have a slight rounding at the base:
And we do the same with the bottom part; that is, we do not take it all the way so that it remains slightly rounded:
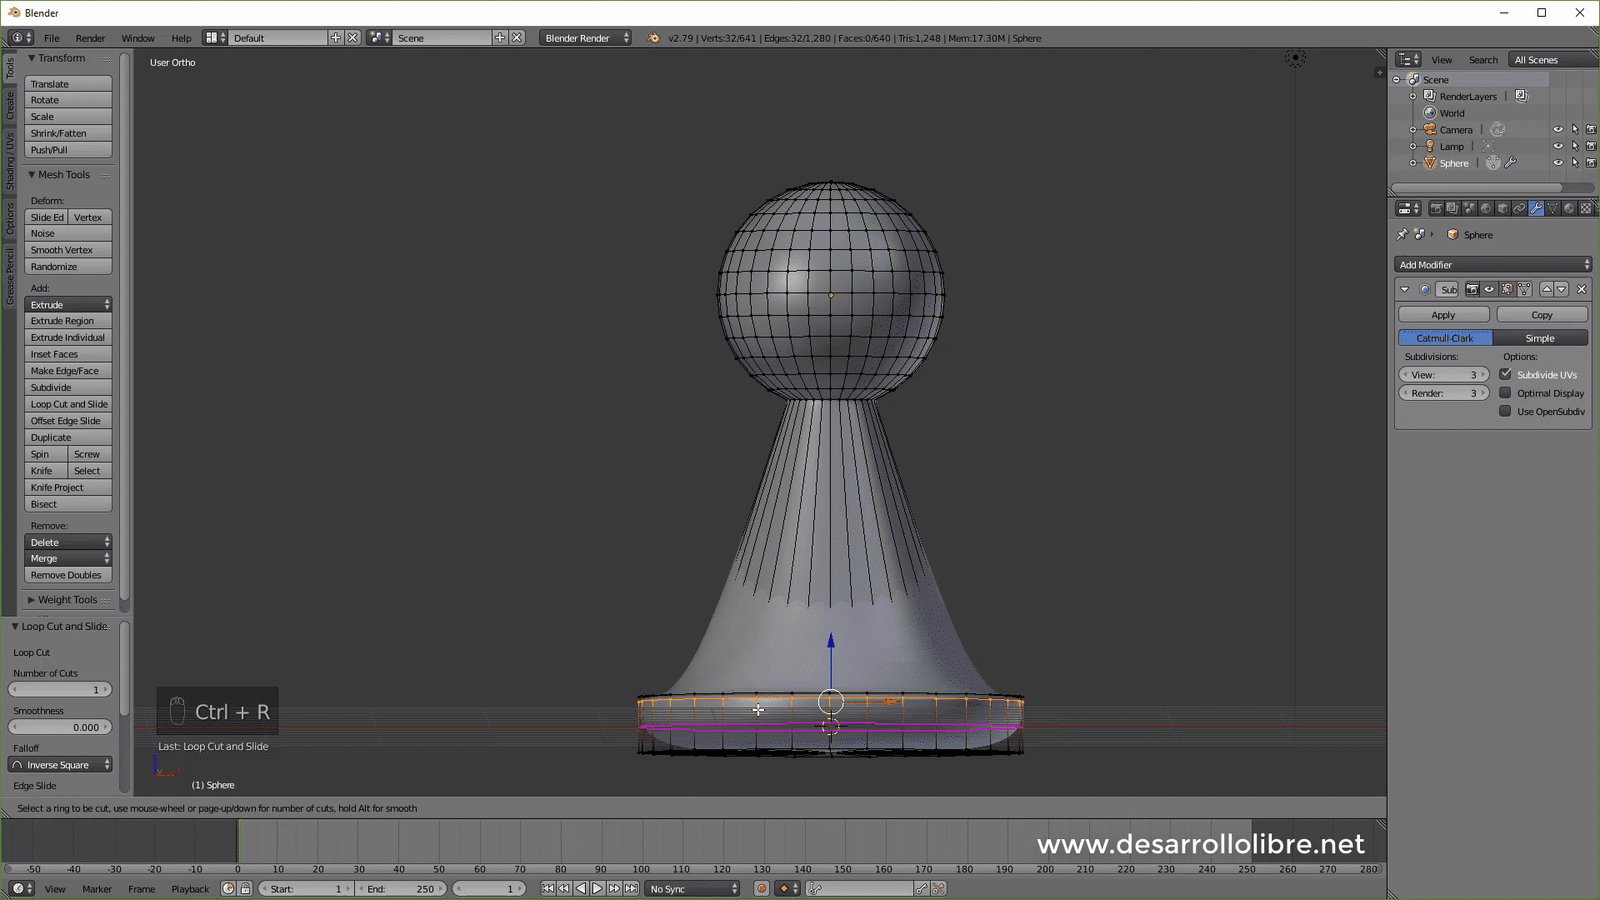
One last cut that we will place from the middle of the figure to the bottom of it:

We go to Object Mode with Tab and add a Smooth.
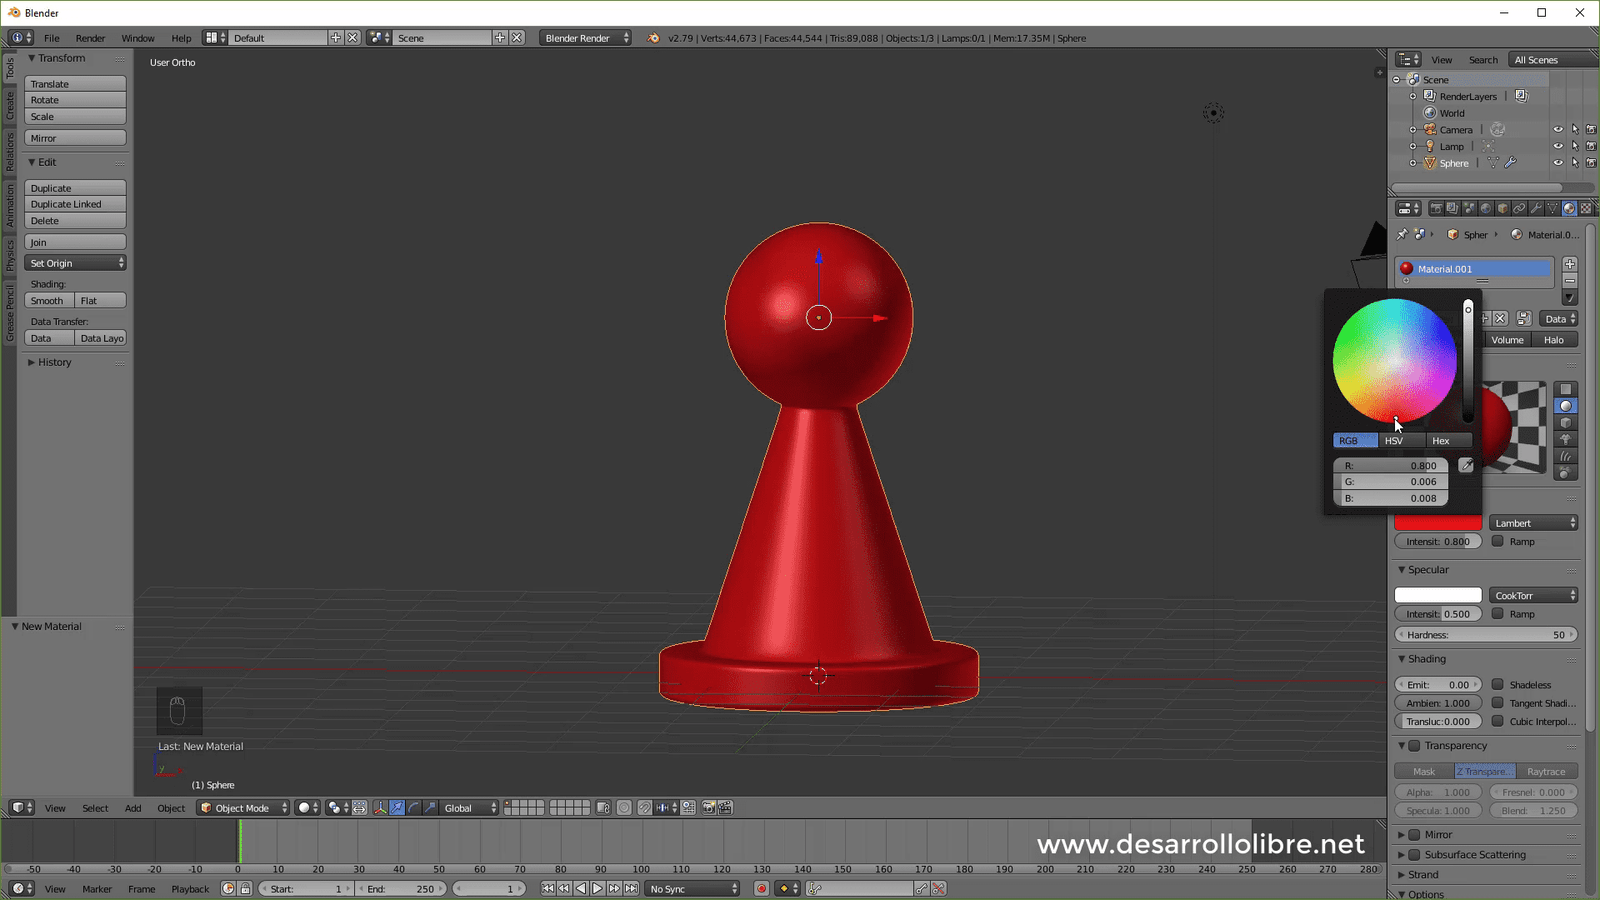
And then we go to the materials section and add a material and add the color we prefer:
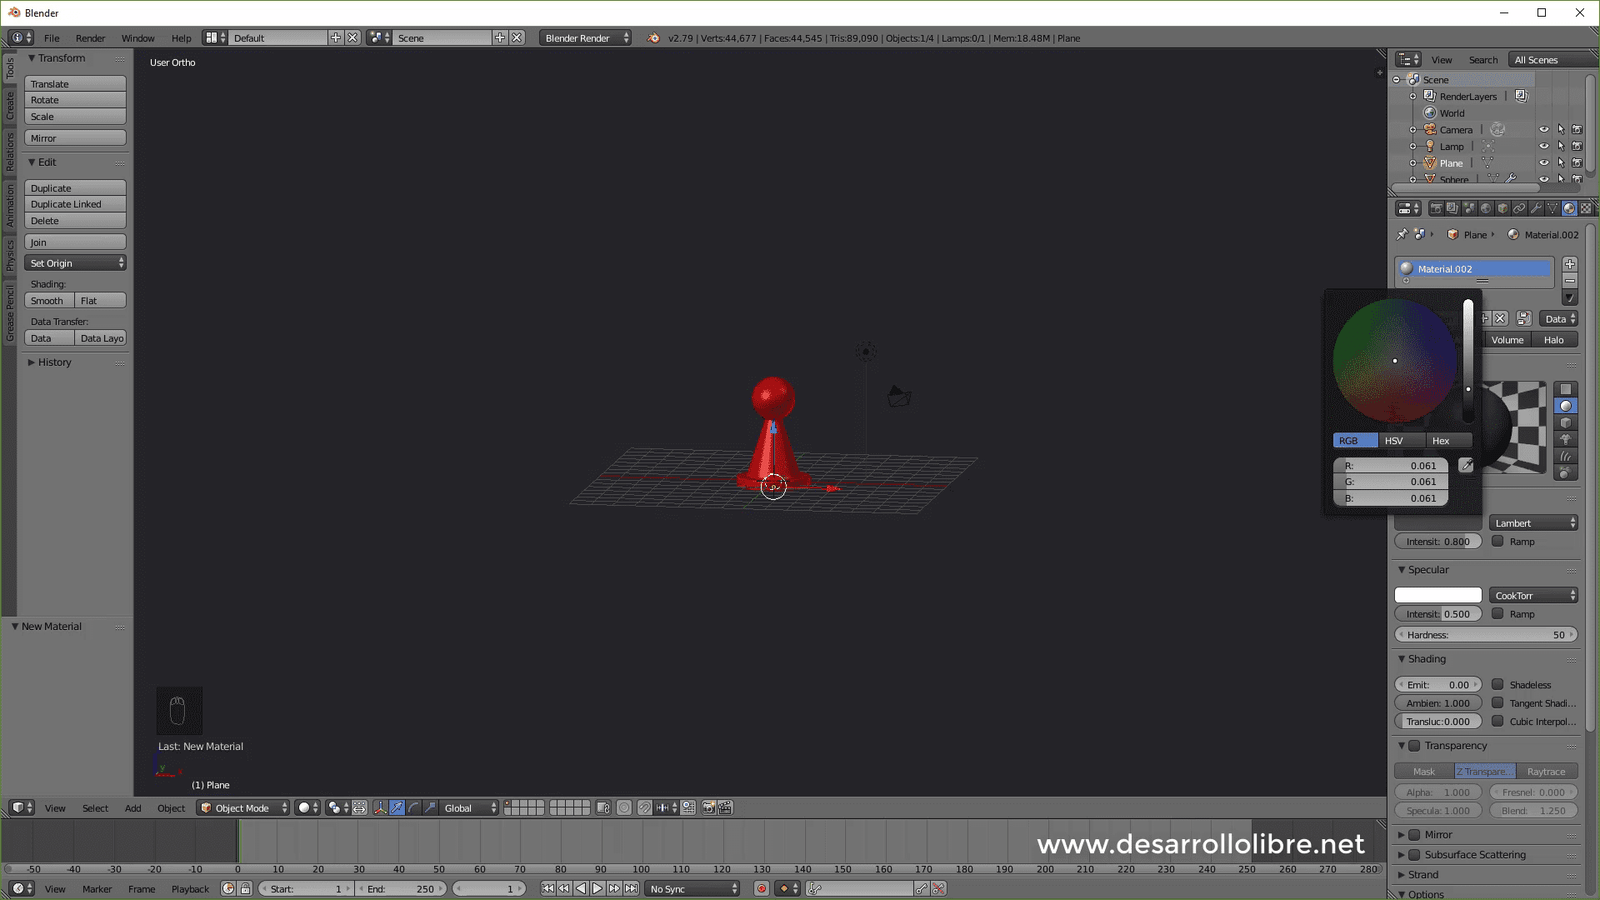
With this we have our pawn ready, we are going to make some more additions to be able to take a render; for that, the first thing we have to do is add a plane, we place it at the bottom of the pawn and scale it with S and then 100 and place a material on it:
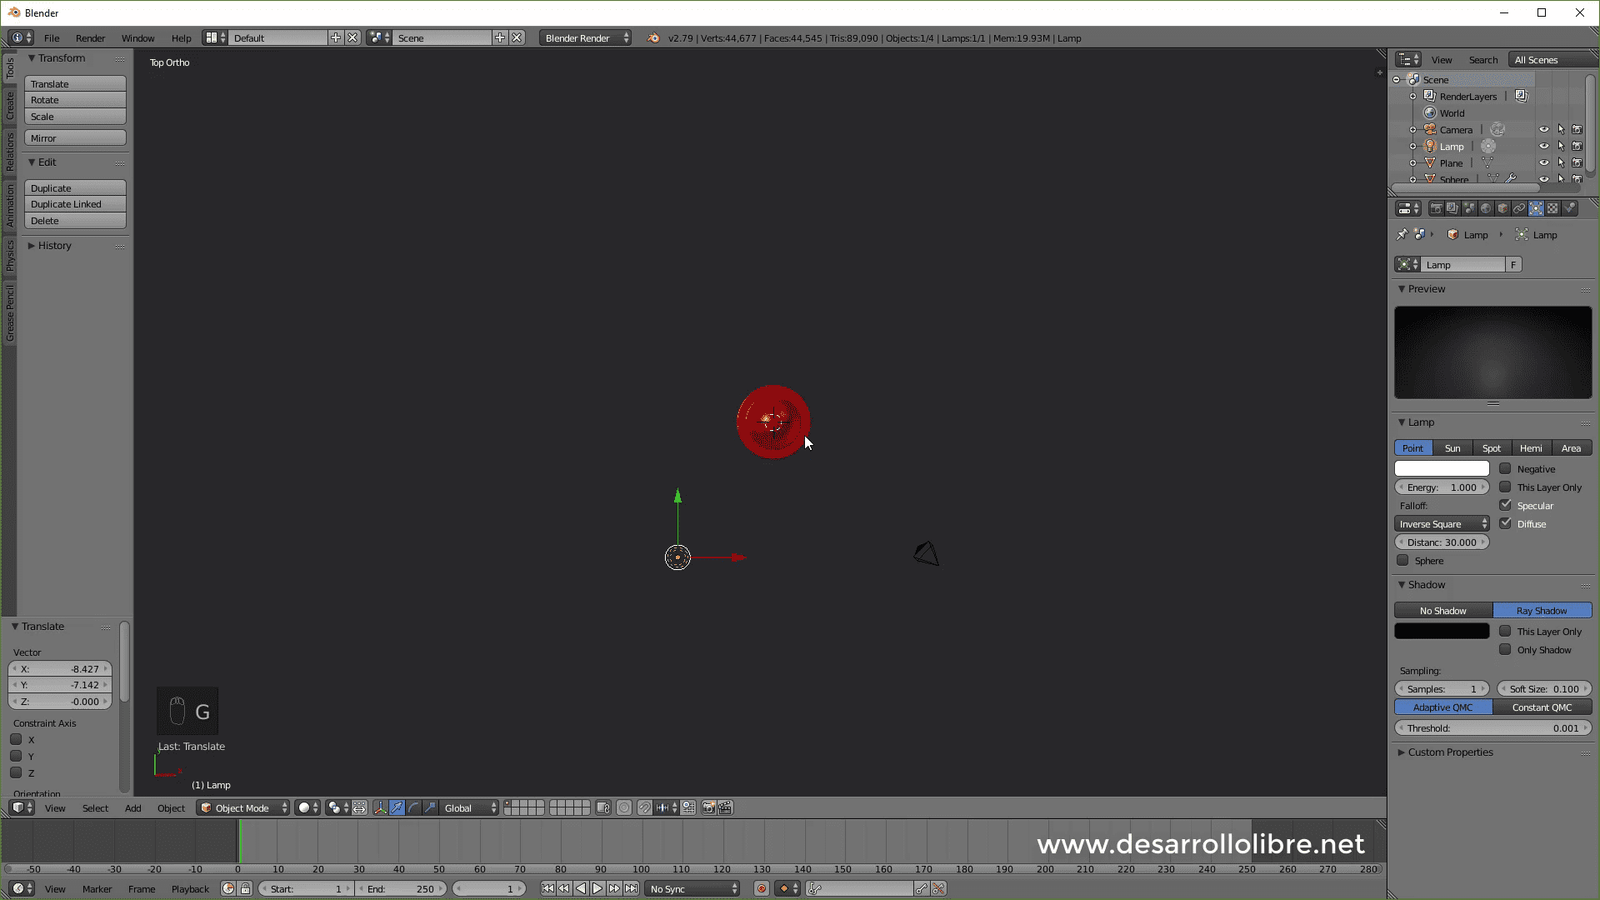
Now we select the lamp and place it as specified in the image and give it 10 energy:
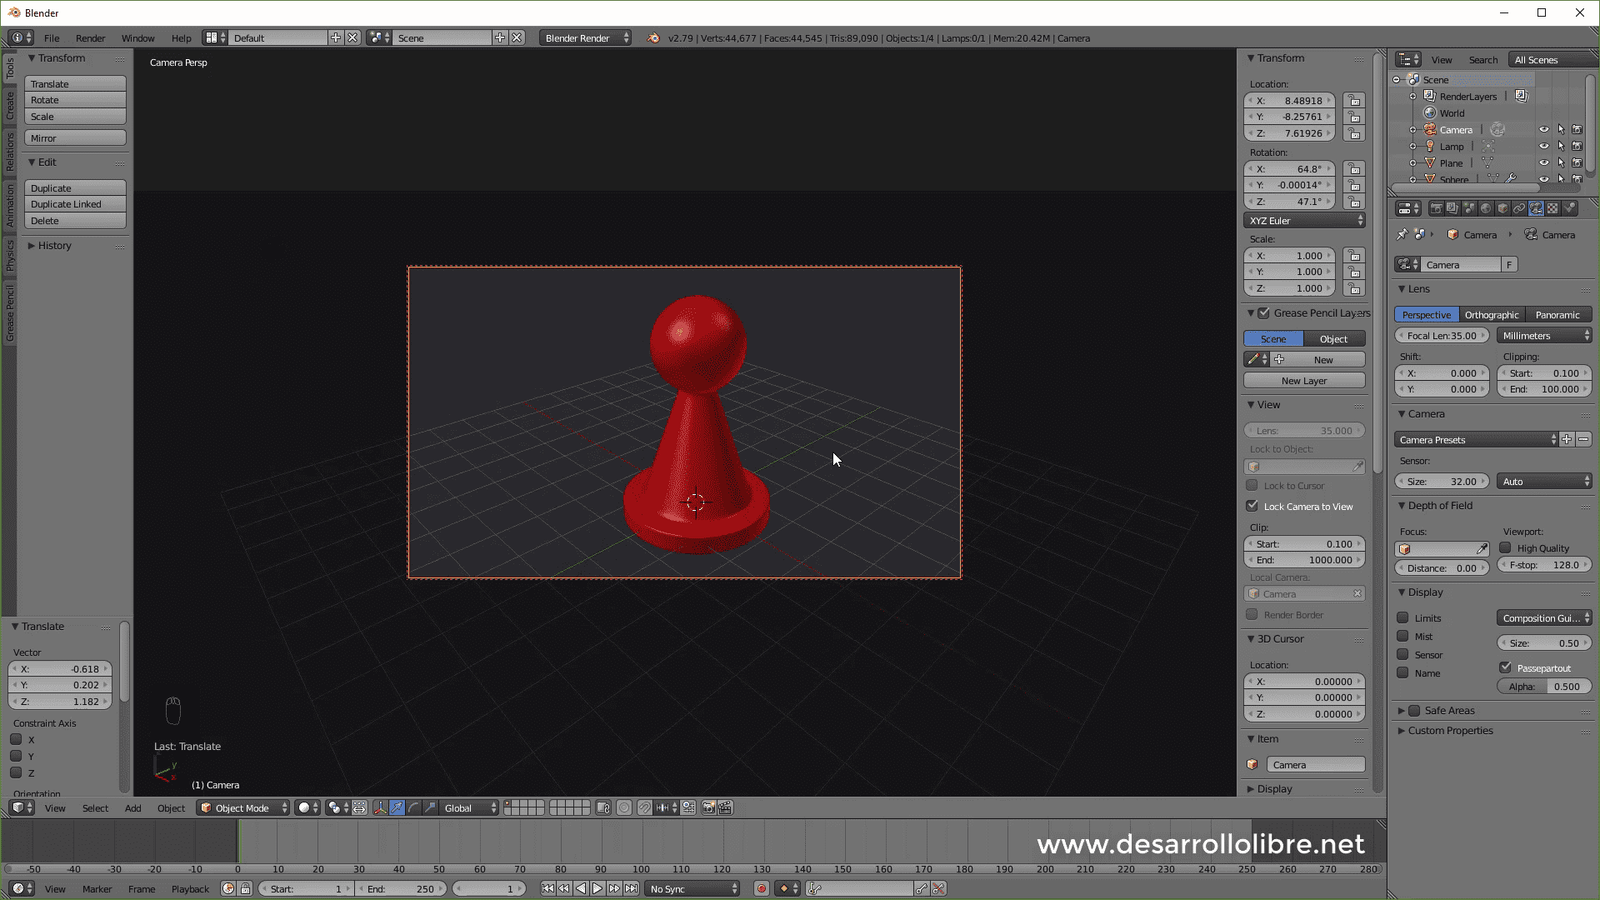
Finally, we select the camera and position it as shown in the image; you can help yourself with the Lock Camera to View option in the panel that appears with N:
And this would be all, you just need to hit render with F12 and we are ready.

Develop with Laravel, Django, Flask, CodeIgniter, HTML5, CSS3, MySQL, JavaScript, Vue, Android, iOS, Flutter