
Content Index
If you are following this series to get started with Blender, this exercise is perfect for practicing mesh manipulation and the use of modifiers.
Previously we saw, "You didn't enable symmetry in Modeling or Sculpting in Blender!" This hidden fix takes seconds.
1. Base preparation
- Cleanup: Select all (A) and delete (X or Delete) the initial objects.
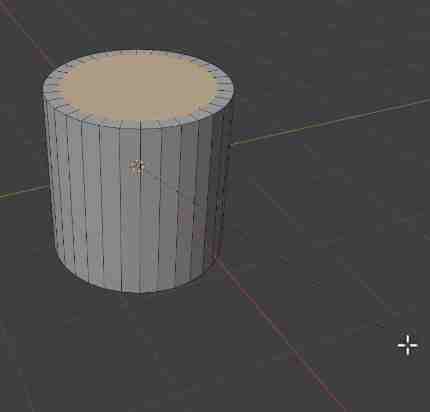
- Create cylinder: Use Shift + A and search for "Cylinder".
- Edit Mode: Press Tab or select the mode from the top panel to edit the geometry.
- Face selection: Switch to face selection mode (3 on your keyboard).
2. Creating thickness and hollowing
- Inset: Select the top face and press I to create an inward inset. If you want thickness at the base as well, you can select both faces (using Shift for multi-selection) and apply I.
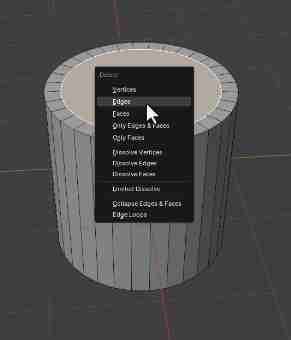
- Delete top face: With the top face selected, press Delete and choose Faces to leave the cup hollow.
3. Modeling the handle
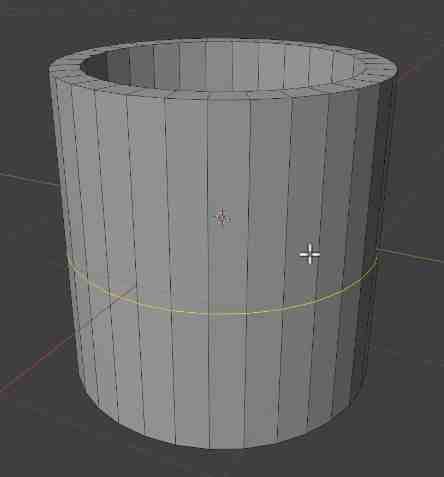
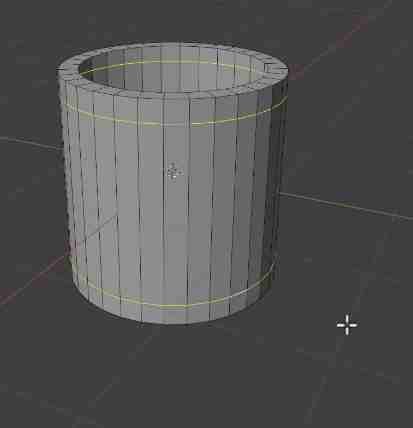
- Cuts: Press Ctrl + R to add a loop cut in the middle. Confirm with Enter.
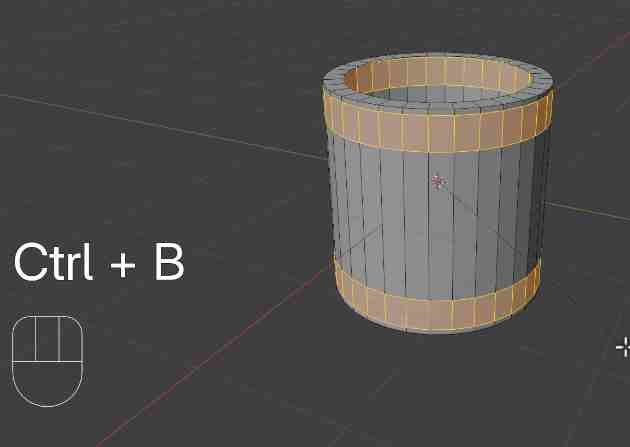
- Bevel: Press Ctrl + B to create the bevel. Adjust the width to define where the handle will be.
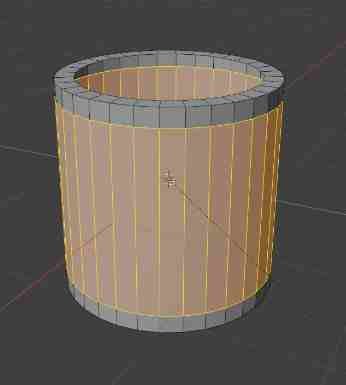
- Loop selection: Use Alt + Click to select the loop of faces. To select both rings (top and bottom) without losing the selection, hold down the Shift key.
- Then, select the loops with Alt + Shift:
- And apply a bevel:
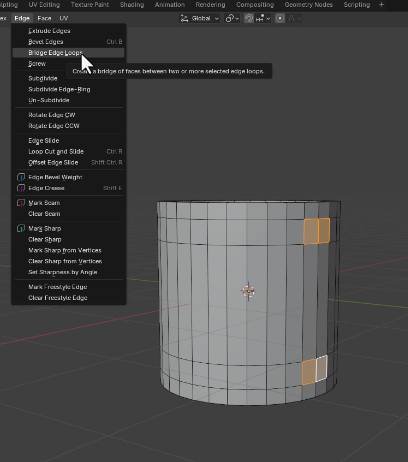
- Create the bridge: Select the two facing faces that will form the handle, go to the Edge menu and choose Bridge Edge Loops:
Then, extrude slightly outward with E:
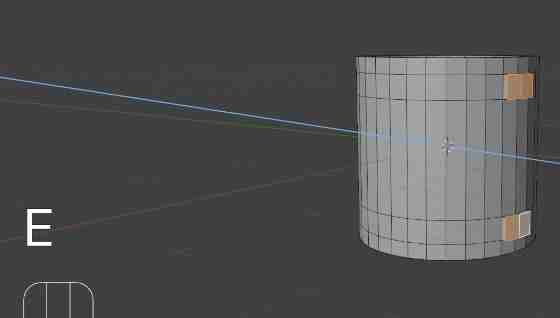
- And increase the amount of cuts:
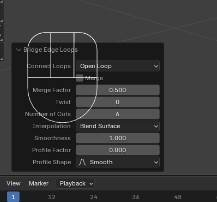
If a pop-up panel appears, adjust the number of cuts and change the interpolation to Blend Surface to achieve a natural, smoothed curve.
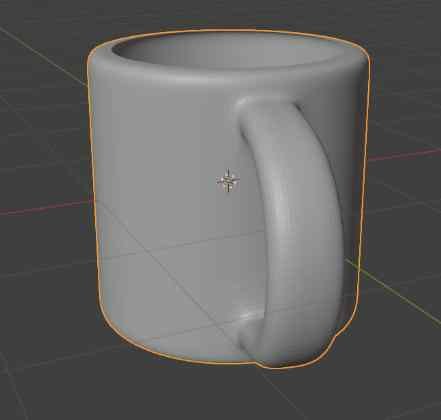
4. Final smoothing
- Object Mode: Exit edit mode (Tab).
- Subdivision Surface: With the cup selected, press Ctrl + 3. This will apply a level 3 Subdivision Surface modifier.
- You can adjust this parameter manually in the Modifiers panel (Generate section), where you can control how much geometry you want to apply based on the desired level of smoothness.
Tip: Remember to save your file frequently (Ctrl + S), as applying the subdivision modifier significantly increases the polygon count.