Content Index
- What x-for and x-if/x-show actually do in Alpine
- Rendering vs. Hiding: x-if vs x-show
-
Why Alpine requires the use of
- x-if vs. x-show: Render Control in Alpine.js
- x-if vs x-show: when to use each one
- 1. x-show: CSS Manipulation
- ️ 2. x-if: DOM Removal
- Rendering cost and practical performance
- Cases where x-show is more efficient
- How to use x-for in Alpine JS
- What x-for is and what it's for in Alpine JS
- Relationship between x-for and a JavaScript forEach
- When is it convenient to use a loop in Alpine instead of pure JS
- Basic x-for syntax with arrays
- The importance of the : why Alpine needs it
- When to use and when not to
- The typical error: placing a
- x-for only supports one root element: explanation and solution
- Best practices for combining x-for and x-if
- Loops, Conditionals and Objects in Alpine.js
- Iterating objects and complex lists with x-for
- Real case: task lists, categories, or posts
- Important rules: root element and unique keys
- Frequently asked questions about using x-for in Alpine JS
- Conclusion
In this article, I'm going to teach you how these two directives actually work, when to use them, when NOT to use them together, and what to do so that your components —especially if you use Livewire— don't bite the dust that is x-if and x-for.
We assume that we know how to use the x-bind directive in Alpine.js.
What x-for and x-if/x-show actually do in Alpine
Rendering vs. Hiding: x-if vs x-show
One thing that almost no one explains well is that x-if doesn't hide anything: it creates and destroys nodes.
When I first tried it, it caught my attention that Alpine "removes" the element from the DOM and re-inserts it when the condition changes. That's why x-if costs more in terms of performance.
In contrast, x-show only plays with CSS, basically display: none, and that's it. Other than that, x-if and x-show are equivalent.
If your element can be in the DOM without problem, x-show is almost always the best option.
Why Alpine requires the use of <template>
Both x-for and x-if require template as a wrapper, and Alpine is quite strict here.
When I tried placing it directly on a <div>, as I would in Vue, Alpine simply doesn't recognize it or does so incompletely.
Think of <template> as the "invisible container" that Alpine needs to internally manipulate the DOM without breaking your structure.
x-if vs. x-show: Render Control in Alpine.js
Now we're going to learn about the x-if directive, which is similar to x-show but with a fundamental performance difference, identical to the one that exists in Vue.
1. x-if Syntax
For x-if to work correctly, just like with x-for, Alpine requires the directive to wrap the content in a <template> tag.
<div x-data="{ open: false }">
<button @click="open=!open">Click!</button>
<span x-show="open">
Content... show
</span>
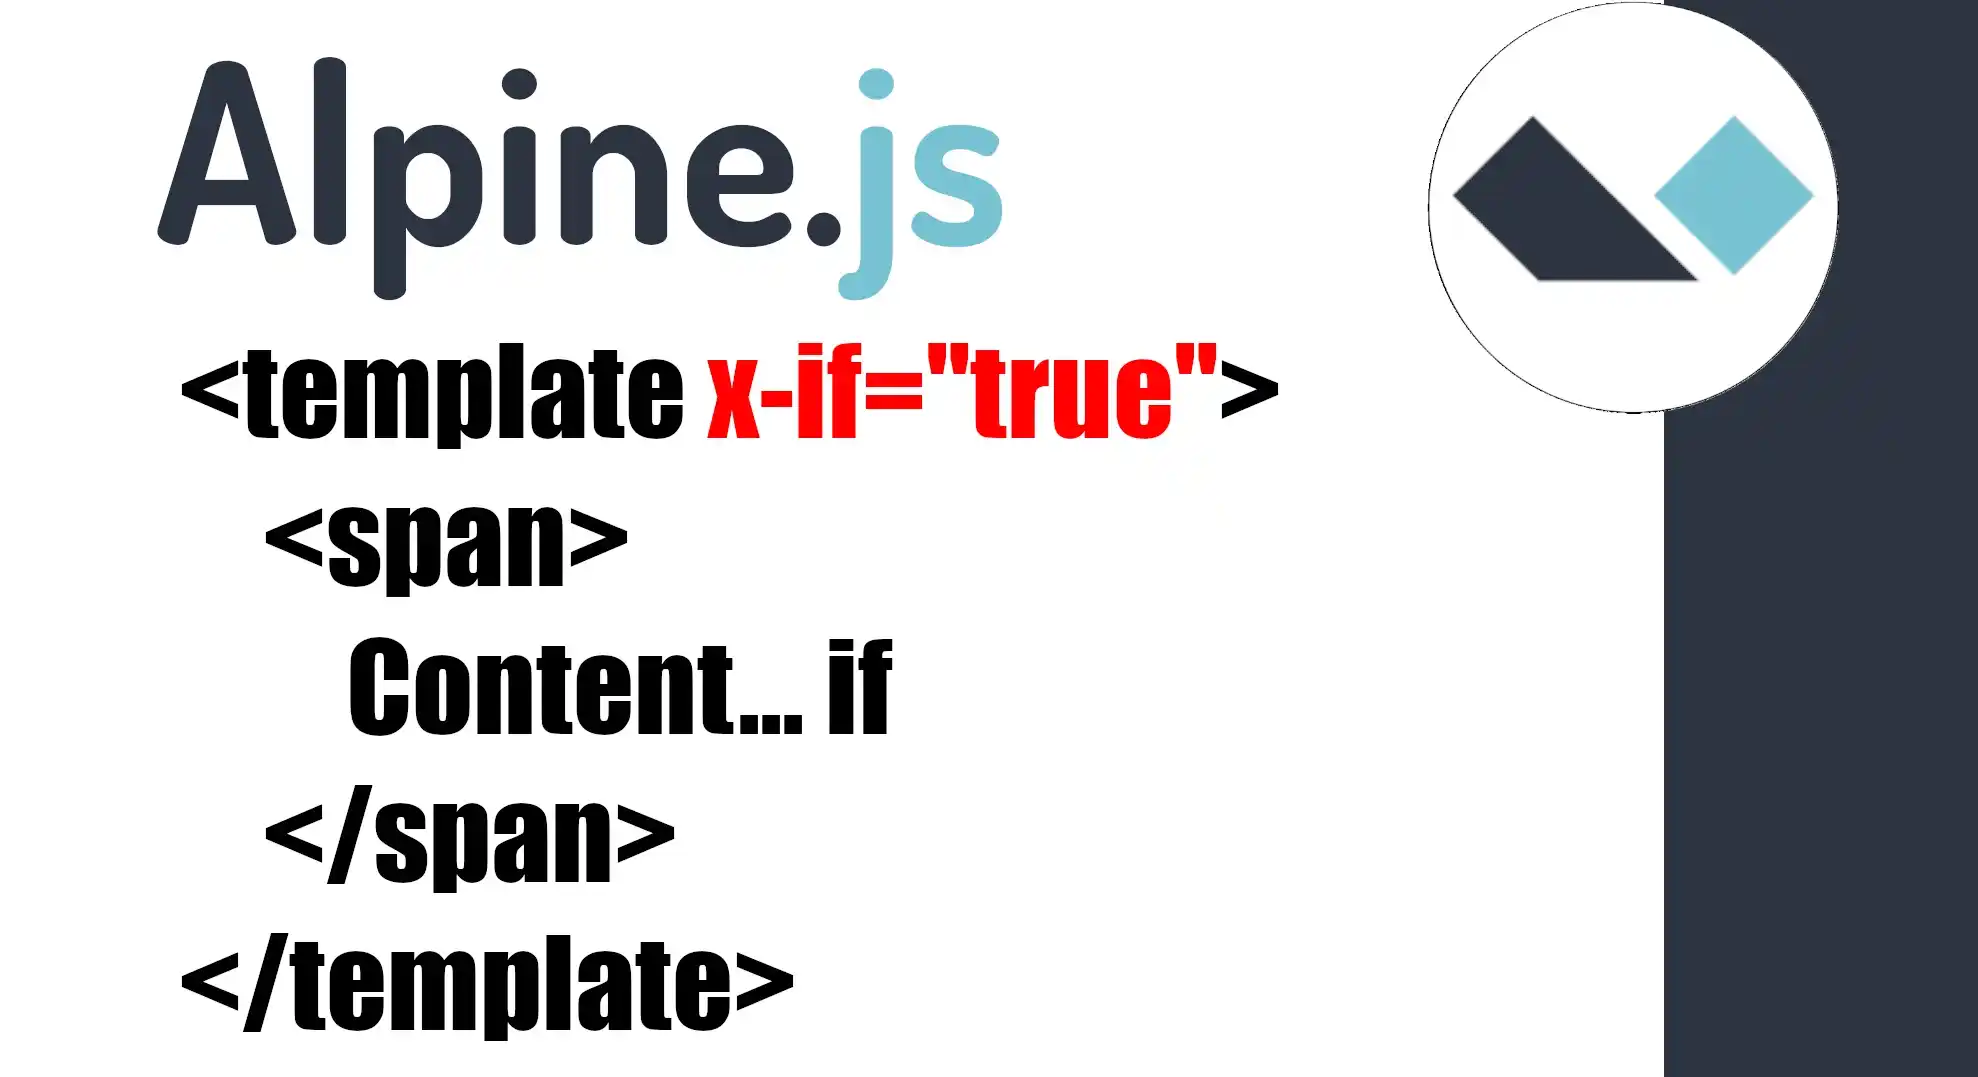
<template x-if="open">
<span>
Content... if
</span>
</template>
</div>x-if vs x-show: when to use each one
- x-show: It is more efficient if the element will be shown and hidden frequently, since the element's initial rendering is costly, but subsequent changes are fast (CSS only).
- x-if: It is more costly because the browser has to re-render the element every time the condition changes to true and unmount it when it is false.
1. x-show: CSS Manipulation
- When the condition (open) is false, the x-show directive simply acts on the element by injecting the CSS style display: none;.
- The element (the <span> with the text "Content... show") remains in the DOM Tree.
- Alpine is hiding it, not removing it. It's as if it were present, but invisible.
- Performance cost: Low, as only one CSS property is manipulated.
️ 2. x-if: DOM Removal
- This is where the fundamental difference lies, since x-if does not hide, but removes or inserts the element in the DOM.
- When open is false: The <span> with "Content... if" is completely removed from the DOM.
- The Template: The <template> tag does not render as a visual element, but is a special tag that Alpine uses internally as a "container" for the content it must manage. When the condition is false, the child <span> does not appear.
- Performance cost: High. Rendering and removing elements from the DOM is more costly than changing a CSS rule.
Rendering cost and practical performance
My basic rule today is:
Situation Use
The element must always exist but only be shown x-show
The element depends entirely on the condition to exist x-if
The condition changes frequently x-show
The condition rarely changes and the content is heavy x-if
In general, x-show is more "gentle," while x-if is more "surgical."
Cases where x-show is more efficient
In real practices —for example when showing/hiding parts of a form— x-show is much better.
But when I need conditionals dependent on another structure (like lists filtered by status), x-if is the correct option.
How to use x-for in Alpine JS
When I started working with Alpine JS, one of the things I used the most from the beginning was x-for, because in practically any component you need to repeat elements on screen. The good thing is that it works very similar to JavaScript's forEach, but integrated directly into the HTML and respecting all of Alpine's reactivity.
The x-for directive is a fundamental feature of reactive frameworks that allows us to create a block of HTML content (a set of tags) based on the size of an array. If we have an array of three elements, we can make each one automatically represent itself, for example, inside a <p> tag.
What x-for is and what it's for in Alpine JS
x-for is the Alpine JS directive that allows you to iterate an array or object and render an HTML block for each element. It is the fastest and cleanest way to create dynamic lists.
Relationship between x-for and a JavaScript forEach
If you are already familiar with a forEach, understanding x-for is almost immediate:
- In JS you loop through the data in the script.
- In Alpine you loop through the data directly in the view.
Personally, when I explain this I always say the same thing: "think of x-for as the classic for loop, but embedded in the HTML."
When is it convenient to use a loop in Alpine instead of pure JS
I use it when:
- I need to render HTML based on reactive data;
- I want to keep the interface clean without manipulating the DOM manually;
- I work with Livewire, because there I am almost always iterating complete objects.
Basic x-for syntax with arrays
The syntax is similar to that of a for-each in JavaScript:
<div x-data="{todos:[ 'Sacar la basura', 'programar un rato', 'durar en el trabajo']}">
   <template x-for="t in todos">
       <p x-text="t"></p>
   </template>
</div>- I define the array within x-data.
- I use <template> as the loop container.
- Inside I put the HTML I want to repeat.
- t represents each element.
The importance of the <template>: why Alpine needs it
- Here comes one of those things that many beginners overlook.
- The <template> is a special HTML tag that DOES NOT render. And Alpine uses it to manipulate the content without contaminating your DOM tree.
- The template acts as an "invisible container." Alpine analyzes it, clones its content, and then creates the visible elements.
When to use <template> and when not to
- Always use it when you are going to use x-for or x-if.
- Avoid it only when the directive is on an element that you need to exist in the DOM.
The typical error: placing a <div> instead of the template
If you do this:
<div x-for="item in items">
<p x-text="item"></p>
</div>It won't work as you expect. Alpine requires <template> when it comes to logical directives.
x-for only supports one root element: explanation and solution
This is one of the most common mistakes I see.
<template x-for="t in todos">
   <p x-text="t"></p>
   <span>No se renderiza</span>
</template>
Here Alpine is going to complain.
Best practices for combining x-for and x-if
Why they shouldn't be on the same node (and what to do instead)
Here I go with something I discovered by banging my head against Alpine more than once:
DO NOT place x-for and x-if on the same element.
- Never.
- Ever.
- Not even on holidays.
If you do this:
<div x-for="t in todos" x-if="t.completed">...Alpine stays in "what do I do now?" mode.
The solution is simple: put the x-if before or after, not together.
I use it like this:
<template x-for="t in todos">
   <template x-if="t.completed">
       <span>Completado</span>
   </template>
</template>
Or like this:
<template x-if="shouldShow">
   <template x-for="t in todos">
Loops, Conditionals and Objects in Alpine.js
I want to show you demonstrably how you can use the x-for directive (the for loop) together with conditionals (x-if) and, especially, how to iterate over objects instead of primitives (texts, integers, etc.).
⚠️ Golden Rule: x-for and x-if
First and most important: if you want to use x-for and x-if together, I advise you not to place them on the same level.If you need a previous condition to show the entire loop, place it in a container that encapsulates the entire x-for. If the condition is internal to each element, place it inside the loop body. They should never be on the same tag.
This is crucial, especially when working with Livewire, since we will always be iterating lists of objects (categories, posts, todo entities) and we will need to apply conditionals (for example, check a checkbox if a todo is completed).
To iterate over a list of objects, the data is defined as an array of objects.
<div
   x-data="{ todos:[ {completed:true, task:'Todo 1'}, {completed:false, task:'Todo 2'}, {completed:true, task:'Todo 3'} ] }">

   <template x-for="t in todos">
       <p>
           <template x-if="t.completed">
               <span>
                   Completed
               </span>
           </template>

           <template x-if="!t.completed">
               <span>
                   Incompleted
               </span>
           </template>

           <span x-text="t.task"></span>
       </p>
   </template>
</div>
This works perfectly... as long as you respect the root element, which is the next point:
- x-for="t in todos": Iterates the todos array, where t is the task object in each cycle.
- x-if="t.completed": Since completed is a boolean value, we can evaluate the condition directly (equivalent to t.completed == true).
Iterating objects and complex lists with x-for
Real case: task lists, categories, or posts
In real applications you rarely iterate strings.
The normal thing is to iterate objects: tasks, categories, posts, users, etc.
When I started working on slightly more real components, I realized that Alpine behaves perfectly with objects as long as you maintain the pattern:
<template x-for="t in todos" :key="t.id">Important rules: root element and unique keys
A very common mistake (and one I made myself more than once) is not giving a single root element to each iteration.
If you do this:
<template x-for="t in todos">
   <p x-text="t.task"></p>
   <span>No se va a renderizar</span>
</template>
Only the first element will be rendered, the rest disappears.
Alpine says it very clearly: a single root element per iteration, such as a <div>, <p>, <li>, etc.
Frequently asked questions about using x-for in Alpine JS
- Why does x-for require a template?
- Because Alpine needs a logical container that doesn't render.
- Can I use x-if and x-for together?
- Yes, but not on the same level.
- What do I do if I need multiple elements inside the loop?
- Encapsulate them in a single root node.
- How do I iterate objects?
- Exactly the same as arrays, but accessing properties inside the loop.
- Can I use x-else in Alpine?
- No. It doesn't exist. It is solved with two x-if directives.
- Can I sort or filter inside x-for?Yes, but it's best to do it in your state, not directly in the markup.
- Does x-if affect performance?
- Yes, because it creates or destroys DOM elements.
- What happens if I don't use template with x-if or x-for?
- Alpine will not execute the directive correctly, or will do so partially.
Conclusion
x-for is one of the most powerful and simple tools in Alpine JS. Once you understand the role of the <template>, the limitations of the root node, and the correct relationship with x-if, you can build complete and reactive interfaces without writing a single extra line of JavaScript.
And if you work with Livewire, even more so: it's a very natural combo for iterating objects and representing states on screen declaratively.
Combining x-for and x-if correctly in Alpine JS is not just a matter of syntax: it has a trick, and Alpine demands order. After breaking some components —and seeing how Alpine did really weird things— I ended up with these rules:
- Never mix x-for and x-if on the same node.
- Always use a single root element.
- x-show to show/hide; x-if to create/destroy.
- template whenever you use x-if or x-for.
- Multiple x-if instead of x-else.
Next step, the use of x-ref in Alpine.