Content Index
- What is x-bind and what is it for
- Main Directives
- ✍️ Basic Syntax: x-bind:attribute and its Shorthand Version (:)
- When to use the shorthand syntax
- Standard HTML Attributes
- Class Binding with x-bind:class
- 1. Basic Syntax (Conditional)
- 2. Applying Multiple Conditional Classes
- Multiple Syntax and Logic
- Dynamic Style Binding with x-bind:style
- 1. Component Definition and Composition
- 2. Implementing Style Binding
- Option A: Classic Concatenation (Using +)
- Option B: Template Literals (Recommended Form)
- Morale
- Quick Comparison with Vue (from my experience)
- Binding Similarities
- Advantages when you don't want to set up a full app
- ⚠️ Common errors using x-bind and how to avoid them
- Practical cases: useful micro-interactions
- ❓ Frequently Asked Questions about x-bind
- Conclusion
When I started working with Alpine.js, installed it, and took the first steps, one of the first things that surprised me was that x-bind works almost the same as in Vue, but within a much smaller, simpler, and faster-to-implement framework. That feeling of "Vue but in miniature" is exactly what makes Alpine perfect when you don't want to set up a complete application just to add specific dynamism to your UI.
In this guide, I will explain with clear examples how x-bind works, when to use it, its shorthand, typical errors, and how it can help you build clean and reactive micro-interactions.
What is x-bind and what is it for
The x-bind directive allows you to bind HTML attributes to the reactive state defined in x-data.
Every time the state changes, Alpine automatically updates the attribute.
Examples of attributes you can bind:
- disabled
- readonly
- value
- id
- class
- style
- any valid HTML attribute
Something I love about Alpine is that it allows you to work with native DOM attributes without the need for complex layers. In Vue, I felt more "structure"; here, on the other hand, everything is direct and very HTML-driven.
Main Directives
If you come from other frameworks, learning Alpine will be very easy. Its main operations are summarized in a few directives:
| Directive | Description |
|---|---|
x-data | Defines the data block (the component). |
x-bind (or :) | Binds attributes (classes, styles, etc.). |
x-on (or @) | Listens for events (like a click). |
x-text / x-html | Displays content or text on the screen. |
x-show / x-if | Shows or hides elements. |
x-for | Iterates over a list of items. |
x-transition | Adds smooth animations to changes. |
✍️ Basic Syntax: x-bind:attribute and its Shorthand Version (:)
Full Syntax
<button x-bind:disabled="isDisabled">Send</button>Shorthand Syntax
<button :disabled="isDisabled">Send</button>Both forms are equivalent.
In my experience, the shorthand syntax : makes you move faster, especially when you come from Vue because the learning curve is almost non-existent.
Next, we'll look at attribute binding; for this, I show you the following example here:
<div x-data="{ woman:false }">
<!-- <button x-bind:disabled="woman==false" @click="woman=false"> -->
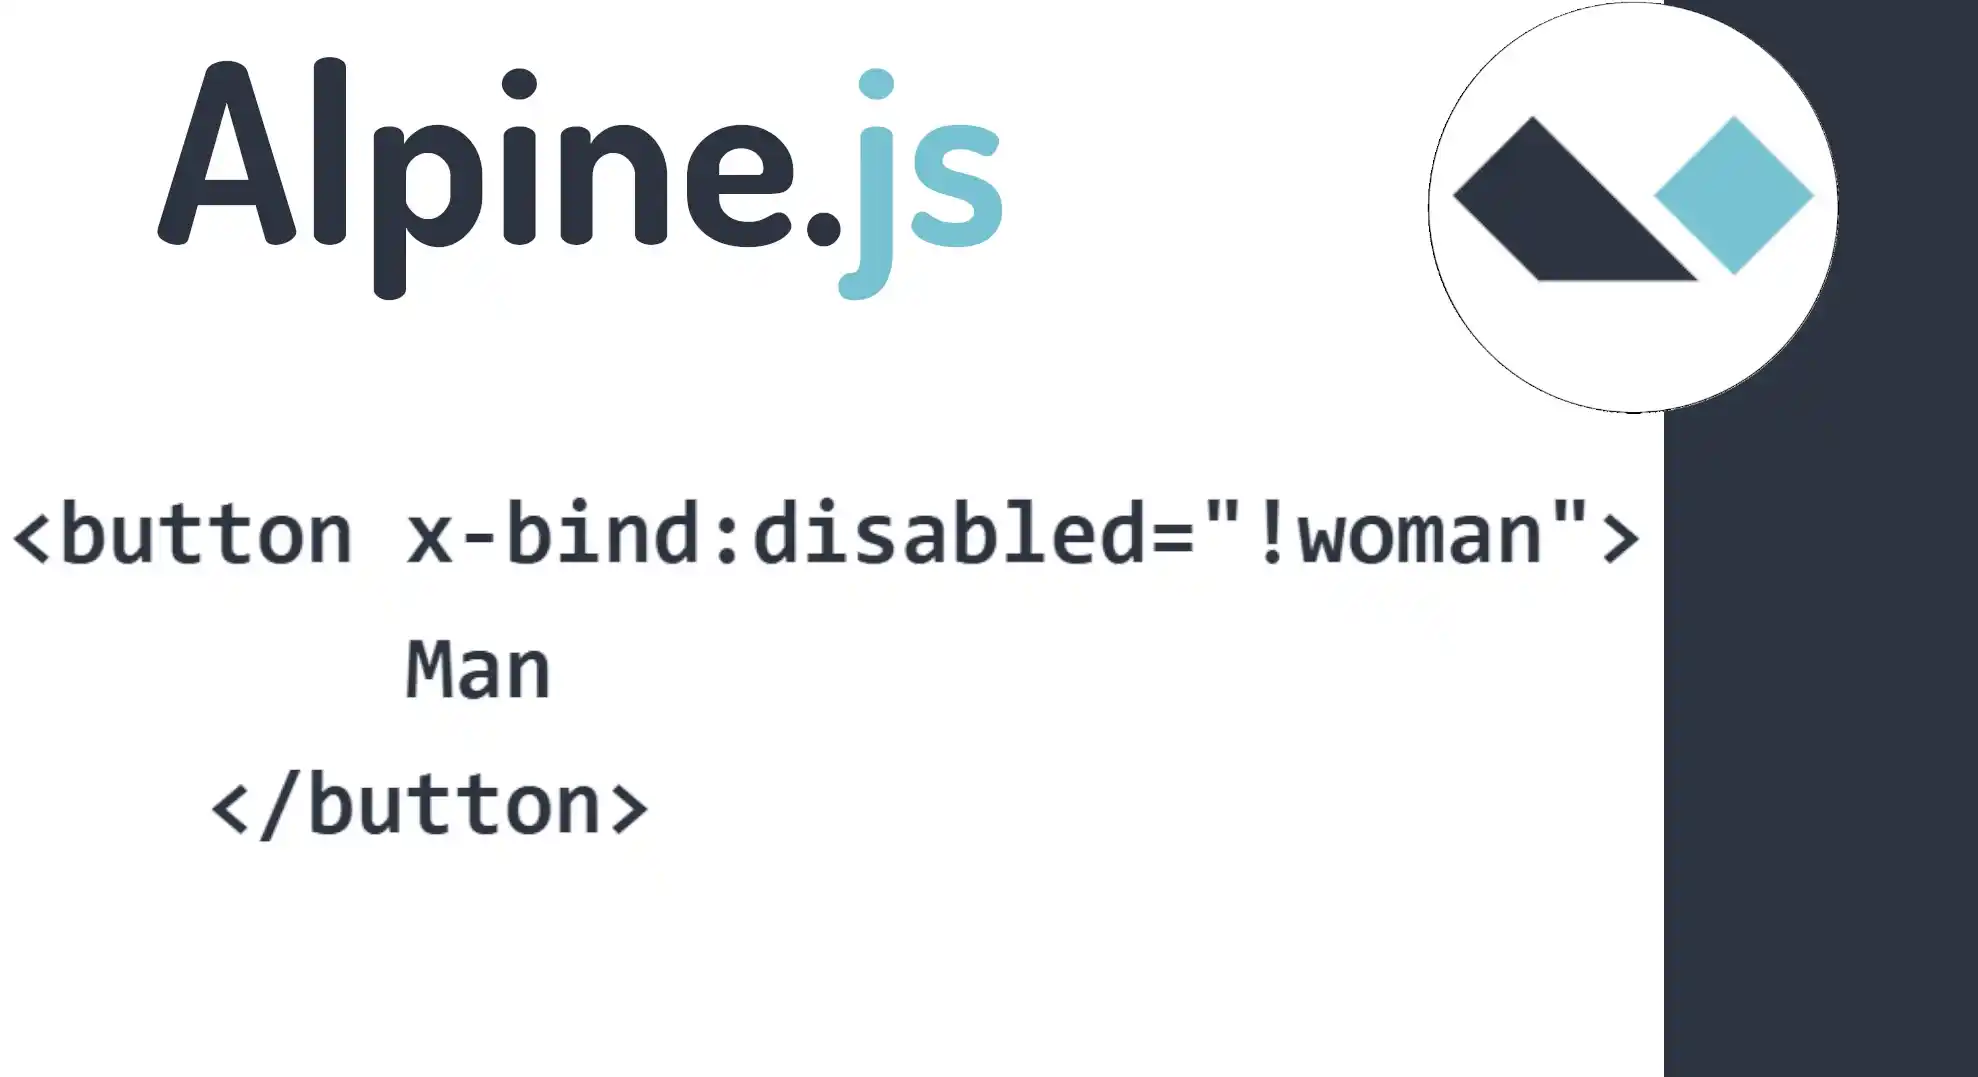
<button x-bind:disabled="!woman" @click="woman=false">
Man
</button>
<!-- <button :disabled="woman==true" @click="woman=true"> -->
<button :disabled="woman" @click="woman=true">
Woman
</button>
</div>Remember that, for the moment, we have worked with custom attributes. That is, they are not part of the native HTML API.
What do I mean by this? Attributes like x-data (and all x-\* directives) are not part of the HTML standard. These only exist in Alpine. If we removed the Alpine import, the x-\* attributes would mean absolutely nothing. They only make sense if we use Alpine (which is what we are doing) or if we were to do a custom JavaScript development to interpret them and perform some action.
When to use the shorthand syntax
- When you already master the idea of binding.
- When you are going to use many attributes and want more compact code.
- When you come from Vue (like me) and it feels natural to write `:disabled` or `:value`.
- When you need to quickly prototype a UI.
Standard HTML Attributes
Of course, in the standard HTML API, we have attributes that we can use. One of them is, for example, the disabled attribute. Everything depends on the HTML element, obviously.
This is a quick review (I assume you already know this), but it's for context: if an element is enabled and we apply `disabled`, notice that it now remains disabled.
Depending on the type of HTML element, we have some attributes or others. For example, in the `input` element, we can also use attributes like `disabled` or `readonly`.
<button :disabled="woman" @click="woman=true"> Woman </button>I'm going to put the variable `woman` here, for example, and initialize it to `true` by default. Then, I will place a button.
We can simulate that by selecting this first button, the user indicates they are a woman, which would enable a specific form or content; we will see this little by little later with conditionals. If not, it would enable the `man` option.
Here is the example of the data structure we would use:
<div x-data="{ woman:false }">
   <!-- <button x-bind:disabled="woman==false" @click="woman=false"> -->
   <button x-bind:disabled="!woman" @click="woman=false">
       Man
   </button>
   <!-- <button :disabled="woman==true" @click="woman=true"> -->
   <button :disabled="woman" @click="woman=true">
       Woman
   </button>
</div>
Class Binding with x-bind:class
Following the same line of reactivity, we are now going to learn about Attribute Binding, specifically Classes. This topic is more interesting because it is not only about a linear true and false condition like the one we had before, but the syntax changes slightly.
The directive we use is x-bind:class (or its shorthand form, :class).
1. Basic Syntax (Conditional)
In Alpine.js, to apply classes conditionally, a JavaScript Object syntax is used within the directive.
Syntax: `{ 'class-to-apply': boolean-expression }`
Logic: The class will be applied if and only if the boolean expression is `true`.
<div x-data="{ mujer: true }">
   <button x-bind:class="{ 'hidden': !mujer }" x-on:click="mujer = false">Hombre</button>
   <button :class="{ 'hidden': mujer }" @click="mujer = true">Mujer</button>
   <p x-text="mujer"></p>
</div>
In the previous example:
- The "Man" button will be hidden ('hidden') if the `mujer` variable is `false` (due to the negation `!mujer`).
- The "Woman" button will be hidden ('hidden') if the `mujer` variable is `true`.
Note on syntax: You can use the full syntax `x-bind:class` or the shorthand `:class`. Although your code editor (Visual Studio Code) might not interpret it correctly in the version you use, both are equivalent in Alpine.
2. Applying Multiple Conditional Classes
If you want to define multiple classes with different conditions, you simply add more key-value pairs (Class: Condition) separated by commas inside the object.
Multiple Syntax and Logic
The following example simulates a component that applies a border class and a background class (bg) based on their respective properties:
<style>
   .box { width: 100px; height: 100px; margin-top: 10px; }
   .border { border: 1px solid black; }
   .bg { background-color: #f0f8ff; } /* Color chillón para demostración */
</style>
<div x-data="{ border: false, bg: false }">
   <button @click="border = !border">Border</button>
   <button @click="bg = !bg">Fondo</button>

   <div class="box" :class="{ 'border': border , 'bg' : bg }"></div>
   <div class="box" :class="{ border, bg }"></div>
</div>
In this case, we define the class name ('border' or 'bg') as the key, and the Alpine property (`border` or `bg`) as the value. If the property is `true`, the class is applied.
Important: The boolean expression for each class is completely independent of the others. You can evaluate another property, a different variable, or the result of a complex function within the same directive.
By inspecting the element, you will be able to see how the `border` or `bg` class is added or removed from the DOM, offering a very powerful layer of stylistic reactivity.
Dynamic Style Binding with x-bind:style
Continuing with attribute work, we are going to learn how to work with the Style attribute in Alpine.js.
As always, the way to create the component is through the x-data directive, where you define your variables. Remember these are simple examples: the idea is that, based on certain conditions (like clicks), properties like border, background color, etc., are changed.
For this exercise, we will define variables in the x-data block that we are going to modify to see the style changes thanks to Alpine's reactivity.
1. Component Definition and Composition
We define the `div` and the initial data. I opted for `border` and background color (`bg`), which are properties that lend themselves well to style binding.
<div x-data="{ border:'1px solid black', bg:'red' }">
   <button @click="border='1px solid black'">Border 1</button>
   <button @click="border='2px solid red'">Border 2</button>
   <p x-text="border"></p> <button @click="bg='red'">bg 1</button>
   <button @click="bg='blue'">bg 2</button>
   <p x-text="bg"></p> <div class="box" :style=" 'border: '+border+'; background:'+bg"></div>
</div>
Reactivity Verification: Initially, it is good practice to verify that the buttons change the value of the variables. The use of x-text in the `
` tags allows us to confirm that the `border` and `bg` values are changing correctly.
2. Implementing Style Binding
For Alpine to evaluate what we are passing as style and make it dynamic, we use the abbreviation :style (equivalent to `x-bind:style`).
The crucial thing here is to respect the structure of the `style` attribute in the HTML API: an inline style definition is defined by `property: value;`, and if there is more than one, they are separated by a semicolon (`;`).
For Alpine to be able to inject our variables (`border` and `bg`), we use JavaScript string concatenation:
Option A: Classic Concatenation (Using +)
This option uses the `+` operator to join fixed text strings with our dynamic variables. It is important to add the semicolon (`;`) and a space if necessary to maintain CSS syntax.
<div class="box" :style=" 'border: '+border+'; background:'+bg"></div>Option B: Template Literals (Recommended Form)
When working with multiple styles or complex concatenations, the recommended way is to use JavaScript Template Literals. They are defined using the backticks (`` ` ``) and variables are injected using the `${variable}` syntax.
<div class="box" :style=" `border: ${border}; background: ${bg};` "></div>Morale
The key when working with x-bind:style is the following:
Respect the HTML/CSS Structure: You must replicate the structure of inline styles: `property: value;`.
Use JS Concatenation: Use JavaScript concatenation syntax (`+` or `${variable}`) to dynamically inject the values of the properties defined in `x-data`.
In both cases, the binding works correctly, allowing the box (`div.box`) to change style reactively every time a button is clicked.
Quick Comparison with Vue (from my experience)
Binding Similarities
- The concept is virtually identical: `attribute = expression`.
- The shorthand with : is the same.
- Reactivity is immediately reflected in the DOM.
The first time I used Alpine I thought: "This is like Vue but without having to set up a whole structure."
Advantages when you don't want to set up a full app
This is where Alpine shines.
I use it when:
- I only need two or three quick interactions.
- I'm working on a static site.
- I want reactivity without build tools or configuration.
- I want to keep HTML clean and direct.
Precisely for these things, Alpine saves me time: it's HTML + a little light magic.
⚠️ Common errors using x-bind and how to avoid them
- ❌ Using long conditions within the attribute
- ✔ Solution: move the logic to the state or to functions.
- ❌ Forgetting that native attributes work the same
- ✔ Remember that Alpine doesn't invent new attributes (except x-\*).
- ❌ Mixing uninitialized state
- ✔ Always define your properties inside x-data.
- ❌ Confusing x-bind with x-model
- ✔ x-bind → attribute
- ✔ x-model → inputs and forms
Practical cases: useful micro-interactions
Dynamic Forms
<div x-data="{ accepted:false }">
  <input type="checkbox" x-model="accepted"> Acepto términos
  <button :disabled="!accepted">Continuar</button>
</div>
Simple UI states without heavy frameworks
<div x-data="{ open:false }">
  <button @click="open = !open">Mostrar menú</button>
  <nav x-show="open">Contenido</nav>
</div>
Precisely for these things Alpine saves me time: it's HTML + a little light magic.
❓ Frequently Asked Questions about x-bind
- What is x-bind in Alpine.js?
- A directive to bind HTML attributes to the reactive state.
- How is it different from Vue?
- In syntax, almost not at all. The difference is in the framework: Alpine does not require components or build.
- Is it mandatory to use the long version?
- No. You can use `:attribute`.
- Can I bind classes and styles?
- Yes, both are supported.
- Are x-bind and x-model the same?
- No. x-model is intended for inputs.
Conclusion
x-bind is probably one of the most important and versatile directives in Alpine.js.
Its simplicity, coupled with its similarity to Vue, makes it a perfect tool when you are looking for lightweight reactivity without heavy frameworks. In my experience, it is the ideal bridge between classic HTML and a modern, dynamic interface without complications.
Now, learn how to use loops and conditionals in Alpine.