Content Index
- 1. What are MCPs and why install them locally
- The Gemini CLI assistant and MCPs
- Differences between local and cloud MCP
- When it's convenient to install MCPs in your environment
- 2. Preparations before installing an MCP in Gemini
- Where to find reliable MCP extensions
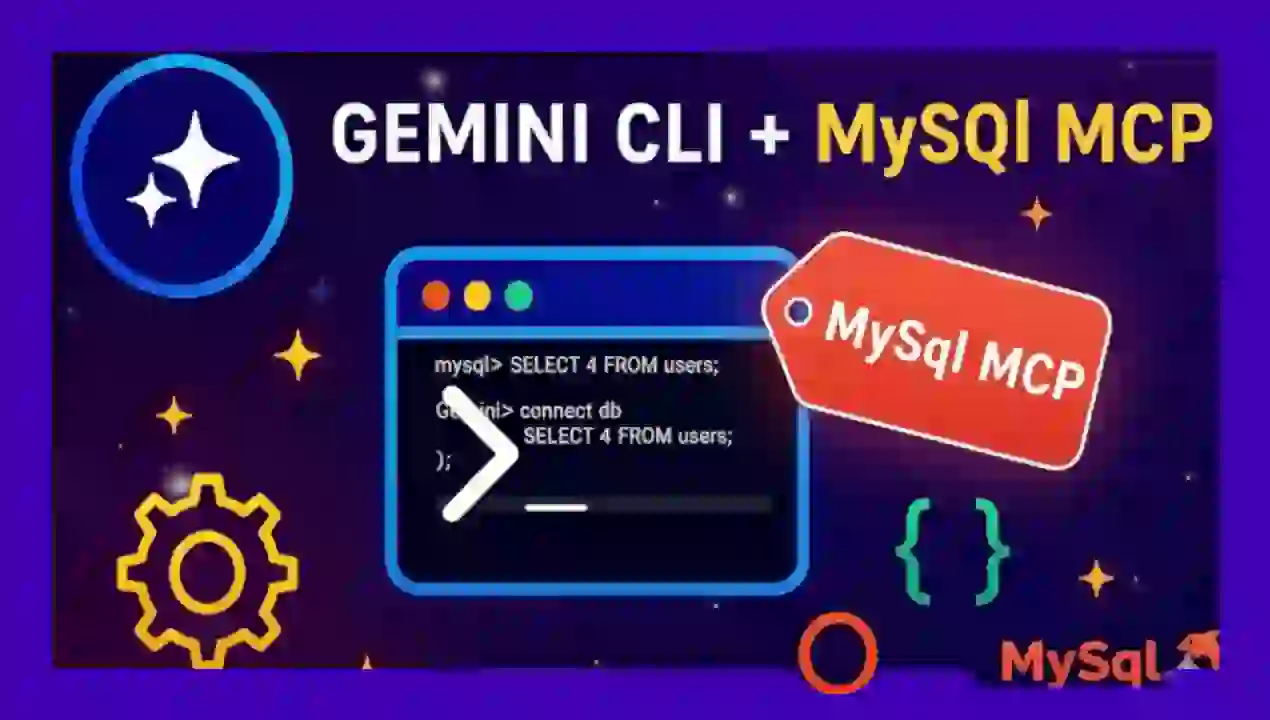
- 3. Step-by-step Installation of the MySQL MCP
- Installation Command
- Installation Verification and First Commands
- 4. Configuration of the .env file and connection to the database
- "Gemini doesn't read the .env"
- 5. First tests and useful prompts for MCP MySQL
- Create a pillar article for my blog
- 6. Real results and benefits of the automated flow
- 7. Common errors and how to solve them
- 8. Conclusions and next steps
- Quick FAQs
Installing and configuring MCPs (Model Context Protocols) locally with Gemini may seem intimidating at first, but once you understand the process, it becomes an extremely powerful tool. In this guide, I'll show you how to do it step-by-step — using MySQL as a real-world example, with tricks, common errors, and practical advice based on my own experience.
1. What are MCPs and why install them locally
MCPs (Model Context Protocols) are extensions or "bridges" that allow Gemini to interact with external data and tools. Essentially, they expand the model's capabilities so it can securely and structurally read, write, or query information.
The Gemini CLI assistant and MCPs
Gemini CLI is the command-line interface that allows you to install and manage these extensions. Thanks to MCPs, Gemini can connect to databases, APIs, or even your own local system.
Differences between local and cloud MCP
A local MCP runs in your own environment. This means greater control and privacy, ideal for developers working with sensitive data or who want to experiment without relying on a remote server.
When it's convenient to install MCPs in your environment
If you work with internal data, automate processes, or want to develop your own MCPs, doing it locally will save you time and headaches.
2. Preparations before installing an MCP in Gemini
Before starting, make sure you have everything you need.
Environment Requirements
- Have Gemini CLI installed and updated.
- Have Node.js and adequate execution permissions.
- Verify that your terminal can execute global commands (npm, gemini, etc.).
Where to find reliable MCP extensions
Extensions are listed on the official Gemini CLI page, in the Extensions section. But beware: not all extensions are active or functional. In my case, I tested several and many didn't even have activity on GitHub:
https://geminicli.com/extensions/
Security Precautions
In my experience, this is critical: AIs have real access to your machine. Don't install MCPs without reviewing the repository, its recent activity, and the permissions it requests.
Always check the repositories, make sure they have a history and everything else, as this is quite important; you have to keep a close eye on it to avoid having a problem or getting your PC messed up, because again, that's the little problem we have with AIs: anyone can inject a prompt, and obviously, you can already guess what can happen, especially with browsers.
On that page, you will find many others that you might find interesting, such as context 7, for obtaining references from the official documentation
3. Step-by-step Installation of the MySQL MCP
For the example, we will use the MySQL MCP, one of the most useful and powerful:
https://github.com/gemini-cli-extensions/mysql
Installation Command
WITHOUT HAVING GEMINI CLI ACTIVE, execute the following command:
gemini extensions install https://github.com/gemini-cli-extensions/mysqlThe example we are going to use is MySQL, which is one of the most interesting. There are versions for cloud use, but the one we are interested in is the one that allows us to connect to a local database.
Once executed, you can verify that everything is correct by starting Gemini CLI and executing:
/mcp
If "MySQL (disconnected)" appears, it means it is installed but not yet configured.
Installation Verification and First Commands
Open Gemini and execute help or mcp. If the MCP appears listed, you are ready to configure it.
4. Configuration of the .env file and connection to the database
Here comes the trickiest part: configuration.
Create and structure the .env file
Create a .env file in the root of your project with the necessary variables:
.env
MYSQL_HOST=localhost
MYSQL_PORT=3306
MYSQL_USER=tu_usuario
MYSQL_PASSWORD=tu_password
MYSQL_DATABASE=tu_base
For example, in my case where I have MySQL installed in a different path:
.env
MYSQL_PATH="C:\Users\andre\AppData\Local\com.tinyapp.DBngin\Binaries\mysql\8.4.2\bin\mysql.exe"
MYSQL_HOST="127.0.0.1"
MYSQL_PORT="3306"
MYSQL_USER="root"
MYSQL_PASSWORD=""
MYSQL_DATABASE="ld"
"Gemini doesn't read the .env"
In my case, Gemini simply ignored the .env at first.
I had to tell it directly, so I told it to read the file:
"Read the .env file to connect."
And it responded: "Perfect, I've read it, from now on I will use it automatically."
Since then, I never had that problem again.
This is part of the interaction I had with Gemini CLI:
✦ I have read the .env file and loaded the following configuration:
   * MYSQL_PATH: C:\Users\andre\AppData\Local\com.tinyapp.DBngin\Binaries\mysql\8.4.2\bin\mysql.exe
   * MYSQL_HOST: 127.0.0.1
   * MYSQL_PORT: 3306
   * MYSQL_USER: root
   * MYSQL_PASSWORD: (vacía)
   * MYSQL_DATABASE: ld
   From now on, I will use this configuration for all database operations.
5. First tests and useful prompts for MCP MySQL
Once connected, you can interact in natural language.
Basic queries, for example:
- "Show me all tables."
- "Bring me the records from the posts table whose category ID is 34."
- "Analyze this table and tell me which columns could be key."
- Adjustment of results and improvement of the prompt
Create a pillar article for my blog
Here comes the most powerful part: leveraging this integration to automatically create pillar articles.
A pillar article is like a master index that strategically organizes all your relevant content.
For example, if I go to my blog and search for "Laravel", the structure is noticeable:
- A main article (pillar)
- And from there, I link to more specific ones
The problem is that doing this manually with 300+ posts is crazy.
So, I take advantage of Gemini + MCP MySQL to analyze my data and automatically prepare the article's skeleton for me.
The first time, Gemini gave me barely 8 links... too poor.
I asked for:
- "Give me more content for each link."
- "Not just the title."
- "Go a little deeper."
And the result was much more complete. Here I understood that the prompt is the new code: the better you formulate it, the better the result.
I'm not saying I'm going to copy and paste without thinking. But I already have 70% done.
And I won't only do this with Laravel, but also with:
- CSS
- JavaScript
- CodeIgniter
- etc.
I have over 300 posts about Laravel. Asking Gemini to organize them manually for me would be madness.
Thanks to the MCP MySQL, Gemini analyzes the posts table and automatically generates a master index-like schema for me.
And here I have it for free.
This is where the best of both worlds mixes:
- The MCP MySQL performs the exact and reliable extraction from the real database.
- Gemini (AI) interprets, structures, summarizes, and gives it pedagogical and strategic meaning.
And if I don't like the result, I simply tell it:
- "Elaborate."
- "More technical."
- "Classify them by levels."
- "That format doesn't work for me, change it to a guide-style section structure."
- Automate queries
With the MCP, Gemini can execute SQL queries without writing a single line manually. Ideal for those who prefer to focus on analysis, not syntax.
6. Real results and benefits of the automated flow
The result is not just technical; it's a revolution in productivity.
Time savings
What used to take me days, I now do in minutes. I can generate structures, indices, and entire article outlines automatically.
Future applications
I plan to replicate it with other categories of my blog: CSS, JavaScript, CodeIgniter... and more.
Integration with my ecosystem
Everything connects with my Academia website, where I have books, courses, and premium content.
Thanks to Gemini + MCP MySQL, I can keep everything updated without wasting time.
7. Common errors and how to solve them
Problem Probable Cause Solution
Gemini doesn't detect the MCP Installation with CLI running Stop Gemini and reinstall
MySQL connection failure Incorrect variables Check .env and port
Gemini ignores .env Misreferenced file Load manually with prompt
Inactive MCP Outdated repository Verify date and activity on GitHub
8. Conclusions and next steps
Installing MCPs locally with Gemini is not just a technical curiosity: it's a brutal productivity tool.
It allows you to connect your real data with Gemini's intelligence to automatically create, analyze, and structure content.
My advice: start with a simple MCP (like MySQL), master the connection, and then explore FastMCP and other more advanced extensions.
Quick FAQs
What exactly is an MCP?
A protocol that allows Gemini to interact with external data or services, such as databases or APIs.
How to install an MCP in Gemini?
With the command gemini extension install mcp-name, preferably with Gemini stopped.
What to do if Gemini doesn't recognize my MCP?
Restart the CLI, check permissions, and make sure the .env is configured correctly.
What is the difference between local and remote MCP?
The local one runs in your environment, the remote one uses external servers (higher latency, less control).