Connect an app in Flutter to the Cloud Firestore database in Firebase

In this post, we are going to see how we can connect a Flutter application to the Firebase platform; specifically to one of the databases that this platform known as Cloud Firestore offers us for free.

About Cloud Firebase

Cloud Firebase is simply an asynchronous database that we can use for different purposes; the excellent thing about this is that the use of this database is linked to a service that will automatically update each time we send or there is a change in the database at the record level; It offers us a very flexible structure to create our databases.

Google Firebase Cloud is a cloud application development platform from Google that provides a wide range of services to help develop and scale mobile and web applications; this includes file hosting, real-time databases, user authentication, cloud storage, user analytics, and mobile notifications. It's especially useful for developers who work on team projects or who need to scale their app to handle a large number of user requests.

Firebase Cloud also offers tools for mobile notifications and advanced user analytics tools that can help you better understand user behavior in your app, helping you improve user experience and retention.

Create project on Firebase web

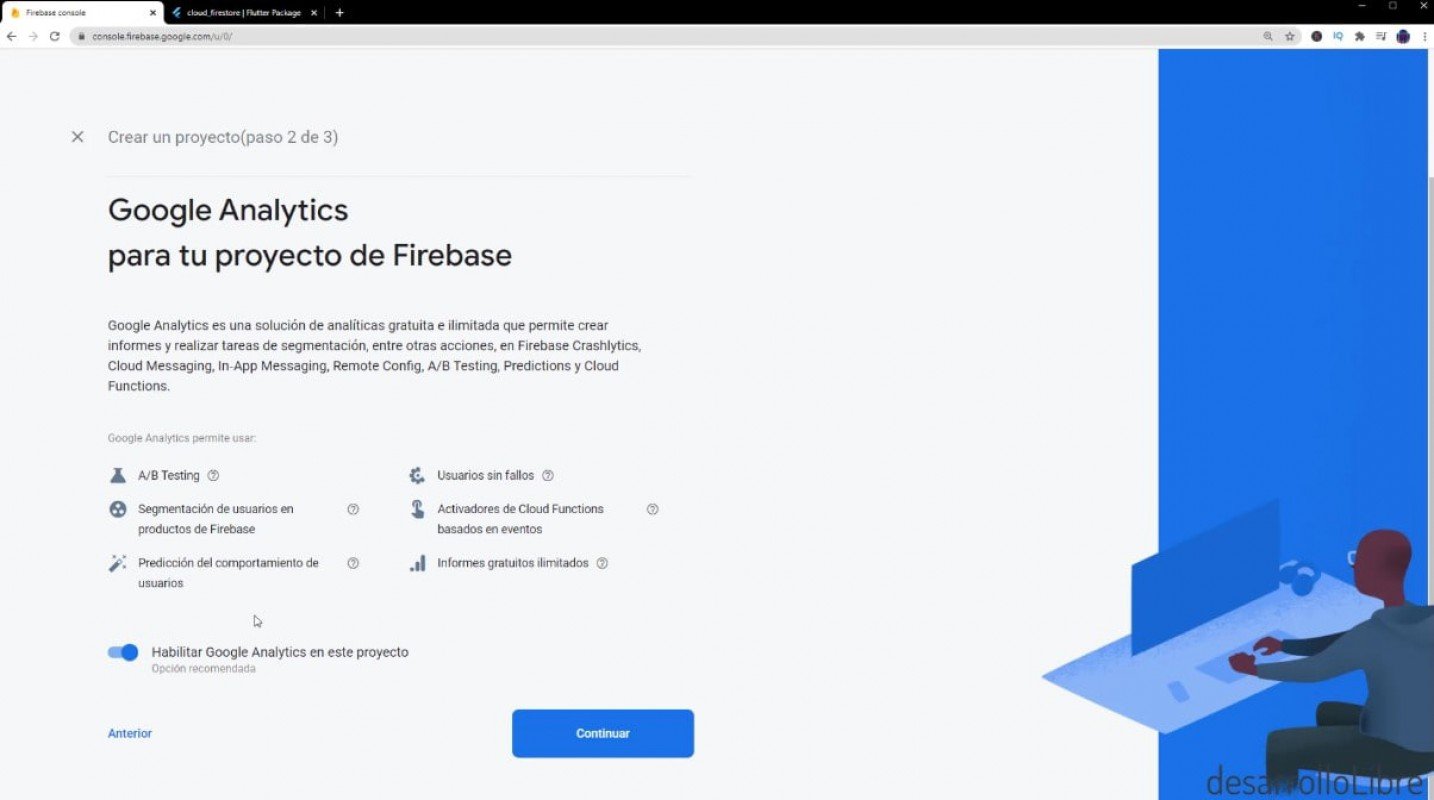
In this block we are going to see how we can create the initial configurations on the Firebase web; we have to go to the official website and create a project in Firebase:
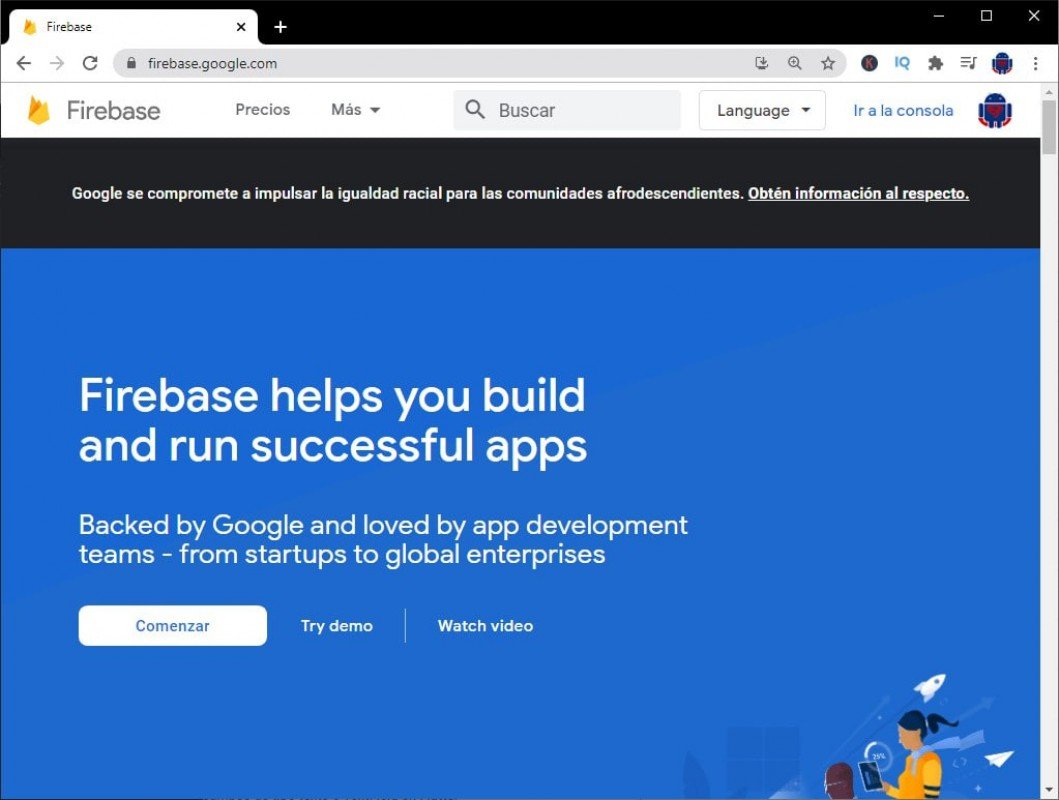
Pagina de Firebase

https://firebase.google.com/

Firebase home page

From here we give Start or go to the console; then a window like the following will be displayed:

Crear proyecto firebase paso 1

We have to define some options, if you want you can leave the statistics or not; it really is an option that we will use in production and therefore at this point it is completely optional.

Crear proyecto firebase paso 2

We will finally see a window like the following, already inside our project:

Firebase proyecto

Here we go from one to create the database and for that in the left panel we go to Cloud Firestore and configure a database in test mode.

We create a database like the following, or however you have it in mind; feel free to add more columns according to your needs.

Base de datos Cloud Firestore

Adapt project in Flutter (Android app)

From the same Firebase website, the main page which they sent us when creating the project, we are going to configure the project in Android, we click on Android and we follow the steps that would be to register the app, the name of the package and little else; remember that in Flutter we can see the name of the package in:

android\app\build.gradle

    defaultConfig {
        applicationId "com.example2.crudflutter"
        ***
    }


Now we are going to return to the Flutter app and we are going to make the configurations at the project level; the same as the official documentation indicates.

We add the dependencies in the Cloud Firestore (pub)

This is the dependency that allows us to communicate with Firebase:

https://pub.dev/packages/cloud_firestore

We add it in our pubspec.yaml:

cloud_firestore:

If you want you can leave the version, and we run the app to know that everything is going ok.

Set up the Android project in Flutter Computer Code

We need to open the Android packaging in the Flutter project and register the json we downloaded earlier; we have to place it in:

Colocar json firebase

Make the initial connection

We need to do some global project settings to initialize Firebase in our project; so in we go to main.js and add the following dependency in our main:

void main() async {
  await Firebase.initializeApp();
  runApp(MyApp());
}

And now we can perform any type of CRUD operations using Firebase and in real time with our application; therefore, every time we make a change to the database from Flutter they will be replicated to the database in Firestore Cloud and vice versa.

CRUD operations on Firestore Cloud using Flutter

All the operations that we are going to use here, logically use the Firebase API that we installed previously; a common feature is that we have to point to the collection on which we want to perform the CRUD operation.

Insert records

For this case we have to use the function called add with the data that we want to insert through a map.

To insert records we have the function:

FirebaseFirestore.instance
                        .collection("notas")
                        .add({
                      'title': titleController.text,
                      'content': contentController.text
                    });

Read records

To read records is a bit more interesting, we can use a StreamBuilder that as we present in the video of:

It allows us to communicate with the database in Firebase in real time; therefore, every time there are changes from the app in Flutter or from the backend in Firebase, the changes will be automatically reflected thanks to the Stream:

StreamBuilder(
          stream: FirebaseFirestore.instance.collection("notas").snapshots(),
          builder: (context, snapshot) {
            if (!snapshot.hasData) {
              return Center(
                child: CircularProgressIndicator(),
              );
            }
 
            List<DocumentSnapshot> docs = snapshot.data.docs;
 
            return Container(
              child: ListView.builder(
                  itemCount: docs.length,
                  itemBuilder: (_, i) {
                    Map<String, dynamic> data = docs[i].data();
                    print(data);
 
                    return ListTile(
                      title: Text(data['title']),
                    );
                  }),
            );
          },
        )

Update records

To update as well as to add a document we use a function but in this case it is the update function instead of the add function; logically, we have to indicate which record or document we want to modify, and for that we use the doc function with the id of the element.

          FirebaseFirestore.instance
                        .collection("notas")
                        .doc('nuqIzxsdwu7Q7q1WCtYa')
                        .update({
                      'title': titleController.text,
                      'content': contentController.text
                    });

Delete records

To delete, we have to indicate the ID of the element to delete and then call the delete function:

           FirebaseFirestore.instance
                        .collection("notas")
                        .doc('nuqIzxsdwu7Q7q1WCtYa')
                        .delete();

Remember that you can watch the following videos to learn how to configure Firebase in the project and learn about CRUD operations:

You can see the rest of the options in more detail in my Flutter course on Youtube in which we create a CRUD and learn various aspects of Flutter.

- Andrés Cruz

En español
Andrés Cruz

Develop with Laravel, Django, Flask, CodeIgniter, HTML5, CSS3, MySQL, JavaScript, Vue, Android, iOS, Flutter

Andrés Cruz In Udemy

I agree to receive announcements of interest about this Blog.