Content Index
If you are new to developing for Android with Kotlin, you have surely used this somewhere in your application code:
println(message)Where message is some message to print to the console. Although this works for quick debugging, it often does not appear in the Android Studio Logcat or gets lost among other system messages. The Android API incorporates the Log class to manage your application's messages in a structured way, and therefore it is what we should use when developing.
What is Logcat?
Logcat is the Android Studio tool where we can see all system and application messages in real time. If you don't have it visible, you can enable it in the bottom tabs of your development environment.
By default, Logcat is very "verbose" (it shows too much information). If you restart the application, you will see hundreds of commands running quickly. For this tool to be useful, we must learn to send our own messages and filter them.
And we already saw the first example of a log with the Snackbar Composable in Android Studio.
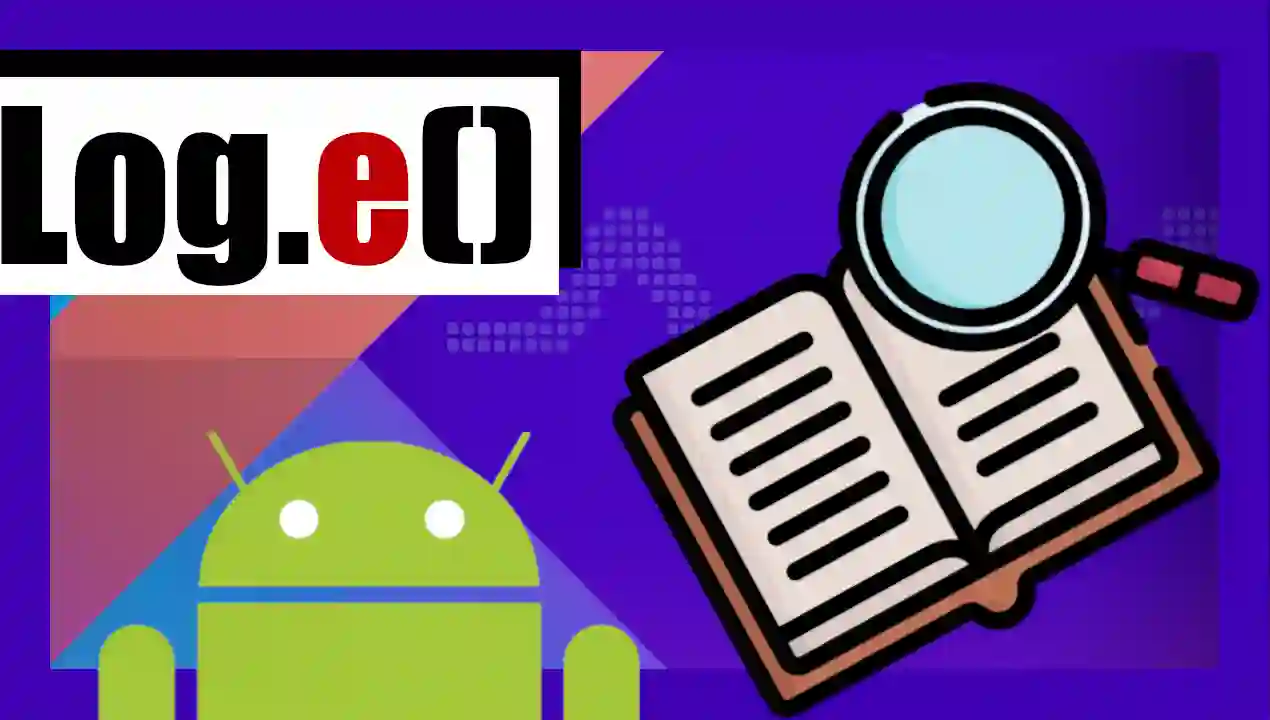
️ Log Structure: Key and Value
To send a message to Logcat, we use a Key (Tag) and Value (Message) structure. For example:
Tag: It is a label (like "myApp") that will help us filter the messages later.
Message: It is the descriptive text of what is happening in the app.
Priority Levels
Depending on the importance of what we want to record, we can classify messages into different levels:
- Log.v (Verbose): Detailed and massive information.
- Log.d (Debug): Messages for us during development (very common).
- Log.i (Info): General informational messages.
- Log.w (Warning): Warnings about potential problems.
- Log.e (Error): Critical errors. They are shown in red.
- Log.wtf (What a Terrible Failure): Exceptional cases that should never occur.
In small applications, it is almost always enough to use Log.d for our tests and Log.e when something fails (for example, if a PayPal integration has problems).
| Method | Constant | Description |
|---|---|---|
| Log.e() | ERROR | This log level should be used when something fatal occurs in the application; in other words, when an error or issues occur, it is usually a good idea to use this level to report them. |
| Log.w() | WARNING | This level should be used when some serious or unexpected change occurs; but it is likely a recoverable state. |
| Log.i() | INFO | This level should be used when dealing with a purely informative event that is not necessarily an error. |
| Log.d() | DEBUG | This level should be used when more detailed information is desired; something relevant that is happening when the application is running on the device. |
Information from the Log Class methods
In Android, all log messages will carry the following information associated with them:
- Date: Time of the log message.
- Criticality: Level of the log message.
- PID.
- Tag: Identifying label of the log message.
- Message: Text of the log message.
Parameters of the Log Class methods
Any of the explained methods receives at least 2 parameters, the tag and the message:
(String) tag: Used to identify the source of the message. It is a good practice to declare it as a constant in your class or file. In Kotlin, you can do it like this:
private const val TAG = "MyScreenTag"A common practice is to use the class name as a tag to easily identify the source of the log.
- (String) msg: The message you want to record.
- (Throwable) tr: The exception you want to record (optional).
To see any of these messages, it is necessary to have the Logcat window enabled in Android Studio. You can find it at:
View >> Tool Windows >> LogcatExamples with Kotlin and Jetpack Compose
Let's look at a practical example in a screen created with Jetpack Compose:
import android.util.Log
import androidx.compose.runtime.Composable
import androidx.compose.runtime.LaunchedEffect

private const val TAG = "MyComposableScreen"

@Composable
fun MyScreen() {
    // LaunchedEffect se usa para ejecutar el bloque solo una vez cuando el composable entra en la composición
    LaunchedEffect(Unit) {
        Log.e(TAG, "Mensaje de error")
        Log.w(TAG, "Mensaje de warning")
        Log.i(TAG, "Mensaje de información")
        Log.d(TAG, "Mensaje de depuración")
    }

    // Resto de la UI de tu pantalla
}
As we can see, we print all the Log Class methods already explained; by looking at the Logcat console in Android Studio, we will see something like this (the appearance may vary slightly with Android Studio versions):

As can be observed, for each message all the information we indicated at the beginning of the article is shown, in addition to being differentiated by a color.
There is a variant for each of the Log Class methods already explained, which consists of adding an extra parameter of type Throwable:
import android.util.Log
import androidx.compose.runtime.Composable
import androidx.compose.runtime.LaunchedEffect

private const val TAG = "MyComposableScreen"

@Composable
fun MyErrorScreen() {
    LaunchedEffect(Unit) {
        try {
            val a = 1 / 0
        } catch (t: Throwable) {
            Log.e(TAG, "Mensaje de error", t)
            Log.w(TAG, "Mensaje de warning", t)
            Log.i(TAG, "Mensaje de información", t)
            Log.d(TAG, "Mensaje de depuración", t)
        }
    }
}
Although the correct way would be to only use the Log.e() method to record exceptions:
import android.util.Log
import androidx.compose.runtime.Composable
import androidx.compose.runtime.LaunchedEffect

private const val TAG = "MyComposableScreen"

@Composable
fun MyCorrectErrorScreen() {
    LaunchedEffect(Unit) {
        try {
            val a = 1 / 0
        } catch (t: Throwable) {
            Log.e(TAG, "Ocurrió un error al dividir", t)
        }
    }
}
If we run the previous code, we will notice that the exception has been added to our trace in Logcat:

Filtering in Logcat
One of the biggest advantages of Logcat is the search bar. If you type your tag (e.g., myApp) in the search bar, the tool will hide all the system "noise" and show you only your messages.
You can also select which device you want to monitor logs on if you have several emulators or phones connected simultaneously.
And that's it! With this tool, we can now test asynchronous functions visually and understand exactly what is happening under the hood of our application.

Conclusions
Using these Logs provided by the Android API translates into a simple but very valuable tool when debugging, recording errors, or informative execution traces of our applications.
The next Composable we are going to see is Bottom Sheets in Android Studio.