
Wordpress is an excellent content management system (CMS) in whose core millions of websites of all types of categories such as Blog, Vlog, online stores, directories, web pages and even custom systems are supported.
Due to its extensibility, ease of use, stability and its great reception by the Wordpress community, it is widely used in all types of systems.
Wordpress has a huge number of plugins and in this post we will see how to install and take the first steps with Wordpress to learn about its administration.
Wordpress is created with PHP along with MySQL and licensed under the GPL.
Installing Wordpress on our server
To install Wordpress we must first get the system which we can download for free from the official website through a tablet:
Once downloaded, we unzip the file, rename the folder (in this guide we call the folder simply wordpress) and copy it to the server.
Creating the Wordpress database
Before starting the installation process, it is recommended that we already have the database that Wordpress will use ready; We go to our database manager or from the MySQL/MariaDB engine itself and create a database that in this case we will call WordPress for obvious reasons; We can also create a custom user for Wordpress but we can use the one we have by default or another.
On our server we enter the 'wordpress' folder (which we renamed when unzipping the file) and rename the following file:
wp-config-sample.phpTo
wp-config.phpWe edit it and change the following configuration parameters:
define('DB_NAME', 'database_name_here');

/** MySQL database username */
define('DB_USER', 'username_here');

/** MySQL database password */
define('DB_PASSWORD', 'password_here');
Once the previous steps have been completed, from our favorite browser we go to the following URL:
http://localhost/wordpress
We will be presented with two forms, one to enter the language of the installation and another to enter our account information and the name of the site:
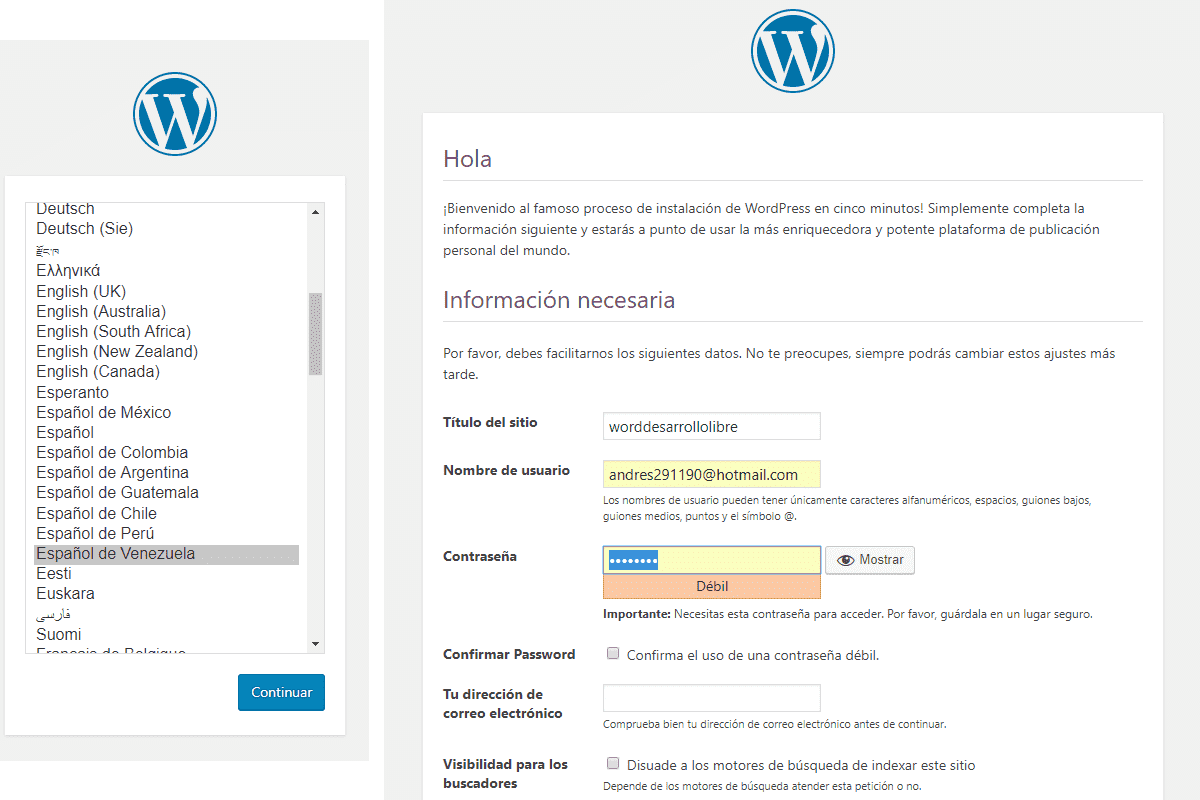
With this we have our own version of Wordpress running on our server.
Wordpress Quick Guide
Administration and publishing area in Wordpress
Wordpress has two default areas; the public area that we access with the base url that we defined at the beginning:
localhost/wordpress
This area by default is open to all types of users and is our website itself; The other area is the administration area, which we access by default with the following URL:
localhost/wordpress/wp-admin
This area is the Wordpress administration center and allows us to edit each of the remaining sections of Wordpress; Here we can manage users, roles, comments, site customization through plugins, widgets, themes and much more.
The first screen we will see in our administration area is a kind of welcome screen with the following message:

Where we see several actions to start working on our website, customize the template, information about WordPress, etc.
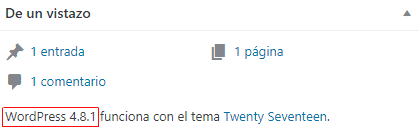
From here (the main Wordpress page) we can perform several quick actions and have basic information about Wordpress; like the version we are using:
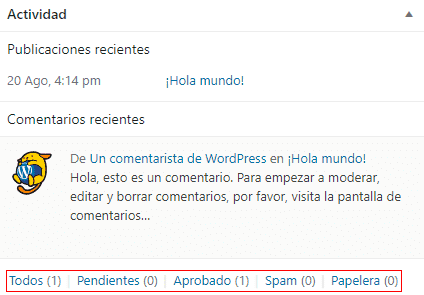
Moderate recent comments:
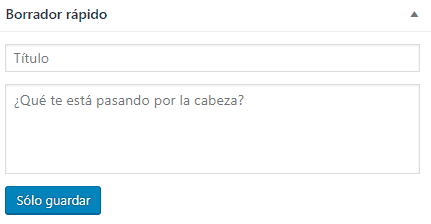
Add drafts of any ideas that are crossing our minds:
In the header we see the toolbar, which, as in the case of many other systems such as Prestashop, allows us some quick actions for the main screen whose content and functions vary depending on where we are:

There is also a button with options for the main screen we have to define which boxes we want to see or not:

Navigating between the different manageable sections
If we go to the right side of our Wordpress, we will see the side navigation bar that we can divide into 3 sections.
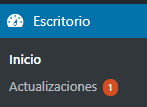
The start along with the updates that we have pending/available:
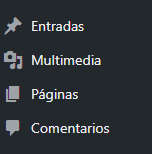
Another block that we have allows us to create entries, manage comments, insert videos, which in short means the section that allows us to manage the content of the website:
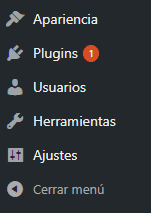
The last block which is the function area; from there we can change the appearance of our site (Theme, background, widget, etc.), plugins, users, etc.:
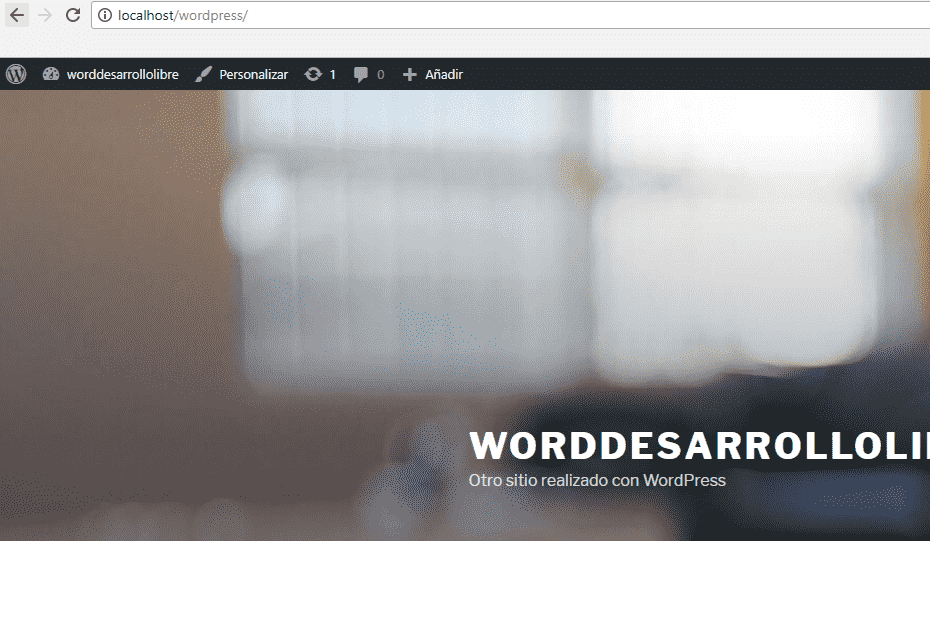
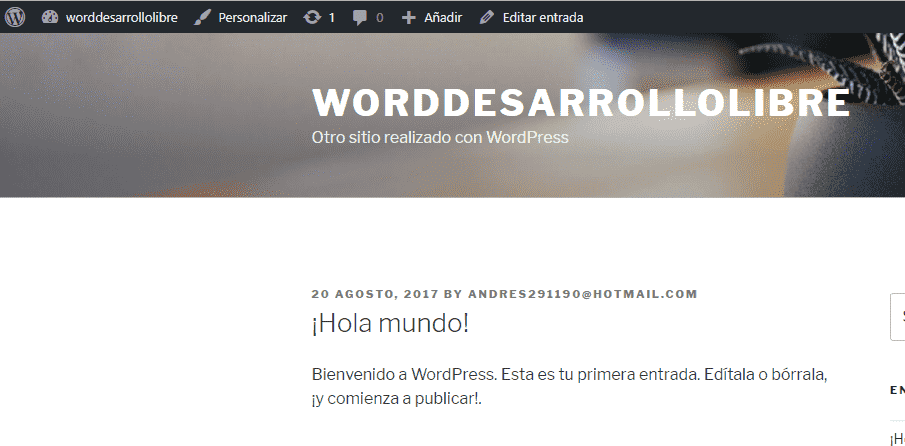
Public area of our website
The public area (http://localhost/wordpress/) has quick access to the administration area and adding new entries.
Even located in the public area of our website, if we go to an entry that we have created by default, we will see that the toolbar undergoes a slight change -edit the current entry-; this is a common feature in this type of system that allows us to quickly manage the section we are viewing with the options - which vary - in the toolbar.
If we click on "Edit entry" we will see that it takes us to the administrator area and the toolbar changes again and among several options we have to see the entry again in the public area of our website.
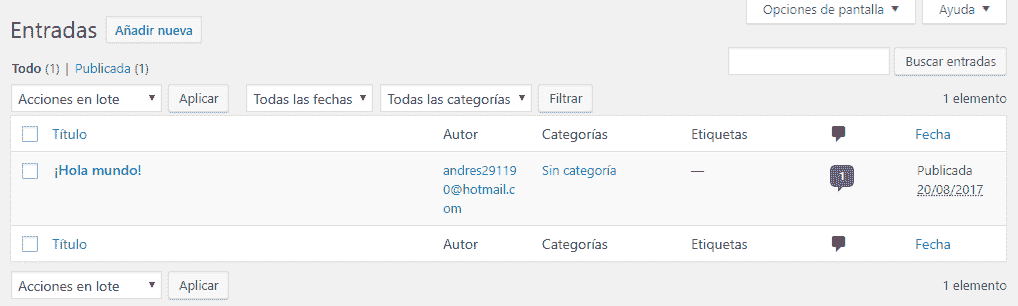
Área de entradas
Back in our administration area, we see that Wordpress has a posts section, which is the heart of our website and is where we will generally have the content of our site, from here we can manage our posts or main content of our site; For example, if our Wordpress site is a blog, here we record each of our POSTs; By entering "All entries" we will see the typical administrative table that we can filter by categories, dates and order by author, categories and other sections:
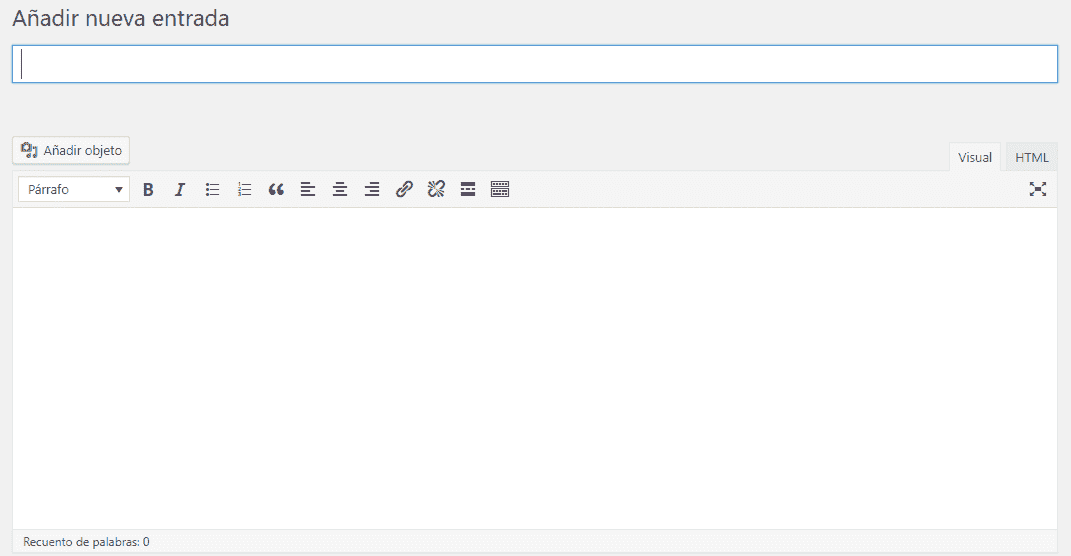
When we click on "Add new", we can create entries; through a form that is made up of two sections:
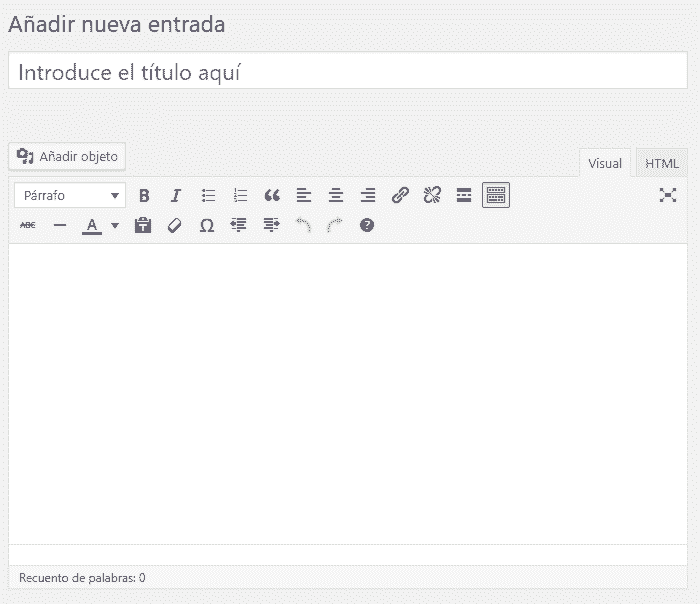
A title and a WYSIWYG rich text content that is a kind of mini word processor in Wordpress and this is where we enter our content.
User Section
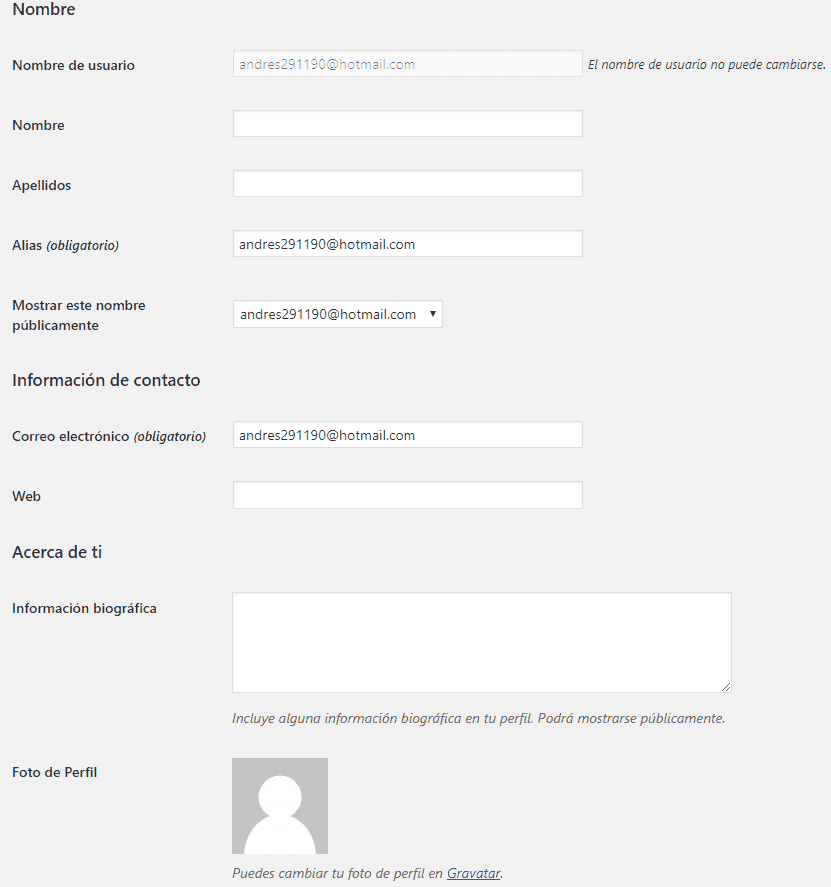
The users section that we can access from the main menu (Users -> your profile); from here we can create other users with profiles associated with the function that this user would have on the web, etc.; and from the option an option that says:
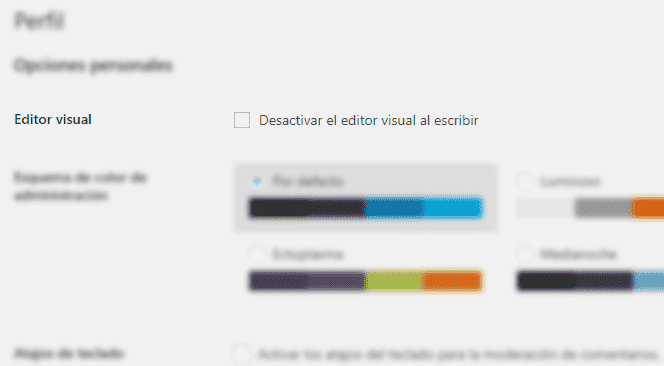
We can indicate if we want (or not the HTML display option of the WYSIWYG plugin that Wordpress has by default in the create posts section).
In addition to other already basic options to add basic information about our person such as name, surname, etc.
Appearance Section
From this section/option we can change the theme of our Wordpress from the "Themes" option, change some colors, positions, etc. quickly among other elements.
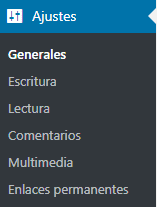
Global Settings: Adjust option
From the adjustment tab we can make changes in multiple lines such as the name, slogan, interaction with the content, comments, writing, etc.; from setting -> general:
We can modify the site name and description that are elements visible from the public area; we also have the configuration of the URLs that we must be careful if the URLs point to localhost and not a domain itself; That said, we also have the email configuration that, as the field indicates, is purely for administrative purposes and has nothing to do with the email of our administrator user, options such as avoiding/allowing registration on the sites (this already depends on the purpose of our site ).
Another interesting option is the "Default profile for new users" that allows you to indicate how the interaction of the new users to be created with our site will be; If they will be able to edit content on our website, etc.:
User types in WordPress
Among other options that we see in said section.
The next option we have are the Writing Settings:
Writing Mode (option)
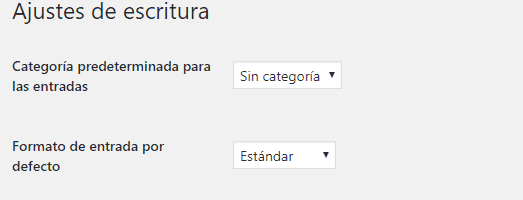
This option allows you to indicate the format of the text, for example allowing (or not) emoticons in image format and/or allowing Wordpress to automatically correct our HTML content.
Reading Mode (option)
The Wordpress reading module allows us to indicate the display format of the main page; that is, if we want you to list our entries from newest to oldest or place a static page:
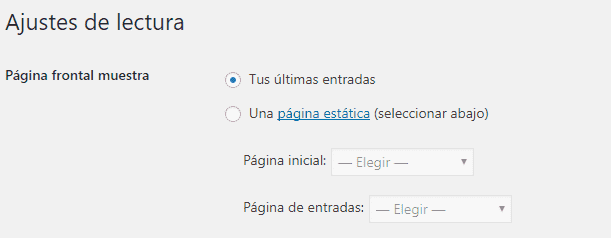
In addition to other options that allow you to indicate the maximum values to be displayed for the entries and feed.
Comments
The comments section is the most complete view we have so far due to the large number of options presented to us; among the most interesting we have, in the Other comment settings section, indicate the data so that a user can make a comment (name and email) on an entry, or if the user must be authenticated, if we want to close the comments (which users cannot comment on entries) after a certain number of days, etc.
There are also some options that allow us to indicate whether comments should appear automatically or they should wait for moderation and if they appear automatically, we can add moderation lists indicating keywords, IPs, etc.
Regarding avatars, we can indicate if we want to show avatars and the default avatar for our site.
Conclusion
In this entry we saw several elements that are necessary to know in order to work and begin to understand Wordpress; we touched on several basic elements and others we only mentioned due to their great simplicity and easy interpretation. In subsequent posts we will work with other sections in Wordpress and we will go into depth about those already seen where necessary.
I agree to receive announcements of interest about this Blog.
We talk a little about Wordpress, we show how to install it and we give an introduction to each of the most important sections of the system.