Getting started with Adobe PhoneGap on Windows and Android for developing hybrid apps
- Andrés Cruz

Adobe PhoneGap is a framework for mobile applications owned by Adobe with which we can use web tools such as HTML, CSS and JavaScript along with its entire ecosystem to create hybrid level applications, which, although not native to Android, IOS and Windows Phone (since they are web pages rendered for example with Webview as in the case of Android) are not web applications either since they are packaged for each Operating System (apk in the case of Android) from a processor on the Adobe platform.
In this tutorial we will see a simple introduction to this hybrid application development framework, we will see how to install the Adobe PhoneGap Windows development environment, its mobile installer which is available for IOS, Windows Phone and of course Android.
As we have mentioned before, PhoneGap allows us to encapsulate an application developed in web technologies; understand HTML5, JavaScript and CSS3 is a native app, encapsulating this web module within another layer that allows you to use the benefits of native applications, such as uploading them to the Android or iOS application store and this is what a hybrid application consists of.
So, in short we have a web application developed with HTML5, CSS3 and JavaScript encapsulated with PhoneGap, we can connect to servers through AJAX and any other technology and from the backend (PHP, Java, etc.) do what we have to do and bring us all this data and apply the logic we want to it.
Apart from this, PhoneGap has certain features that allow us to use other functionalities of the framework such as:
- Camera: access to the device's camera and gallery.
- Battery Status: View the status and query of the battery.
- Contacts: View, create and modify contacts on the device.
- Device: Device information.
- Device Orientation: Device compass.
- Device Motion: Device accelerometer.
- Geolocation: GPS position query
- Globalization: Location of the device.
- Dialogs: Create notifications in the form of dialogs.
- FileSystem: Device file system.
- File Transfer: Support for downloading and uploading files or archives
- Media: Recording and playback of files.
- Media Capture: Capture media files using pre-installed applications.
- Network Information: Information about the device connection status: Wifi, 3G, etc.
- Vibration: Device vibration.
Although we can use it via HTML5, when using a framework like PhoneGap we do not have to worry about the support of said feature.
PhoneGap vs Apache Cordova
Before starting, I consider it crucial to know the difference between these two technologies, which although they may seem the same, they are actually not.
PhoneGap was developed as free software by a company called Nitobi in 2009 and in 2011 Adobe acquired the company that developed this technology and therefore the software as such; Being a well-received technology, Adobe kept this branch of the software as free code, but they developed another branch with the same code called Apache Cordova and it offers a plus of services that are private to perform other tasks such as compiling the app. so that it runs on iOS without the need to have a Mac.
Installing the PhoneGap application on Windows/desktop
Once all this information has been explained, which is important for you to know how it works and what this framework consists of, we are going to get down to business and start installing PhoneGap and then create our app.
The steps to install Adobe PhoneGap are very well indicated on the official Adobe PhoneGap page in Get Started; First we must install the Adobe PhoneGap development environment for Mac or Windows, for Windows which is a simple exe that practically installs itself like everything else in Windows.
We can even install Adobe PhoneGap via Node.js if you prefer and we get the possibility of installing more components via the same Node.js
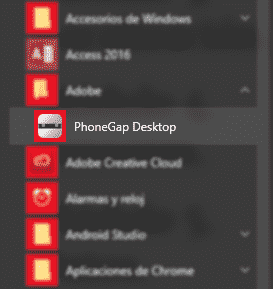
Once Adobe PhoneGap is installed on our desktop, we run the application:
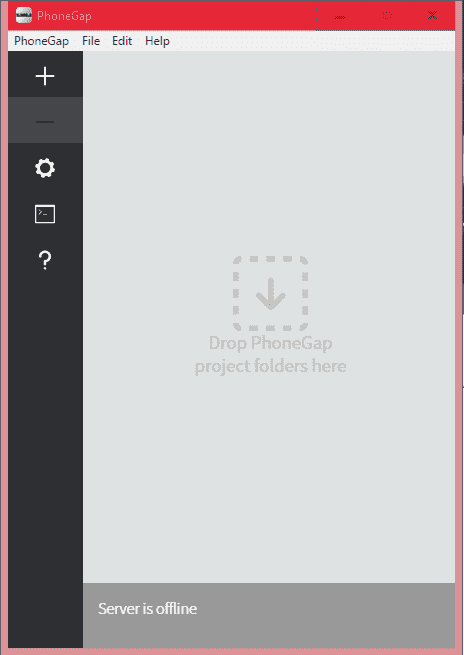
And we will see a screen like this:
We can also download a .zip from the github website, this has the advantage that it is not necessary to install and continue with the rest of the tutorial.
Creating an app in Phonegap
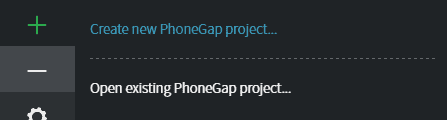
Once everything is installed, the next thing we have to do is Create an app, to do this by clicking on a plus and then "Create new PhoneGap project...":
We enter the basic data of our project such as location and name:
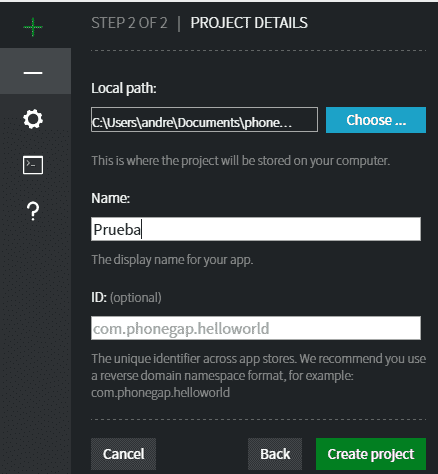
And with this we have our project ready to work with it; To see the source and open it in our favorite IDE we have to go to the location of our project in the www folder; in my case it would be:
C:\Users\andre\Documents\phonegap\Test\www
And it is there that we must add our plugins, JavaScript, CSS, images and other files of our project.
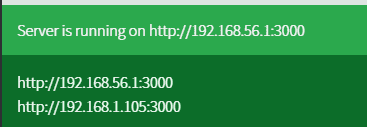
If we go to the address C:\Users\andre\Documents\phonegap\Test we will see other elements of the project such as the plugins and the platforms folder where our project is generated when we execute it; Finally we execute our project by clicking on:

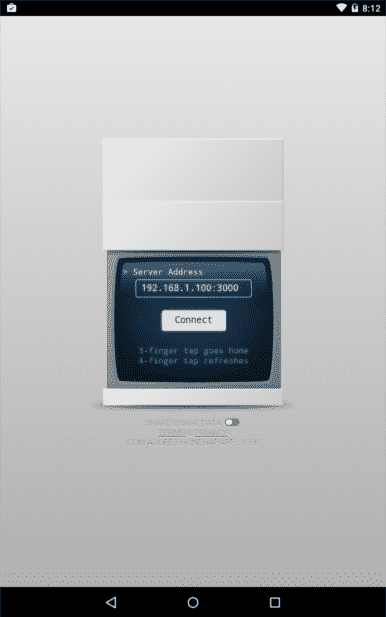
And it will give us an IP address that we must configure on our mobile:
Now from our Android we have to go to Google Play at the following address:
PhoneGap Developer
Or search for "PhoneGap Developer" in Google Play and install on our device; Once this is done we configure the previous IP and see our application on our Android and we can start working on our PhoneGap project:
And this is all, you can consult the following tutorials to get started in developing hybrid applications with PhoneGap.
I agree to receive announcements of interest about this Blog.
It explains how to install Adobe PhoneGap on Windows and Android in addition to creating a project and configuring it in the mobile application, and we also talk about the differences between PhoneGap and Apache Cordova.
- Andrés Cruz