Content Index
- The key concept: synchronized state + view
- Why Livewire behaves like a SPA in Laravel
- Example of component operation
- What really happens when the language changes?
- Why is this behavior important?
- How to create a Livewire component (step by step)
- Create the component with make:livewire
- Public properties and binding with the view
- Component Lifecycle
- Main Lifecycle Methods
- Summary of Useful Methods
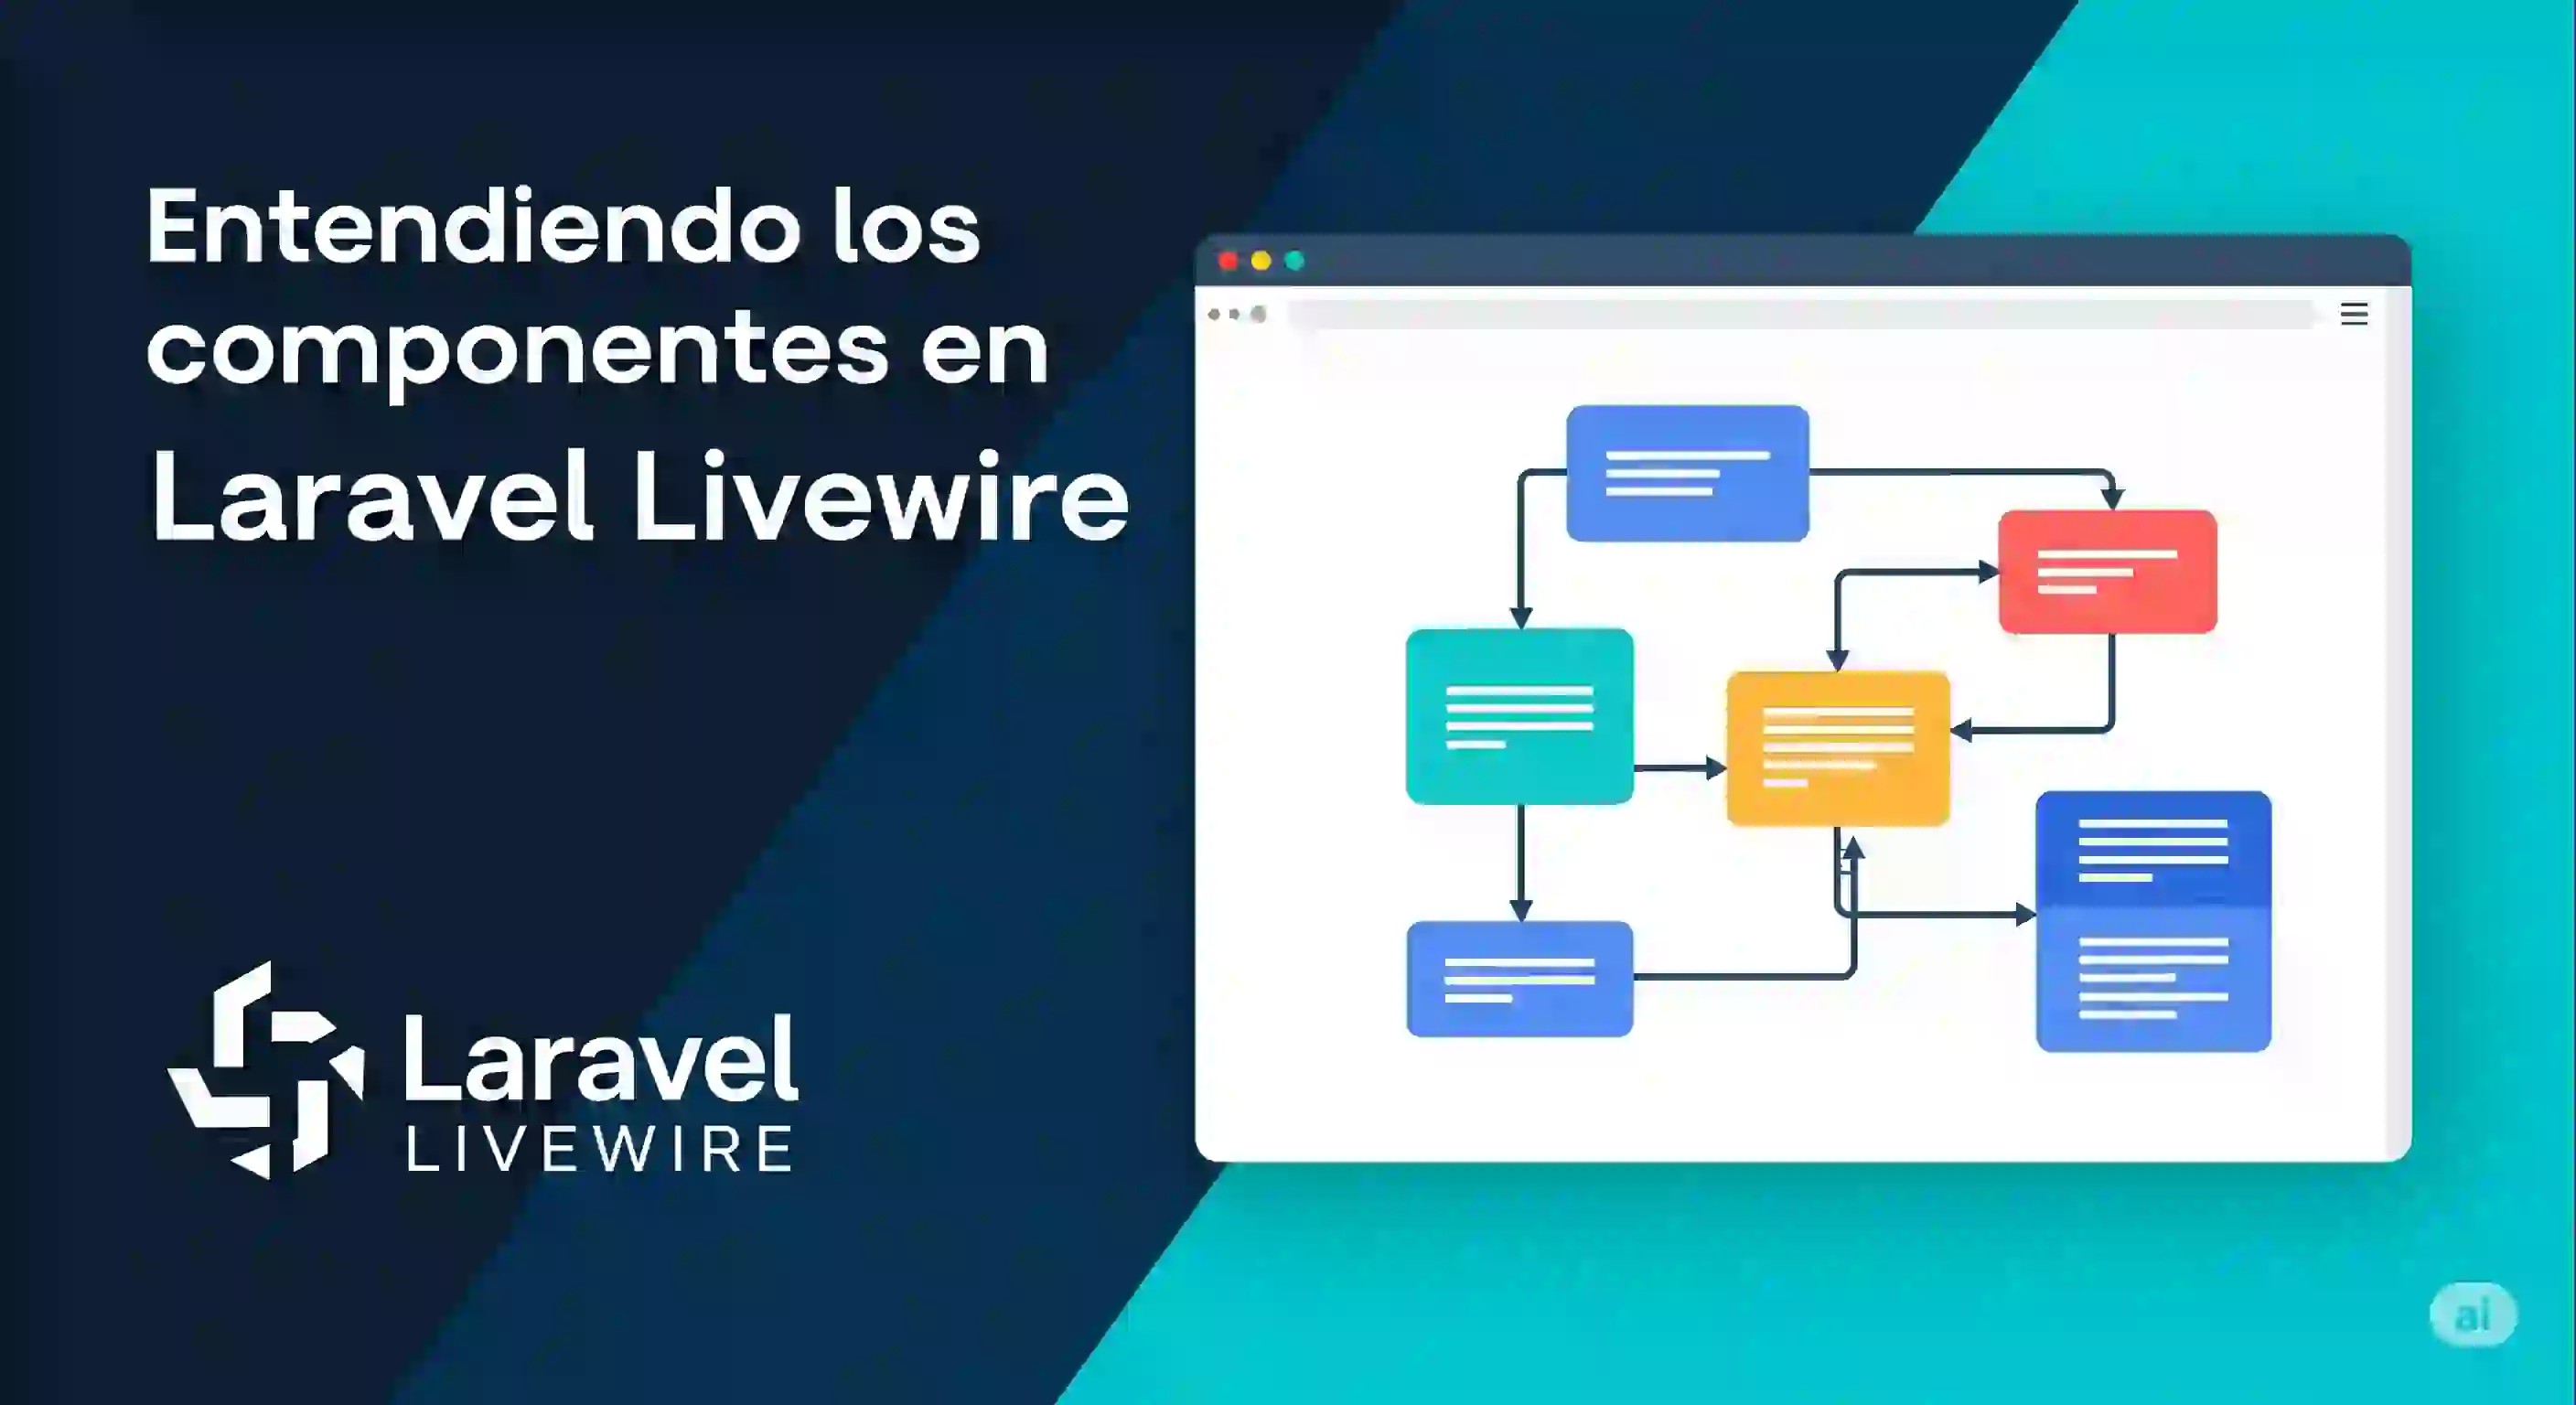
- Main Components in Livewire
- Component to display action message in Laravel Livewire
- Fluid Interfaces with wire:text and Optimistic Updates
- The Problem of Server-Based Reactivity
- Architecture of an Optimistic Update
- Simulation in Offline Scenarios
- Performance Considerations and Best Practices
- Frequently Asked Questions about Livewire Components
- Conclusion
What is a Livewire component and how does it actually work?
When I started working with Livewire, the first thing that struck me was that it behaves like a Single-Page Application (SPA)... but without writing JavaScript. Once you understand its architecture, it becomes clear: Livewire only updates what changes. Nothing else.
A Livewire component is basically a combination of two parts:
- A PHP class that manages state (properties and methods)
- A Blade view that represents the UI of that component
Although in Volt both components are combined into a single file.
The "magic" lies in the synchronization. Every time a property changes—whether because the user clicks, types something, or the server performs an action—Livewire makes a single request to the backend, processes the change, and... redraws only that component.
In one of my first tests, when changing a language select, I confirmed this by looking at the browser's Network tab: only one request appears. Nothing more. And the best part: the layout remained intact. This clearly shows that you're not reloading the entire page, but only the active area. Exactly what a Single-Page Application (SPA) does.
The key concept: synchronized state + view
The flow is as follows:
- The user performs an action (clicks, submits, types, selects).
- Livewire sends a snapshot of the state to the server.
- The server executes methods or updates properties.
- Livewire returns only the changed HTML.
- The DOM is updated intelligently (morphing).
Why Livewire behaves like a SPA in Laravel
Livewire uses an algorithm called DOM morphing, which compares the old and new HTML and updates only the differences. It doesn't replace the entire DOM, reload the page, or redo the layout. It only modifies what has changed.
This efficiency is especially noticeable in forms, filter systems, user panels, and dashboards.
Example of component operation
Here I want to show you something that I found very illustrative, so you can understand exactly how components work in Livewire and why it really is an SPA (Single Page Application) type of application. This means it doesn't reload the entire page, and not just sticking with the characteristics of a Livewire project that we presented before, but only the part that is changing, i.e., the component you are working with. At least, of course, in a basic way.
If you make use of the listener system to communicate with the parent, the grandparent, the great-grandparent, the aunt, or whoever, obviously things change. But I'm referring to the normal flow, so to speak.
We have a selector for the language. Notice that if I change it to "Español" (Spanish), everything appears in Spanish:
<?php

namespace App\Livewire\User;

use Livewire\Attributes\Layout;
use Livewire\Component;

use Illuminate\Support\Facades\App;

#[Layout('layouts.web')]
class UserProfile extends Component
{

    public $language;

    public function render()
    {
        if (!isset($this->language)) {
            // al cargar el componente, este codigo se ejecuta al language NO estar seleccionado
            // por el usuario
            $this->language = session('locale') ?? App::getLocale();
        } else {
            // se ejecuta desde la vista asociada por el .live
            session(['locale' => $this->language]);
            App::setLocale($this->language);
        }

        return view('livewire.user.user-profile');
    }
}
And the view:
<?php
namespace App\Livewire\User;
use Livewire\Attributes\Layout;
use Livewire\Component;
use Illuminate\Support\Facades\App;
#[Layout('layouts.web')]
class UserProfile extends Component
{
    public $language;
    public function render()
    {
        if (!isset($this->language)) {
            // al cargar el componente, este codigo se ejecuta al language NO estar seleccionado
            // por el usuario
            $this->language = session('locale') ?? App::getLocale();
        } else {
            // se ejecuta desde la vista asociada por el .live
            session(['locale' => $this->language]);
            App::setLocale($this->language);
        }

        return view('livewire.user.user-profile');
    }
}
Which is consumed through a route; additionally, as you can see, the component uses a template called web.blade.php which has menus with texts to be translated.
What the previous component does is establish a new language in the application; by changing the select with .live, it causes ONLY the component to REDRAW. If you check the Network tab, you'll see that only one request is made to the server when the SELECT changes. This is achieved using `wire:model.live`, a very useful feature if used intelligently (please, don't put it on every text field because you will overload the server!).
In this case, it makes sense for elements like selects, where I want a language change to be applied in real-time.
What really happens when the language changes?
When the language changes, a method is executed on the server (in Laravel, using `App::setLocale()`), and we pass it the new language. In this example, I use `es` for Spanish and `en` for English. I already have all the translations configured from the beginning of the project, so they are applied immediately.
The key point here is that ONLY the component reloads, not the entire page. You can easily notice this because when the language changes, the header (part of the layout) doesn't change, but the content of the component does.
Why is this behavior important?
This is precisely what happens in an SPA: only the part that is truly needed is updated. If I wanted the whole page to reload, I could emit an event to the parent component (or even the layout), but in this case, I didn't because it wasn't necessary. I also don't think the user is changing the language every five seconds.
How to create a Livewire component (step by step)
Creating a component is straightforward. Laravel offers the command:
$ php artisan make:livewire User/ProfileThis generates:
app/Livewire/User/Profile.php (the component class)
resources/views/livewire/user/profile.blade.php (the view)
Create the component with make:livewire
You can also create inline components:
$ php artisan make:livewire user-profile --inlineThis way you have both a class and a view in the same file, useful for rapid prototyping.
Basic structure: PHP class and Blade view
Components typically contain:
- Public properties → are part of the state
- The `render()` method → defines which view to use
- The `mount()` method → initializes the component
- Action methods → called from the view
- Omit `render()` and use conventions when appropriate
If you use the default structure, Livewire knows which view corresponds to each class, and you can completely omit `render()`.
Personally, in large projects, I prefer to keep it visible to control the layout or inject data into the view, but it's optional.
Public properties and binding with the view
This is where Livewire shines. By simply declaring a property public, you can synchronize it with the view:
- public $language;
- wire:model, wire:model.live and when to use each
- wire:model → synchronizes when focus is lost or when the form is submitted.
- wire:model.live → synchronizes in real time.
Component Lifecycle
In Livewire, we have multiple functions that we can use and that are automatically called based on the state of the component; this happens in many other cases in other technologies such as Android, Flutter, Vue... and these are just to name a few; they are extremely useful because with them we can perform processes that would otherwise be complicated to define; for example, initializing properties as we will do later when we want to edit a record or category.
The component's lifecycle. This inherits a bit of what a classic controller in Laravel would be. In the traditional schema, there is no defined lifecycle; we only have the constructor method, which is executed before any other action when we resolve the request.
In Livewire, this is more "boosted": components have a defined lifecycle, very similar to what happens in Vue, and we can take advantage of it to perform various actions.
To clearly understand what happens when these lifecycle methods are executed, activate the system log at the file level as we will use it later:
LOG_CHANNEL=singleWith the file logs, remember that they are registered in:
use Log;
***
public function boot()
{
    Log::info("boot");
}
public function booted()
{
    Log::info("booted");
}
public function mount()
{
    Log::info("mount");
}
public function hydrateTitle($value)
{
    Log::info("hydrateTitle $value");
}
public function dehydrateFoo($value)
{
    Log::info("dehydrateFoo $value");
}
public function hydrate()
{

    Log::info("hydrate");
}
public function dehydrate()
{
    Log::info("dehydrate");
}
public function updating($name, $value)
{
    Log::info("updating $name $value");
}
public function updated($name, $value)
{
    Log::info("updated $name $value");
}
public function updatingTitle($value)
{
    Log::info("updatingTitle $value");
}
public function updatedTitle($value)
{
        Log::info("updatedTitle $value");
}
These methods, which are part of the view cycle, print a message corresponding to the method name in the system log, and if the method receives parameters, they are also logged; these parameters are either values or names and values.
The tests you should perform:
- Access your log.
- Remove any existing logs in that file.
- Save the changes in that file.
- Access the Save.php component through your browser.
- Check the log.
- Click the submit button on the form.
- Check the log.
- Type something into one of the text fields that has wire:model.
- Check the log.
Main Lifecycle Methods
Of all the available methods, the one we use most in practice is mount.
- mount: Executes when the component is mounted. It is useful for initializing data, for example, to fetch a post or load information the component needs.
- There are other methods such as boot, booted, updating, updated, hydrate, among others. However, we don't use them in most cases, except for very specific cases of advanced control or data synchronization.
The idea is that you perform tests, clearing the log content and testing components that directly update properties (like wire:model type fields), accessing the component for the first time, and clicking buttons that don't update the wire:model data.
storage/logs/laravel.log
[2026-03-23 17:07:15] local.INFO: boot
[2026-03-23 17:07:15] local.INFO: mount
[2026-03-23 17:07:15] local.INFO: booted
[2026-03-23 17:07:15] local.INFO: render
[2026-03-23 17:07:15] local.INFO: dehydrate
[2026-03-23 17:07:18] local.INFO: boot
[2026-03-23 17:07:18] local.INFO: hydrateTitle
[2026-03-23 17:07:18] local.INFO: hydrate
[2026-03-23 17:07:18] local.INFO: booted
[2026-03-23 17:07:18] local.INFO: updating title asas
[2026-03-23 17:07:18] local.INFO: updatingTitle asas
[2026-03-23 17:07:18] local.INFO: updated title asas
[2026-03-23 17:07:18] local.INFO: updatedTitle asas
[2026-03-23 17:07:18] local.INFO: render
[2026-03-23 17:07:18] local.INFO: dehydrate
Of course, we can take advantage of these functions to perform crucial processes for our component, such as, for example, initializing data when creating a component.
There are three main blocks here:
- update() type functions are invoked when the component's properties are updated, for example, like those with wire:model; there are variants like updated() and updating() whose functionality is the same, except that updating() executes first.
- We also have the update<Property> variant which we can tie to a specific property.
- When executing the updating() function, the property has not yet been updated; when executing updated(), the property has already been updated.
- hydrate() functions are used when we pass data between the view and it maps to a PHP object in the component class; for example, when properties are mapped to a JSON to pass them to the view for wire:models:

- dehydrate() functions are used for the exact opposite of hydrate(), meaning they are used when we pass data between the component class and the view; for example, when properties are mapped to a JSON to pass them to the view for wire:models.

- In short, these functions are for updates at the component level in message passing and not just the data itself.
- Basic lifecycle functions like render(), boot(), or booted() that are executed as part of the lifecycle when updating the component.
- In this category, there is also the mount() function, which is executed only once when mounting the component, unlike the previous ones, as you can see in the log noted above.
Summary of Useful Methods
- mount: Data initialization. It's the one we use the most.
- render: Renders the component's view. It always executes when something changes.
- boot and booted: Execute when the component starts, before and after mount. They can be used for general configuration tasks.
- updating and updated: Execute when modifying properties linked to the view (`wire:model`).
- hydrate and dehydrate: Execute when sending data between the backend and the frontend, very useful when we need to manipulate data before or after communication with the view.
In general, in most cases, we only need mount and render. The rest of the methods are optional and are used in more advanced situations.
Main Components in Livewire
In Livewire, we have many components that we can implement and reuse; for me, it's one of the best things about Laravel Livewire let's look at a few.
Component to display action message in Laravel Livewire
If you are using Livewire, you might wonder how we can display a message for a few seconds and then hide it; this is particularly useful for when we perform an insertion, update, or deletion operation, the user is authenticated, etc.; these messages are known as action messages, they are not confirmation messages in Livewire as we saw before since the user will not be able to cancel the action performed, only a message will appear so the user knows what action has just been performed.
In Livewire, this type of component can be implemented very easily; but to gain some inspiration, we have a component that is interesting to look at, and that is:
https://github.com/laravel/jetstream/blob/2.x/resources/views/components/action-message.blade.php
Which, with the help of Alpine.js, allows determining the lifespan for viewing this piece of HTML:
<div x-data="{ shown: false, timeout: null }"
    x-init="@this.on('{{ $on }}', () => { clearTimeout(timeout); shown = true; timeout = setTimeout(() => { shown = false }, 2000);  })"
    x-show.transition.out.opacity.duration.1500ms="shown"
    x-transition:leave.opacity.duration.1500ms
    style="display: none;"
    {{ $attributes->merge(['class' => 'text-sm text-gray-600']) }}>
    {{ $slot->isEmpty() ? 'Saved.' : $slot }}
</div>
In practice, we can create one based on the previous one like:
@if (session('status'))
    <div x-data="{ shown: false }"
        x-init="clearTimeout(2000); shown = true; timeout = setTimeout(() => { shown = false }, 2000);"
        x-show.transition.out.opacity.duration.1500ms="shown" x-transition:leave.opacity.duration.1500ms>
        <div class="p-1 mt-1 bg-purple-500 rounded-md">
            <x-card class="m-0">
                <h3 class="text-xl">
                    {{ session('status') }}
                </h3>
            </x-card>
        </div>
    </div>
@endif
The important thing is to use Alpine.js to hide the content using the setTimeout function after a certain time; otherwise, we already know how to show an action component that displays for a few seconds.
Fluid Interfaces with wire:text and Optimistic Updates
When reviewing the official Livewire documentation, one of the first equivalences that stands out is the use of the wire:text directive as an alternative to classic Blade double curly braces ({{ $property }}). While both tools fulfill the fundamental purpose of rendering and displaying a value on screen in the browser, the difference lies in how they manage latency and their capacity to implement Optimistic Updates.
The Problem of Server-Based Reactivity
In the standard Livewire architecture, reactivity depends on a cycle of background HTTP requests. Let's evaluate a common scenario: a button to increment an interaction or "likes" counter.
<button wire:click="incrementarLike">
    ❤️ {{ $likes }}
</button>
Under this traditional approach, the flow is processed as follows:
- The user clicks the button.
- Livewire intercepts the event and triggers an asynchronous request to the server.
- The server processes the logic in PHP, increments the property in the backend, and re-renders the component.
- The browser receives the HTTP response with the new state and updates the DOM (for example, going from 5 to 6).
This cycle introduces an inevitable time delay. If the user has a slow internet connection, experiences latency issues, or the server is under a high request load, the interface will feel heavy and unresponsive, since the value on screen will not change until the server request completes successfully.
Architecture of an Optimistic Update
To resolve this fluidity problem, optimistic updates are used, an architectural concept widely employed in frontend frameworks (such as requests configured in Inertia.js or traditional SPA applications).
An optimistic update proactively assumes that the server will process the instruction correctly. Instead of blocking the user interface waiting for the network response, the system modifies the visual value locally on the client instantaneously.
In Livewire, this behavior is achieved by combining wire:text with the global wire object in JavaScript to manipulate the client-side state.
resources\views\pages\demo\⚡wire-text.blade.php
<?php

use Livewire\Component;
use App\Models\Post;

new class extends Component {
    public $likes;

    public function mount()
    {
        $this->likes = 5;
    }

    public function like()
    {
        $this->likes++;
    }
};
?>

<div>
    <flux:button x-on:click="$wire.likes++" wire:click="like">❤️ Like</flux:button>

    <ul>
        <li>
            Likes wire-text: <span wire:text="likes"></span>
        </li>
        <li>
            Likes Blade: {{ $likes }}
        </li>
    </ul>
</div>
When inspecting this fragment, an operational duality is observed:
- On the Server (wire:click): The PHP method is invoked to persist the change in the database asynchronously.
- On the Client (@click="$wire.likes++"): JavaScript is used to immediately increment the value of the property in the browser.
Thanks to the fact that wire:text listens to local state changes immediately, the interface updates instantly before the user's eyes, regardless of the network connection speed.
Simulation in Offline Scenarios
The technical advantage of wire:text becomes clearly evident when performing performance tests simulating an environment without connectivity (Offline) in the browser development tools:
- Blade Behavior ({{ }}): When the internet connection is interrupted and the button is clicked, the interface freezes. Because the network request fails and there is no response from the server, the DOM is never notified of the change and the value remains static.
- wire:text Behavior: Under the same disconnection conditions, the value on screen increments instantly. Although the browser console logs errors due to the HTTP request failure, the visual component reflects the change on the client because it does not depend on the resolution of network traffic to update the view. The directive optimistically assumes that the data will synchronize as soon as the communication channel is restored.
Performance Considerations and Best Practices
Despite the visual benefits that wire:text offers, its implementation must respond to a software design approach that is conscious of resource consumption:
- Avoid server saturation: Triggering massive HTTP requests to the server in response to repetitive user actions (such as consecutive clicks on a button) is an inefficient practice that can compromise concurrency in real production environments during peak hours.
- Grouping operations: For dense workflows, such as editing complex forms, the best architectural strategy consists of keeping data mutations controlled locally on the client using JavaScript or Alpine.js. Direct requests to the backend with Livewire should be strictly reserved for the final action of data submission and persistence.
The strategic use of wire:text allows the design of high-performance hybrid applications, making the system feel as fast as a native frontend application without losing the benefits of centralizing business logic in the backend with PHP.
Frequently Asked Questions about Livewire Components
Does Livewire reload the entire page?
No, only the affected component reloads thanks to DOM morphing.
When should I use wire:model.live?
When the interaction requires immediacy: selects, sliders, quick searches.
What's the difference between a Blade component and a Livewire component?
Blade is static. Livewire is reactive.
Is Livewire still useful if I know JavaScript?
Yes. It adds fluidity to Laravel without needing to build a complete JS ecosystem.
Conclusion
This gives us a clear idea of how Livewire organizes the structure of its components and allows us to initialize and control data efficiently.
Not all methods are used in a typical development, but it's important to know them and understand their purpose. Later, if we need some advanced functionality, we can explore them further.
With this, we conclude this class. All the code will be available commented in the corresponding section so you can experiment and delve deeper if you wish.
In conclusion, the most used functions for the component lifecycle are the update functions, in any of their variants, and mount() for data initialization.
Livewire components combine simplicity with power. They allow you to create reactive interfaces without external frameworks, keeping everything in PHP. And if you take full advantage of the properties, actions, layouts, and internal flows, you can build everything from admin panels to complete real-time systems.
In my experience, understanding how Livewire redraws only what's necessary was the turning point for truly unlocking its potential. And details like not overusing .live or using wire:key correctly make a huge difference in performance.
The next step is to learn how to handle forms in Laravel Livewire.