Content Index
- What are x-model and x-text and what are they used for
- x-model
- x-text
- 2. First Practical Example: Input + Reactive Variable + Text Output
- 3. Practical Example: Step-by-step Demonstration with a Button that Updates the Value
- 4. Real-World Cases: Checkbox, Select, and Textarea with x-model
- Common Errors and How to Avoid Them
- Best Practices for Working with x-model + x-text in Real Projects
- Conclusion: What you take away and how to keep expanding components
- FAQs
If you're starting with Alpine JS or coming from frameworks like Vue, you've surely heard of "two-way binding." In Alpine, the two directives that make the magic happen are x-model and x-text, and although they seem simple, properly understanding how they work together opens the door to clean and powerful interactions without needing to set up a full framework.
The first time I tried this, it immediately reminded me of Vue's famous `v-model`. In fact, when I wrote an example for a book, I realized how natural it is to bind a variable and display it live... but also how easy it is to extend that example and get so much more out of it.
Let's go step-by-step.
What are x-model and x-text and what are they used for
x-model
The x-model directive is the key to this synchronization. Its function is identical to that of `v-model` in Vue or `wire:model` in Livewire. It creates a binding between:
- A property or variable defined in x-data.
- A form field (such as a text input, a textarea, a select, etc.).
It binds an input (or any form element) to a property inside x-data. If the user types, the variable changes. If the variable changes, the input changes too. Bidirectional, simple, and elegant.
x-text
It is used to display the value of an expression within the text content of an element. It's like printing variables, but without strange templates or odd syntax.
Together, they form the basis of any reactive interaction in Alpine JS.
2. First Practical Example: Input + Reactive Variable + Text Output
We will see how this synchronization works easily:
- We will define a variable in the x-data block.
- We will assign that variable to a text field using x-model.
- We will print the value of that variable elsewhere in the HTML (for example, with x-text).
- When typing in the text field, the variable's value will update instantly, and the printed text will reflect it without needing additional logic.
For this, we are going to create another component.
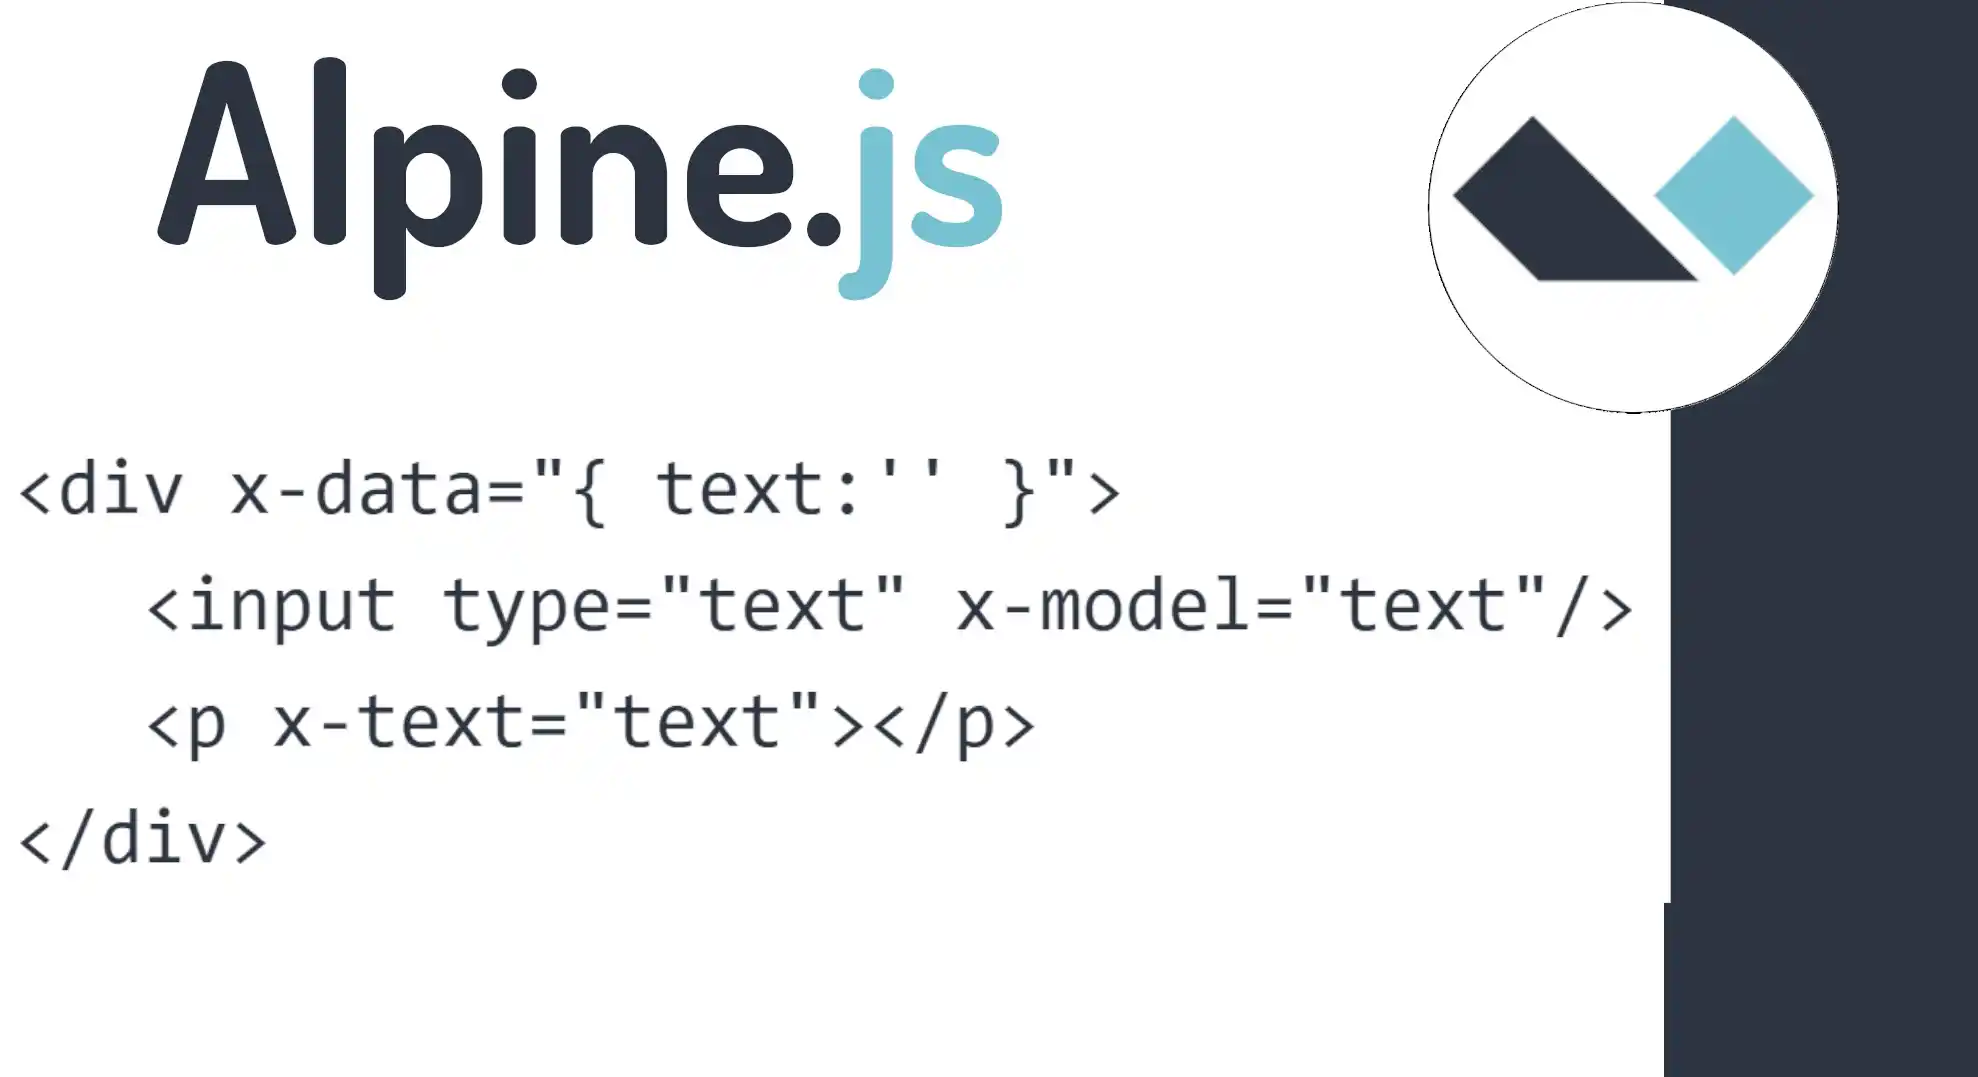
<div x-data="{ text:'' }">
   <input type="text" x-model="text"/>
   <p x-text="text"></p>
</div>
Something key happens here: if you type something in the input, the paragraph updates instantly. And if for some reason you update text from any interaction, the input changes automatically. This simple idea is what allows you to build anything from forms to entire components without complicating your life.
That would be all for now. With this setup, notice that when we type in the text field, the value automatically synchronizes with the x-data variable. This is the most important part.
But the synchronization is bidirectional. If we had some mechanism to change the value of that text variable outside the input (for example, with a button or some logic), this change would also be reflected automatically in the form field.
3. Practical Example: Step-by-step Demonstration with a Button that Updates the Value
The previous example is the foundation, but we can extend it a bit more to precisely show this complete bidirectionality.
<div x-data="{ text:'' }">
   <input type="text" x-model="text"/>
   <p x-text="text"></p>
   <button x-on:click="text='andres'">Dame un click</button>
</div>
In this other example, clicking the button updates the text variable with a predefined text. Well, with this, we now understand both x-model and x-text, as well as their bidirectional operation as I mentioned at the beginning.
4. Real-World Cases: Checkbox, Select, and Textarea with x-model
The attractive thing about Alpine is that it doesn't limit you to text inputs.
✔ Textarea
<textarea x-model="description"></textarea> <p x-text="description"></p>✔ Checkbox (simple boolean)
<input type="checkbox" x-model="active"> <span x-text="active"></span>✔ Multiple checkboxes bound to an array
<input type="checkbox" value="red" x-model="colors"> <input type="checkbox" value="blue" x-model="colors"> <input type="checkbox" value="green" x-model="colors"> <p x-text="colors"></p>✔ Select
<select x-model="category"> <option value="frontend">Frontend</option> <option value="backend">Backend</option> </select> <p x-text="category"></p>With this, you practically have all form scenarios covered.
Common Errors and How to Avoid Them
- ❌ Using x-model without a parent x-data
- Without x-data, Alpine doesn't know where to store that variable.
- Always make sure the inputs are within a valid context.
- ❌ Trying to mix complex logic within x-model itself
- x-model binds values, it doesn't execute functions.
- If you need logic, place it in events like x-on:input or in methods within the component.
- ❌ Forgetting that the binding is bidirectional
- If you change the data from the code and it "doesn't reflect," check if you are mutating references or creating new non-reactive structures.
- When preparing examples for courses, this was one of the points where I saw the most confusion: Alpine works, but you have to respect its reactive cycle.
Best Practices for Working with x-model + x-text in Real Projects
Here are some guidelines based on real-world experience:
- Keep your x-data as small as possible. Alpine shines when components are simple.
- Use x-model only for data that truly needs to be reactive.
- If you come from Vue, avoid trying to replicate complex patterns; Alpine is not designed for that.
- Use x-text for printing quick values, but if you need to render HTML, switch to x-html.
In my case, I usually mix an x-model with a button or event that updates the variable directly. This allows me to show—without fuss—how the state flows within the component.
Conclusion: What you take away and how to keep expanding components
You now know the two directives that form the core of all interaction in Alpine JS.
x-model handles two-way binding; x-text displays instantly updated values.
Together they allow you to build reactive, fast, and clean interfaces without the need for heavy frameworks. And the best part is that you can extend these concepts to complete forms, reusable components, or very efficient micro-interactions.
If you've mastered this, the next step is to play with x-show, x-if, nested components, and custom events. That's when Alpine really starts to become fun.
FAQs
- Does x-model work the same as `v-model` in Vue?
- Yes, the concept is practically identical: bidirectional binding between variable and view.
- Can I use x-model without x-data?
- No. You need a context where Alpine can store the variable.
- How do I use x-model with multiple checkboxes?
- Alpine automatically converts them into an array with the selected values.
- What is the difference between x-text and `{{ }}`?
- x-text safely replaces the node's content. Alpine does not use moustache-type templates.
- How do I update the value from JS?
- Simple: change the variable inside the component (`text = 'new value'`) and Alpine synchronizes everything.