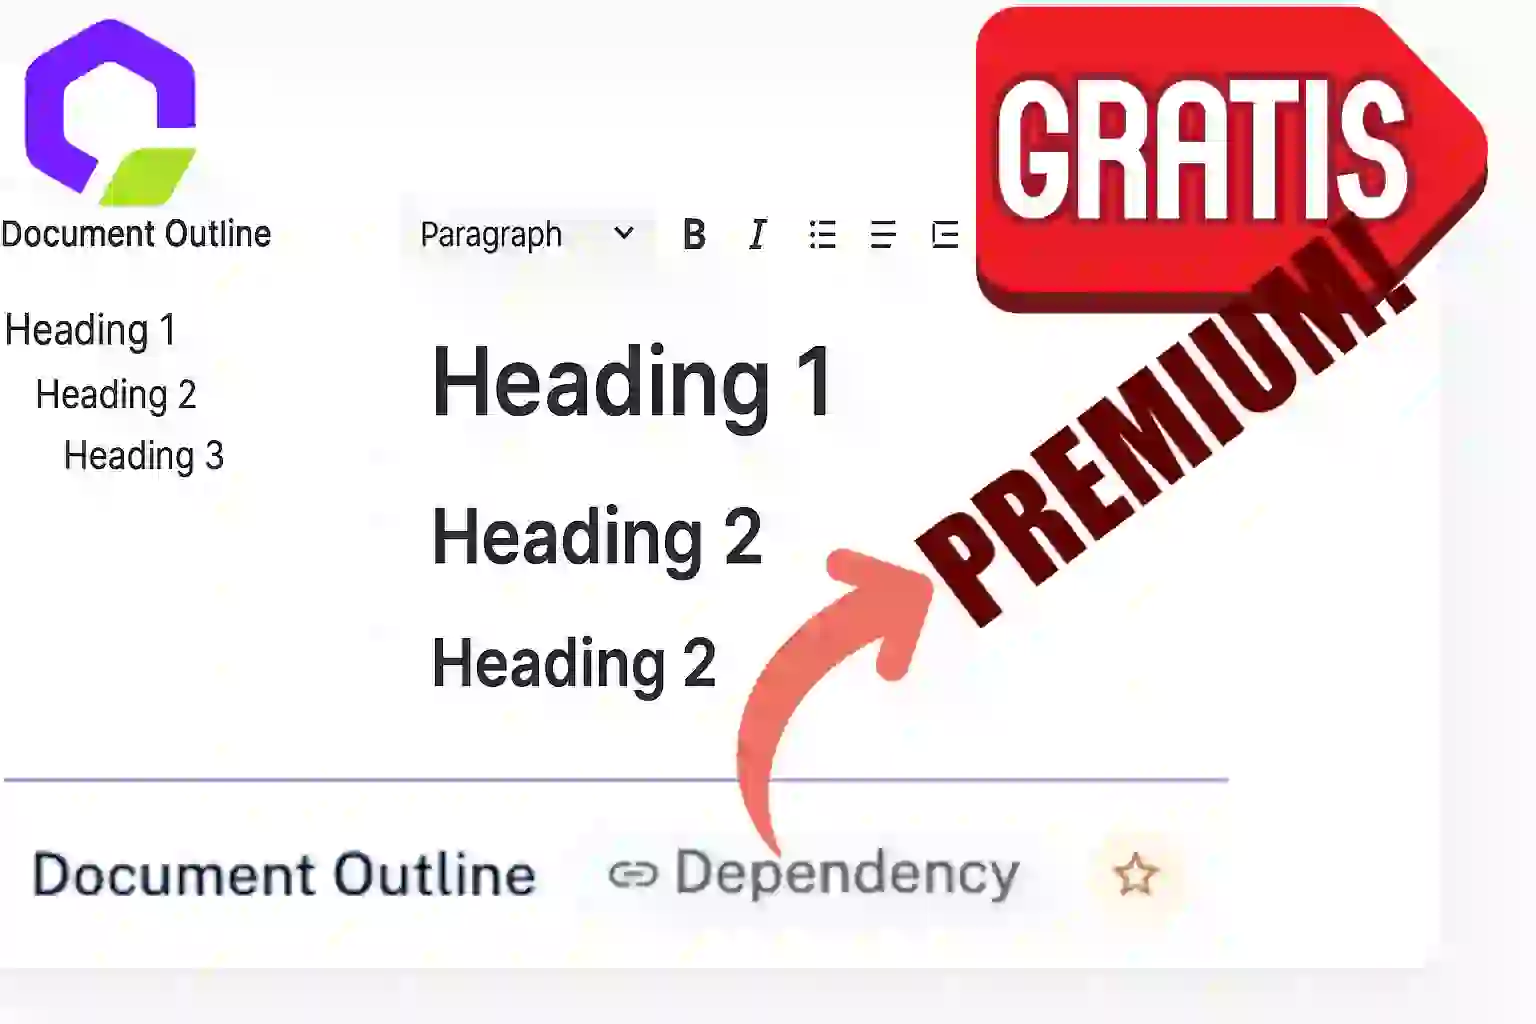
CKEditor Document Outline FREE
The document outline in CKEditor, which is precisely the feature you see here, is part of the premium version (i.e., it's a paid option). Basically, it's this sidebar tree on the left.
Why I needed it (and why I'm not paying for it)
For me, this is a highly desired feature. Remember in another video I mentioned that, finally, by the gods, I was able to export my books directly from my app, without having to go through Word (which I never actually used) or Google Docs. I also no longer have to rely on the Kindle plugin that allowed me to export to .pub format.
Now I have all the content in one place, and I can export it directly from there. That's why I want to further refine this tool I use behind the scenes: SecEditor, which I use for rich content.
Here you can see, for example, one of the chapters of a book that doesn't yet have a publication date, where I teach you how to create an online store with Laravel. As you can see, I have a lot of content—and believe me, I have much longer chapters than this one.
Implementation of the homemade document scheme
What I did was very simple. I'm going to show you how using this local version of my application. Remember, it's built in Laravel, although you can easily adapt this to any system that uses CKEDITOR.
So, within the application, I have CKEDITOR already installed. If you want to see how to install it, I have other videos on my channel where I explain step by step how to generate the build with the tool you saw on the screen and integrate it into your project.
To make it flexible, I used a Laravel component (although you can also use a simple view). Basically, I imported it, and what you see here is the little black button. I put an "X" on it, but you can add whatever you want:
    <div x-data="{ open: false }">>
        <button class="top-0 p-0 fixed z-40 btn-sm h-10 bg-gray-800 transform -translate-x-8" @click="open = !open">
            <svg xmlns="http://www.w3.org/2000/svg" class="h-9 w-9 text-black" fill="none" viewBox="0 0 24 24"
                stroke="#FFF" stroke-width="2">
                <path v-if="open" stroke-linecap="round" stroke-linejoin="round" d="M4 6h16M4 12h16M4 18h16" />
            </svg>
        </button>

        <div class="top-5 left-2 border shadow-md card max-w-96 fixed z-30 overflow-auto "
            :class="{ '-translate-x-96': !open }">
            <div id="tocCkeditor">
                <!-- Aquí se generará la tabla de contenido -->
            </div>
        </div>
    </div>
I use AlpineJS (which Laravel already includes by default). If you're using Vue, it's pretty much the same.
I declare a variable indicating whether the panel is open or closed, and then apply a translateX transition to hide or show it. I also add overflow: auto to make it grow if necessary.
Generating the schema with JavaScript
I generate the outline content with JavaScript. It's very simple:
function generateTableOfContents() {
    const editorContainer = document.getElementById('editor');
    const tocContainer = document.getElementById('tocCkeditor');
    const headers = editorContainer.querySelectorAll('h1, h2, h3');

    tocContainer.innerHTML = ''; // Limpiar TOC

    headers.forEach((header, index) => {
        if (!header.id) {
            // Generar ID único
            const id = `heading-${index}`;
            header.id = id;
        }

        const link = document.createElement('a');
        link.href = `#${header.id}`;
        link.textContent = header.textContent;
        link.style.display = 'block';

        // Estilo opcional según nivel
        if (header.tagName === 'H2') link.style.marginLeft = '10px';
        if (header.tagName === 'H3') link.style.marginLeft = '20px';

        tocContainer.appendChild(link);


    });
The logic looks for the H1, H2, and H3 headings. I assign a margin to the headings to simulate tabs and iterate through them.
I also generate an identifier (id) for each one.
What I do is directly modify the HTML content of the editor, which is inside an editable div. SecEditor doesn't remove these tags, unlike other prohibited HTML.
I read the heading text (the title) and generate a link with that content. I apply display: block, define the id, and link it with classic HTML navigation (<a href="#id">).
These links are exactly what you see here. If you check the HTML, they are links that point to #something. That "something" is the token generated with JavaScript.
The double instance of CKEditor
An important detail I had trouble finding is that, for some mysterious reason, SecEditor generates the same content twice. It has a div with id="editor" that isn't the actual document, and another div (which is the valid document) where the content actually resides.
The fake one has display: none, and while it doesn't affect anything, having the same duplicate id breaks the navigation, so I removed it:
setTimeout(() => {
    const editor = document.getElementById('editor');
    if (editor && editor.style.display === 'none') {
        // editor.style.display = 'block';
        document.getElementById('editor').remove()
    }
}, 2000);
So, if you too want to have your own online document outline without paying for the premium Documenter plugin, you know how to do it: with a little Alpine, a Laravel component, some JavaScript to read headers, and classic HTML links.
It works perfectly, costs nothing, and you can customize it however you want.
I agree to receive announcements of interest about this Blog.
I show you how you can generate a document outline in CKEditor completely FREE.

