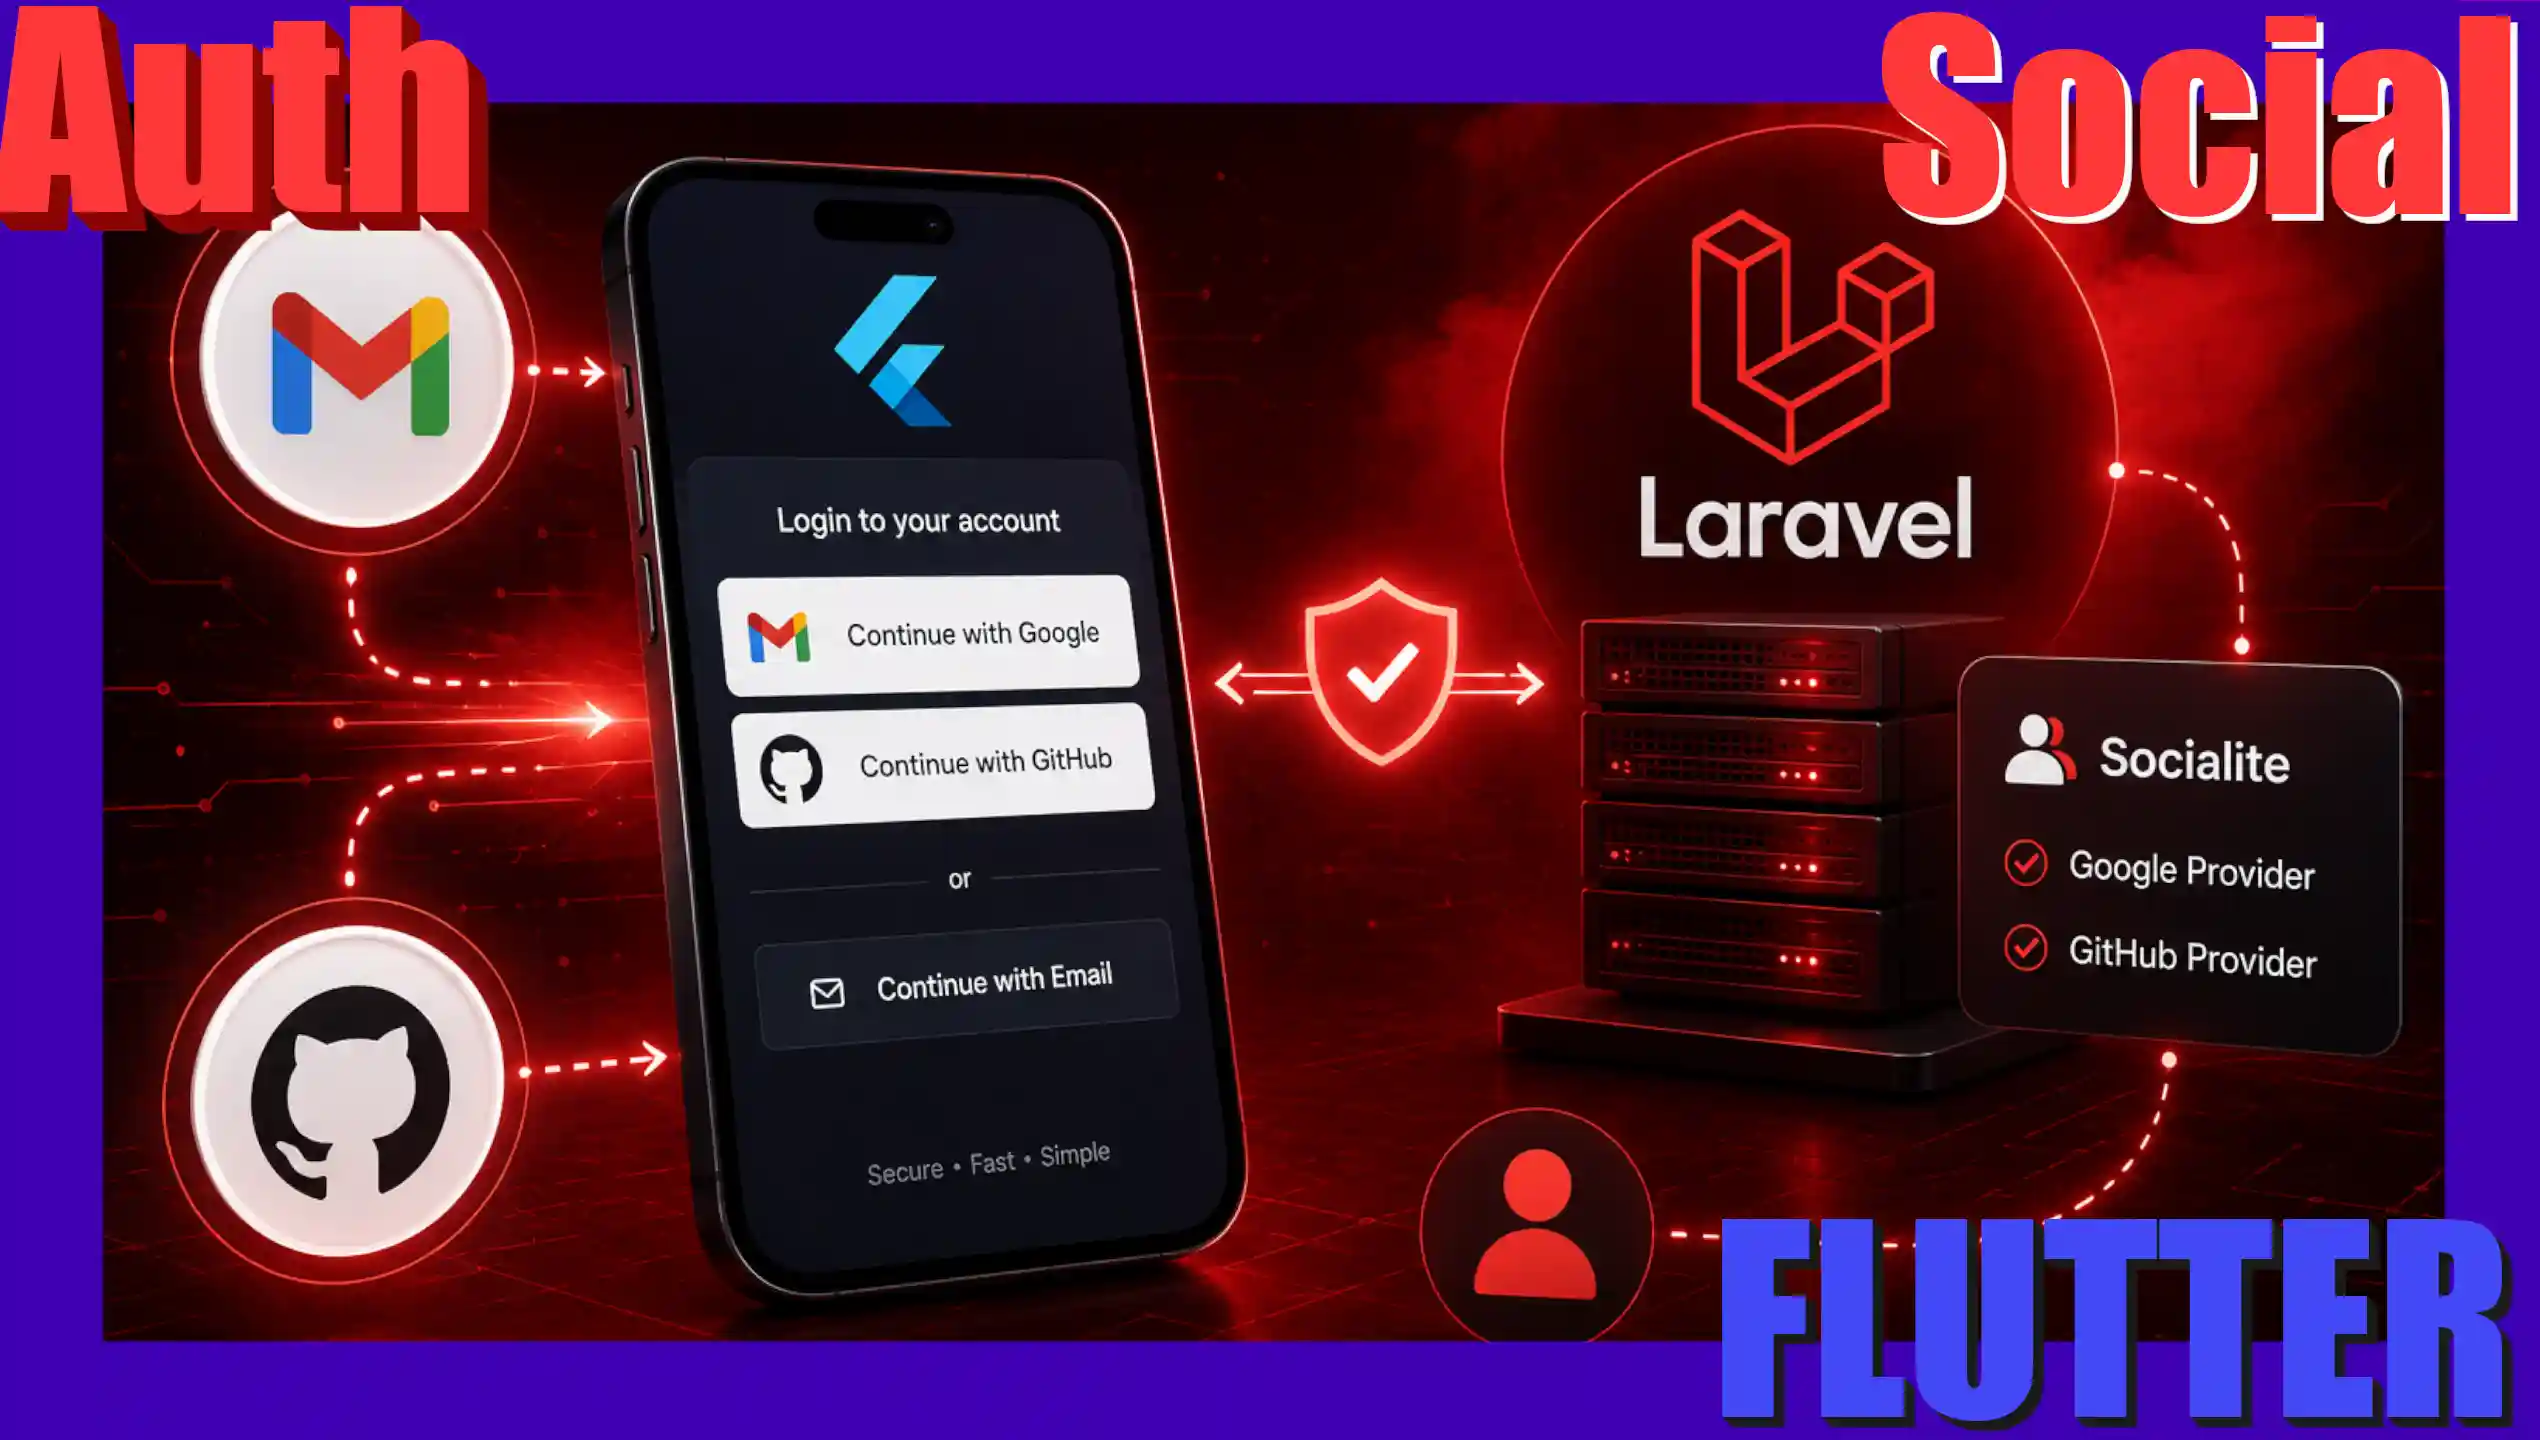
Social authentication is one of the most requested features in modern mobile applications. It allows users to register and log in with a single tap using their existing Google, GitHub, or other platform accounts. In this section, we will analyze how to implement the complete authentication workflow securely by combining Flutter and a web backend.
Offering this feature in mobile environments is essential for maintaining the consistency of the entire software ecosystem. If a platform already allows social authentication in its web version and also has a mobile app, the correct approach is to replicate this mechanism on the device. Otherwise, a user who originally created their account through an external provider will find it impossible to log in to the mobile application.
Previously we saw how to generate a PDF in Flutter
Social Authentication (Google)
Content Index
- Social Authentication (Google)
- General Workflow
- 1. Google Cloud Console Configuration
- How to Obtain SHA-1 Fingerprints
- 2. Implementation in Flutter (Dart Service)
- What changed compared to v6?
- 3. Integration with the Backend
- Option A: Laravel Server with Laravel Socialite
- Option B: Manual Process in Backend (Python / Django)
- Authentication with GitHub
- 1. Backend Logic: Controllers and Database
- 2. Integrating the Authentication Flow in Flutter
- 3. Credential Configuration and Code Capture
- 4. Token Exchange and the Private Email Issue
- General Flow Summary
- Migration for the user
General Workflow
The recommended workflow for performing social authentication securely on mobile devices consists of the following steps:
- Native/Web Authentication on the Device: The mobile app initiates the corresponding flow (native for Google or via a controlled WebView for platforms like GitHub) for the user to log in.
- Obtaining the Token: Once authenticated with the social provider, the app obtains an Access Token or an Identity Token (ID Token). To mitigate issues with persistent cached states that force unwanted automatic logins, it is an excellent practice to execute an explicit logout on the client (
signOut) immediately before triggering the new authentication flow. - Sending to the Server (Backend): The app sends this token to the backend API via HTTPS along with the provider's name. It is indispensable to understand that social authentication should not be managed exclusively locally on the mobile device; session and user data must be persisted and interact directly with a backend (developed in Laravel, Django, FastAPI, or Node.js) for the authentication to have real and secure value within the system.
- Validation on the Server: The server contacts the provider to securely validate the token and obtain the user's data. If valid, it looks up or creates the user in the database and generates the definitive session token (for example, with Laravel Sanctum).
- Response and Persistence: The backend returns the token to the device, which stores it securely to authenticate future requests. The user information returned by the API must be identical to what would be delivered in a traditional username and password authentication flow.
This is the prompt I used:
Act as a Senior Flutter and mobile architecture developer.
I need you to create the complete social authentication flow (Google and GitHub) in my Flutter application. The backend is already developed in Laravel (Sanctum) and expects to receive native tokens from the phone.
Below, I provide the exact routes file and controller of my API in Laravel so you can understand how the mobile app should communicate with the server:
---
[LARAVEL ROUTES (routes/api.php)]
Route::prefix('auth')->group(function () {
Route::post('/social', [SocialApiController::class, 'handleSocialAuth']);
Route::post('/social/register-email', [SocialApiController::class, 'storeSocialEmail']);
});[LARAVEL CONTROLLER (SocialApiController.php)]
<?phpnamespace App\Http\Controllers\Api;
use App\Http\Controllers\Controller;
use App\Models\User;
use Illuminate\Auth\Events\Registered;
use Illuminate\Auth\Events\Verified;
use Illuminate\Http\JsonResponse;
use Illuminate\Http\Request;
use Illuminate\Support\Facades\Hash;
use Illuminate\Support\Str;
use Laravel\Socialite\Facades\Socialite;class SocialController extends Controller
{
/**
* Authenticates a Mobile App user using a Social Token.
* * POST /api/auth/social
*/
public function handleSocialAuth(Request $request): JsonResponse
{
$request->validate([
'provider' => ['required', 'string', 'in:google,apple,github'], // the supported providers
'access_token' => ['required', 'string'], // The token that the Mobile App obtained natively
]);$provider = $request->input('provider');
$token = $request->input('access_token');try {
// Instead of ->user(), we use ->userFromToken() to validate the token coming from the mobile app
$socialUser = Socialite::driver($provider)->userFromToken($token);
} catch (\Exception $e) {
return response()->json([
'message' => 'Could not validate the token with the social provider.',
'error' => $e->getMessage()
], 401);
}// 1. Attempt to find by Social ID
$user = User::where($provider . '_id', $socialUser->getId())->first();if ($user) {
return $this->generateAuthResponse($user, 'Successful login via social ID.');
}// 2. If there is no ID, verify by Email
$email = $socialUser->getEmail();if (!$email) {
// In an API we cannot use sessions (Stateless). If the social network doesn't provide an email,
// we respond to the mobile app with the data so it can render its own form.
return response()->json([
'message' => 'Email required by the system.',
'requires_email' => true,
'social_data' => [
'id' => $socialUser->getId(),
'name' => $socialUser->getName() ?? $socialUser->getNickname() ?? 'User',
'avatar' => $socialUser->getAvatar(),
'provider' => $provider,
]
], 200); // We return a 200 but indicating that the email is missing in the app flow
}$user = User::where('email', $email)->first();
if ($user) {
// Link existing account
$user->update([
$provider . '_id' => $socialUser->getId(),
'avatar' => $user->avatar ?? $socialUser->getAvatar(),
]);
} else {
// Create new user from the Mobile App
$user = User::create([
'name' => $socialUser->getName() ?? $socialUser->getNickname() ?? 'User',
'email' => $email,
$provider . '_id' => $socialUser->getId(),
'avatar' => $socialUser->getAvatar(),
'password' => Hash::make(Str::random(24)),
'email_verified_at' => now(), // Coming from a validated mobile API, we assume successful verification
]);// Synchronize with your listeners (e.g., your subscribers table)
event(new Registered($user));
event(new Verified($user));
}return $this->generateAuthResponse($user, 'User authenticated successfully.');
}/**
* Secondary endpoint in case the app had to manually request the email on the phone.
* * POST /api/auth/social/register-email
*/
public function storeSocialEmail(Request $request): JsonResponse
{
$request->validate([
'email' => ['required', 'string', 'email', 'max:255', 'unique:users'],
'provider' => ['required', 'string'],
'social_id' => ['required', 'string'],
'name' => ['required', 'string'],
'avatar' => ['nullable', 'string'],
]);$user = User::create([
'name' => $request->name,
'email' => $request->email,
$request->provider . '_id' => $request->social_id,
'avatar' => $request->avatar,
'password' => Hash::make(Str::random(24)),
'email_verified_at' => now(),
]);event(new Registered($user));
event(new Verified($user));return $this->generateAuthResponse($user, 'User created with manually provided email.');
}/**
* Generates the standard API response with the Sanctum Token.
*/
private function generateAuthResponse(User $user, string $message): JsonResponse
{
return response()->json([
'message' => $message,
'access_token' => getUserTokenAuth(user: $user),
'token_type' => 'Bearer',
'user' => [
'id' => $user->id,
'name' => $user->name,
'email' => $user->email,
'avatar' => $user->avatar,
]
], 200);
}
}
---Based on this backend, generate the Flutter code structured in a clean way (Clean Architecture or separation by services/repositories if possible):
2. **GoogleDriveService / SocialAuthService:** A service in Dart that handles the native logic:
- Log in with native Google (`google_sign_in`) to obtain the `authentication.accessToken` or `idToken`.
- Make the POST request to `https://academy.desarrollolibre.net/api/auth/social` sending the `provider` ("google" or "github") and the `access_token`.
3. **Handling the Special Flow (Requires Email):**
- If the Laravel API responds with a 200 and `requires_email: true`, the service must be able to capture that data (`social_data`) and pass it to the interface so the app can display a form to the user and then consume the endpoint `/api/auth/social/register-email`.
4. **Token Persistence:** Upon successfully receiving the `access_token` from Laravel Sanctum, save it securely on the device to use it in the Bearer headers of protected requests.
5. **User Interface (Basic UI with Tailwind/Flutter or clean Widgets):** Generate a simple Login view with the two buttons ("Continue with Google" and "Continue with GitHub") that trigger the flow.CODE RULES:
- Use robust error handling with try/catch blocks and display clear prints in the console if something fails in the network.
- Adapt to provider adapt it simply, or structure it with asynchronous functions in a StatefulWidget.
- Return clean code ready to implement.Finally, this is the login page:
lib/pages/academy/user/login_page.dart
Where the links need to be defined.
1. Google Cloud Console Configuration
To implement Google Sign-In, it is essential to correctly configure the credentials in the Google Cloud Console. One of the most common mistakes is confusing the different types of credentials required:
- Web Application Credential (Backend): You must create a credential of type "Web Application". The client ID generated here (referred to as
serverClientIdin Flutter) is used to tell the Google SDK that we need a compatible token so that the backend can validate it. If this parameter is omitted or configured with Android credentials, the web server will be unable to verify the validity of the received token. - Android Credential: You must create a credential of type "Android". In this credential, you must enter your app's package name (for example,
com.your.app) and your application's SHA-1 signing certificate fingerprint. At the Flutter code level, it is not necessary to explicitly map this Android client ID, as the Google ecosystem performs the validation internally by cross-referencing the package name and the digital signature.
How to Obtain SHA-1 Fingerprints
Google requires the SHA-1 fingerprint to authorize native sign-in requests from Android.
SHA-1 for Testing (Debug):
On your development machine, the application is automatically signed with a default keystore. You can obtain this signature by running the following command in the terminal (the default keystore password is android):
$ keytool -list -v -keystore ~/.android/debug.keystore -alias androiddebugkey -storepass androidSHA-1 for Production:
If you are building a production APK on your machine via flutter build apk --release using your own keystore file (.jks or .keystore), you need to extract the SHA-1 directly from that private file. Run the following command in your terminal (you need to have Java/Keytool installed on your system):
$ keytool -list -v -keystore /path/to/your/key-file.jks -alias your-production-aliasReplace /path/to/your/key-file.jks with the actual location of your signature file. It will prompt you for the password you assigned to your key when creating it. In the output, you will see the Certificate fingerprints block with the production SHA-1.
Important note on Production and Google Play: When uploading the application to production, Google Play Console usually modifies the application's digital signature through the Play Store protection service. This means that the SHA-1 generated locally for release will stop working in production. To fix this, you must enter the Google Play Console, select your application, navigate to the Play App Signing section, copy the SHA-1 fingerprint provided directly by Google, and enter it as a new Android client within your project in the Google Cloud Console.
2. Implementation in Flutter (Dart Service)
To handle native Google logic, the google_sign_in package is used. Below is a clean structure for the service:
import 'dart:convert';
import 'package:google_sign_in/google_sign_in.dart';
import 'package:http/http.dart' as http;

class SocialAuthService {
  // It is essential to configure the client ID corresponding to the WEB APPLICATION
  final GoogleSignIn _googleSignIn = GoogleSignIn(
    serverClientId: "YOUR_WEB_APPLICATION_CLIENT_ID.apps.googleusercontent.com",
    scopes: ['email', 'profile'],
  );

  Future<String?> getGoogleAccessToken() async {
    try {
      // Force previous logout to clear cached states and avoid automatic logins
      if (await _googleSignIn.isSignedIn()) {
        await _googleSignIn.signOut();
      }

      final GoogleSignInAccount? account = await _googleSignIn.signIn();
      if (account == null) return null; // Flow canceled by the user

      final GoogleSignInAuthentication auth = await account.authentication;

      // Priority is given to accessToken or idToken according to the backend validation requirements
      return auth.accessToken ?? auth.idToken;
    } catch (e) {
      print("Error in Google Sign-In: \$e");
      return null;
    }
  }
}
What changed compared to v6?
In the recent version 7, we have some changes:
- attemptLightweightAuthentication(): Replaces the currentUser / isSignedIn check.
- authenticate(): Instead of silently returning null if it fails or is canceled, the new API returns the GoogleSignInAccount or throws an exception.
The following will apply to version 7:
Future<String?> getGoogleAccessToken() async {
  try {
    await _ensureInitialized();

    // Intenta obtener la sesión activa previa si existe (reemplaza a currentUser / signInSilently)
    final priorAccount = await GoogleSignIn.instance
        .attemptLightweightAuthentication();
    if (priorAccount != null) {
      // Cierra sesión previa para obligar al usuario a seleccionar una cuenta si lo deseas
      await GoogleSignIn.instance.signOut();
    }

    // Autenticar de forma interactiva
    final GoogleSignInAccount account = await GoogleSignIn.instance
        .authenticate();

    // En v7 el ID Token se obtiene sincrónicamente desde `account.authentication`
    final GoogleSignInAuthentication auth = account.authentication;
    String? token = auth.idToken;

    // Para solicitar el accessToken de Laravel Socialite vía OAuth 2.0:
    try {
      final authorization = await account.authorizationClient.authorizeScopes(
        _scopes,
      );
      // token = authorization.accessToken ?? token;
      token = authorization.accessToken;
    } catch (authErr) {
      debugPrint("Advertencia solicitando accessToken: $authErr");
    }

    if (token == null) {
      debugPrint(
        "No se pudo obtener el accessToken ni el idToken de Google.",
      );
    }

    return token;
  } catch (e) {
    debugPrint("Error en Google Sign-In nativo: $e");
    return null;
  }
}
The example login page:
lib\pages\user\login_page.dart
class _LoginPageState extends State<LoginPage> {
  final TextEditingController _emailController = TextEditingController();
  final TextEditingController _passwordController = TextEditingController();
  final SocialAuthService _socialAuthService = SocialAuthService();
  ***
  ElevatedButton(
    text: "Google",
      colors: [
      const Color(0xFFEA4335),
      const Color(0xFFDB4437)
    ],
    onPressed: _loginWithGoogle,
  ),
  ***
   void _loginWithGoogle() async {
    setStateIfMounted(() {
      socialLoading = true;
    });

    try {
      final token = await _socialAuthService.getGoogleAccessToken();

      if (token == null) {
        setStateIfMounted(() {
          socialLoading = false;
        });
        return;
      }

      final response = await _socialAuthService.authenticateOnBackend(
        provider: 'google',
        accessToken: token,
      );

      _handleSocialBackendResponse(response, 'google');
    } catch (e) {
      debugPrint("Error Google Auth flow: $e");
      showToastMessage(context, LocaleKeys.errorGoogleLogin.tr());
      setStateIfMounted(() {
        socialLoading = false;
      });
    }
  }
As you can see, there are two steps:
- getGoogleAccessToken, is 100% Google, to obtain the Token.
- authenticateOnBackend, is a method that manages the response from your Rest API which, given the Google authorization token from step one, validates it and returns YOUR authenticated user from YOUR app.
pubspec.yaml
google_sign_in:Future<Map<String, dynamic>> authenticateOnBackend({
required String provider,
required String accessToken,
}) async {
var url = Uri.https(baseUrlAPI, "/api/v1/auth/social");
if (!appApiUseHttps) {
url = Uri.http(baseUrlAPI, "/api/v1/auth/social");
}
try {
final response = await Api.post(
url,
body: {
'provider': provider,
'access_token': accessToken,
},
);
debugPrint("Response Status: ${response.statusCode}");
debugPrint("Response Body: ${response.body}");
if (response.statusCode == 200) {
return json.decode(response.body) as Map<String, dynamic>;
} else {
final Map<String, dynamic> errorData =
json.decode(response.body) as Map<String, dynamic>;
return {
'error': true,
'message':
errorData['message'] ?? 'Server authentication error.'
};
}
} catch (e) {
debugPrint("Error connecting to backend: $e");
return {
'error': true,
'message': 'Could not connect to the Desarrollolibre server.'
};
}
}3. Integration with the Backend
Option A: Laravel Server with Laravel Socialite
Laravel Socialite simplifies social token validation using the userFromToken() method. Below is the Laravel controller that processes the request from the mobile app:
<?php

namespace App\Http\Controllers\Api;

use App\Http\Controllers\Controller;
use App\Models\User;
use Illuminate\Http\JsonResponse;
use Illuminate\Http\Request;
use Laravel\Socialite\Facades\Socialite;

class SocialController extends Controller
{
    public function handleSocialAuth(Request $request): JsonResponse
    {
        $request->validate([
            'provider' => ['required', 'string', 'in:google,github'],
            'access_token' => ['required', 'string'],
        ]);

        $provider = $request->input('provider');
        $token = $request->input('access_token');

        // For GitHub: if a temporary code arrives (OAuth2 Web) instead of the final token, we exchange it
        if ($provider === 'github' && !str_starts_with($token, 'gho_') && !str_starts_with($token, 'ghu_')) {
            $response = \Illuminate\Support\Facades\Http::asJson()->post('https://github.com/login/oauth/access_token', [
                'client_id' => config('services.github.client_id'),
                'client_secret' => config('services.github.client_secret'),
                'code' => $token,
            ]);

            if ($response->successful()) {
                $data = [];
                parse_str($response->body(), $data);
                $token = $data['access_token'] ?? $token;
            }
        }

        try {
            $socialUser = Socialite::driver($provider)->userFromToken($token);
        } catch (\Exception $e) {
            return response()->json(['message' => 'Invalid token', 'error' => $e->getMessage()], 401);
        }

        $user = User::where($provider . '_id', $socialUser->getId())->first();

        if (!$user) {
            $email = $socialUser->getEmail();
            if (!$email) {
                return response()->json([
                    'requires_email' => true,
                    'social_data' => [
                        'id' => $socialUser->getId(),
                        'name' => $socialUser->getName() ?? 'User',
                        'avatar' => $socialUser->getAvatar(),
                        'provider' => $provider,
                    ]
                ], 200);
            }

            $user = User::create([
                'name' => $socialUser->getName() ?? 'User',
                'email' => $email,
                $provider . '_id' => $socialUser->getId(),
                'avatar' => $socialUser->getAvatar(),
                'password' => bcrypt(str_random(24)),
            ]);
        }

        return response()->json([
            'access_token' => $user->createToken('mobile-app')->plainTextToken,
            'token_type' => 'Bearer',
            'user' => $user
        ], 200);
    }
}
This method is the one used from Flutter in authenticateOnBackend().
Option B: Manual Process in Backend (Python / Django)
If you do not use Laravel, you can validate the token manually by making a direct HTTPS request to the provider's validation APIs. Below is a conceptual example in Python (Django / Flask) to verify Google and GitHub tokens:
import requests
from django.http import JsonResponse
from django.views.decorators.csrf import csrf_exempt
import json

@csrf_exempt
def handle_social_auth(request):
    if request.method == 'POST':
        data = json.loads(request.body)
        provider = data.get('provider')
        token = data.get('access_token')

        if provider == 'google':
            // Validation of ID Token with the Google API
            response = requests.get(f'https://oauth2.googleapis.com/tokeninfo?id_token={token}')
            if response.status_code != 200:
                return JsonResponse({'message': 'Invalid Google token'}, status=401)

            user_info = response.json()
            social_id = user_info.get('sub')
            email = user_info.get('email')
            name = user_info.get('name')

        elif provider == 'github':
            // Code exchange for access_token if applicable
            if not token.startswith('gho_'):
                res = requests.post(
                    'https://github.com/login/oauth/access_token',
                    headers={'Accept': 'application/json'},
                    data={
                        'client_id': 'YOUR_GITHUB_CLIENT_ID',
                        'client_secret': 'YOUR_GITHUB_CLIENT_SECRET',
                        'code': token
                    }
                )
                token = res.json().get('access_token')

            // Direct query to the GitHub API
            headers = {'Authorization': f'token {token}'}
            response = requests.get('https://api.github.com/user', headers=headers)
            if response.status_code != 200:
                return JsonResponse({'message': 'Invalid GitHub token'}, status=401)

            user_info = response.json()
            social_id = str(user_info.get('id'))
            name = user_info.get('name') or user_info.get('login')
            email = user_info.get('email') // May require an additional call if it is private

        // Here you proceed to register or log in the user in your DB and issue your JWT token
        return JsonResponse({'message': 'Successful authentication', 'user': {'name': name, 'email': email}})
Authentication with GitHub
Let's now move on to authentication using GitHub. I have divided this section into two parts to make it easier to read. I recommend reviewing the Gmail authentication section first, since there are parts of the general flow that were explained there and will be omitted in this section to avoid duplication.
1. Backend Logic: Controllers and Database
Just like with Gmail, the main objective is for the authenticated user to be registered in the backend. It makes no technical sense to exclusively authenticate the mobile application without persisting or linking the information provided by the social provider on our own server.
With this type of social login, we connect to the backend using the provider's unique ID to retrieve user details from our database. In this case, we will use Laravel along with the Laravel Socialite package, which considerably simplifies the whole process. If you use other environments such as Python with Django, the methodological flow is exactly the same, except for a small adjustment that we already implemented in the previous code:
if ($provider === 'github' && !str_starts_with($token, 'gho_') && !str_starts_with($token, 'ghu_')) {The method to obtain user data using the social driver by specifying the provider (Google or GitHub) remains identical:
$socialUser = Socialite::driver($provider)->userFromToken($token);In short, the flow consists of looking up the user using the unique ID provided by the social network. To do this, it is necessary to modify the users table in the database and incorporate the fields corresponding to the providers: github_id, google_id, and the avatar. You can choose to unify this into a single provider_id field along with an enumerated attribute (enum) to identify whether it is Facebook, Google, or GitHub. In this development, a specific field is managed per platform because the main target audience (developers) usually centralizes their access on Google and GitHub.
Before diving deeper into token management on the backend, it is essential to understand how this flow behaves from the mobile application.
2. Integrating the Authentication Flow in Flutter
In the application interface, we have a custom button for GitHub that invokes the internal _loginWithGitHub method. Unlike Google, which has an official native package ready to use, with GitHub we must perform a manual process.
The most efficient and recommended strategy consists of opening an integrated external web page (WebView) for the user to enter their credentials. From there, we capture an intermediate authorization code, send it to our REST API, and the backend handles the final exchange for the access token to complete the authentication.
The implementation of this flow in Flutter is detailed below:
void _loginWithGitHub() async {
    setStateIfMounted(() {
      socialLoading = true;
    });

    try {
      final code = await Navigator.push<String>(
        context,
        MaterialPageRoute(
          builder: (context) => const GitHubWebViewPage(
            clientId: githubClientId,
            redirectUri: githubRedirectUri,
          ),
        ),
      );

      if (code == null) {
        setStateIfMounted(() {
          socialLoading = false;
        });
        return;
      }

      // In the case of GitHub, we send the authorization code to the backend
      // The Laravel Socialite backend uses ->userFromToken($token) which, for GitHub,
      // expects to receive the final Access Token.
      // Or, if your backend expects the authorization code directly in 'access_token',
      // you can pass it here. By usual convention of Sanctum + Socialite Driver,
      // sometimes the Socialite driver expects the direct access_token.
      // We send the code.
      final response = await _socialAuthService.authenticateOnBackend(
        provider: 'github',
        accessToken: code,
      );

      _handleSocialBackendResponse(response, 'github');
    } catch (e) {
      debugPrint("Error GitHub Auth flow: $e");
      showToastMessage(context, LocaleKeys.errorGithubLogin.tr());
      setStateIfMounted(() {
        socialLoading = false;
      });
    }
  }

  void _handleSocialBackendResponse(
      Map<String, dynamic> response, String provider) {
    setStateIfMounted(() {
      socialLoading = false;
    });

    if (response['error'] == true) {
      showToastMessage(
          context, response['message'] ?? LocaleKeys.socialAuthError.tr());
      return;
    }

    if (response['requires_email'] == true) {
      // Special flow: no email was provided by the social network
      final socialData = response['social_data'] as Map<String, dynamic>;
      _showEmailRegistrationDialog(socialData, provider);
    } else {
      // Successful
      final email = response['user']?['email'] ?? '';
      _completeUserLogin(response, email);
    }
  }
3. Credential Configuration and Code Capture
For the GitHubWebViewPage component to function, it is necessary to previously configure the corresponding Client ID and Redirect URI within the GitHub development platform (Developer Settings -> OAuth Apps). The technical advantage of GitHub over Google Cloud Platform is that its configuration is more straightforward: since it does not directly depend on the Android or iOS infrastructure, it does not require complex SHA-1 signature configurations or additional JSON files in native directories.
The operational flow runs inside a component based on the webview_flutter package. Upon starting navigation, the user completes their authentication and the WebView intercepts the response using the navigationDelegate property. When it detects the configured redirect URL, it extracts the code parameter from the URL query and closes the view using Navigator.pop(context, code).
lib\pages\academy\user\github_webview_page.dart
import 'package:flutter/material.dart';
import 'package:webview_flutter/webview_flutter.dart';

class GitHubWebViewPage extends StatefulWidget {
  final String clientId;
  final String redirectUri;

  const GitHubWebViewPage({
    Key? key,
    required this.clientId,
    required this.redirectUri,
  }) : super(key: key);

  @override
  State<GitHubWebViewPage> createState() => _GitHubWebViewPageState();
}

class _GitHubWebViewPageState extends State<GitHubWebViewPage> {
  late final WebViewController _controller;
  bool _isLoading = true;

  @override
  void initState() {
    super.initState();

    final String authUrl =
        'https://github.com/login/oauth/authorize?client_id=${widget.clientId}&redirect_uri=${Uri.encodeComponent(widget.redirectUri)}&scope=user:email';

    _controller = WebViewController()
      ..setJavaScriptMode(JavaScriptMode.unrestricted)
      ..setUserAgent("random") // Prevents warnings from unsupported browsers by some OAuth
      ..setNavigationDelegate(
        NavigationDelegate(
          onPageStarted: (String url) {
            setState(() {
              _isLoading = true;
            });
          },
          onPageFinished: (String url) {
            setState(() {
              _isLoading = false;
            });
          },
          onNavigationRequest: (NavigationRequest request) {
            final String url = request.url;
            if (url.startsWith(widget.redirectUri)) {
              // The redirectUri was reached. We extract the 'code' from the query parameters.
              final Uri uri = Uri.parse(url);
              final String? code = uri.queryParameters['code'];
              if (code != null) {
                Navigator.of(context).pop(code); // We return the authorization code
                return NavigationDecision.prevent;
              }
            }
            return NavigationDecision.navigate;
          },
        ),
      )
      ..loadRequest(Uri.parse(authUrl));
  }

  @override
  Widget build(BuildContext context) {
    return Scaffold(
      appBar: AppBar(
        title: const Text('GitHub Login'),
        backgroundColor: const Color(0xFF0F111A),
      ),
      body: Stack(
        children: [
          WebViewWidget(controller: _controller),
          if (_isLoading)
            const Center(
              child: CircularProgressIndicator(),
            ),
        ],
      ),
    );
  }
}
4. Token Exchange and the Private Email Issue
Once the mobile application retrieves this intermediate code, it sends it to our backend's unified endpoint (api/auth/social). The backend discriminates using the provider: 'github' parameter and makes the direct POST request to GitHub servers to obtain the final access token. It is recommended to centralize this step on the server to avoid exposing Client Secrets in the mobile application code and to reduce the processing load on the device.
It is crucial to differentiate the behavior between providers: the token returned by Google already contains all the information ready and processed by its internal services. In contrast, GitHub requires this intermediate step due to its user privacy management, where the email address is frequently not returned publicly.
To solve the absence of the email address (a mandatory field in most user authentication and verification systems), the backend implements a restrictive validation:
- If after processing the token the email is null, the backend stops registration and returns a conditional structure: requires_email => true, along with the available public data (social_data).
- Upon receiving this response, the mobile application intercepts the state in the _handleSocialBackendResponse method and displays a structured modal dialog (_showEmailRegistrationDialog) that prompts the user to enter their email manually.
- Once the email format is validated, a second request is made to the specialized endpoint to register the email along with the remaining social data, triggering internal system events, creating the user's permanent record in the database, and returning the final session token (Sanctum or similar).
  void _showEmailRegistrationDialog(
      Map<String, dynamic> socialData, String provider) {
    final TextEditingController emailController = TextEditingController();
    bool dialogLoading = false;

    showDialog(
      context: context,
      barrierDismissible: false,
      builder: (context) {
        return StatefulBuilder(
          builder: (context, setDialogState) {
            return AlertDialog(
              backgroundColor: const Color(0xFF1E1B4B),
              title: Text(
                LocaleKeys.completeRegistration.tr(),
                style:
                    TextStyle(color: Colors.white, fontWeight: FontWeight.bold),
              ),
              content: Column(
                mainAxisSize: MainAxisSize.min,
                crossAxisAlignment: CrossAxisAlignment.start,
                children: [
                  Text(
                    LocaleKeys.dialogRequiresEmailDescription.tr(
                      namedArgs: {
                        'name': socialData['name'],
                      },
                    ),
                    style: const TextStyle(color: Colors.white70),
                  ),
                  const SizedBox(height: 16),
                  TextField(
                    controller: emailController,
                    keyboardType: TextInputType.emailAddress,
                    style: const TextStyle(color: Colors.white),
                    decoration: InputDecoration(
                      hintText: 'example@email.com',
                      hintStyle:
                          TextStyle(color: Colors.white.withOpacity(0.3)),
                      filled: true,
                      fillColor: Colors.white.withOpacity(0.05),
                      border: OutlineInputBorder(
                        borderRadius: BorderRadius.circular(12),
                      ),
                    ),
                  ),
                ],
              ),
              actions: [
                TextButton(
                  onPressed: dialogLoading
                      ? null
                      : () {
                          Navigator.of(context).pop();
                        },
                  child: Text(LocaleKeys.cancel.tr(),
                      style: TextStyle(color: Colors.white.withOpacity(0.55))),
                ),
                ElevatedButton(
                  style: ElevatedButton.styleFrom(
                    backgroundColor: const Color(0xFF6366F1),
                  ),
                  onPressed: dialogLoading
                      ? null
                      : () async {
                          final email = emailController.text.trim();
                          if (email.isEmpty || !email.contains('@')) {
                            showToastMessage(context,
                                LocaleKeys.invalidEmailNotification.tr());
                            return;
                          }

                          setDialogState(() {
                            dialogLoading = true;
                          });

                          final result =
                              await _socialAuthService.registerSocialEmail(
                            email: email,
                            provider: provider,
                            socialId: socialData['id']?.toString() ?? '',
                            name: socialData['name'] ?? 'User',
                            avatar: socialData['avatar'],
                          );

                          setDialogState(() {
                            dialogLoading = false;
                          });

                          if (result['error'] == true) {
                            showToastMessage(
                                context,
                                result['message'] ??
                                    LocaleKeys.errorRegisterEmail.tr());
                          } else {
                            Navigator.of(context).pop(); // Closes the modal
                            _completeUserLogin(result, email);
                          }
                        },
                  child: dialogLoading
                      ? const SizedBox(
                          width: 20,
                          height: 20,
                          child: CircularProgressIndicator(
                              strokeWidth: 2, color: Colors.white),
                        )
                      : Text(LocaleKeys.register.tr(),
                          style: TextStyle(color: Colors.white)),
                ),
              ],
            );
          },
        );
      },
    );
  }
On the backend, we register the email:
public function storeSocialEmail(Request $request): JsonResponse
{
    $request->validate([
        'email' => ['required', 'string', 'email', 'max:255', 'unique:users'],
        'provider' => ['required', 'string'],
        'social_id' => ['required', 'string'],
        'name' => ['required', 'string'],
        'avatar' => ['nullable', 'string'],
    ]);

    $user = User::create([
        'name' => $request->name,
        'email' => $request->email,
        $request->provider . '_id' => $request->social_id,
        'avatar' => $request->avatar,
        'password' => Hash::make(Str::random(24)),
        'email_verified_at' => now(),
    ]);

    event(new Registered($user));
    // event(new Verified($user));

    return $this->generateAuthResponse($user, 'User created with manually provided email.');
}

/**
 * Generates the standard API response with the Sanctum Token.
 */
private function generateAuthResponse(User $user, string $message): JsonResponse
{
    return response()->json([
        'message' => $message,
        'access_token' => getUserTokenAuth(user: $user),
        'token_type' => 'Bearer',
        'user' => [
            'id' => $user->id,
            'name' => $user->name,
            'email' => $user->email,
            'avatar' => $user->avatar,
        ]
    ], 200);
}
General Flow Summary
- Step 1: Previous configuration of the OAuth App credentials in the GitHub console.
- Step 2: Invocation of web authentication from Flutter using a custom WebView to capture the authorization code.
- Step 3: Sending the code to the backend and processing via Laravel Socialite.
- Step 4: Validation and control of the email address. If it is private, it is requested through a modal in the app and confirmed in a secondary endpoint to complete the successful login.
Migration for the user
In Laravel, we create a migration to add three columns for social login, the unique provider IDs, and the avatar:
<?php

use Illuminate\Database\Migrations\Migration;
use Illuminate\Database\Schema\Blueprint;
use Illuminate\Support\Facades\Schema;

return new class extends Migration
{
    /**
     * Run the migrations.
     */
    public function up(): void
    {
        Schema::table('users', function (Blueprint $table) {
            $table->string('github_id')->nullable()->unique();
            $table->string('google_id')->nullable()->unique();
            $table->string('avatar')->nullable();
        });
    }

    /**
     * Reverse the migrations.
     */
    public function down(): void
    {
        Schema::table('users', function (Blueprint $table) {
            $table->dropColumn(['github_id', 'google_id', 'avatar']);
        });
    }
};
If you are going to use more social providers, you can create a single column called, for example, social_provider_id and an enumerated type to indicate the type of social network.
Another very useful feature is the ability to detect internet connection in Flutter.