Content Index
- What is Django Admin and what is it for?
- 1. Introduction: Django's Integrated Administration Panel
- 2. How to Access the Django Admin Panel
- Advantages of Superuser Access
- Basic configuration of the urls.py file
- 3. Registering Models in Django Admin
- 4. What exactly does Django Admin allow us to do?
- Customizing classes to create CRUDs with Django Admin
- 5. Customizing Django Admin Step by Step
- Displaying specific columns with list_display
- Defining columns for listings
- Search fields
- Date hierarchy
- Ordering
- Filters and searching with list_filter and search_fields
- Editable fields
- Indicate manageable fields
- Exclude manageable fields
- Grouping management fields
- 6. Registering Classes Using a Decorator
- What is a Decorator?
- Advantages of Decorators
- 7. Use Cases and Limitations of Django Admin
- 8. Group management fields
- Block Division (fieldsets)
- Extra: How to automatically generate slugs in Django Admin
- Conclusion: Why Django Admin is still an essential tool
- Frequently Asked Questions about Django Admin (FAQ)
We already know how to work with pagination in Django, the next step is how to create the famous CRUDs, which in Django, we have very easily. Django Admin is an application that comes installed by default when we create a Django project. To be able to use it, we need other applications that already come with our framework, such as:
'account',
'django.contrib.admin',
'django.contrib.auth',
'django.contrib.contenttypes',
'django.contrib.sessions',
'django.contrib.messages',
'django.contrib.staticfiles',
We can view and manage all these applications in the project's global configuration file. For example, to achieve authentication in our Django Admin application, we use the app called django.contrib.auth, and this is part of using frameworks like Django, which is that we can easily reuse components, modules, applications... and even the framework itself does the same.
These applications are responsible for the authentication, permissions, and visualization system that makes the Django Admin panel possible.
What is Django Admin and what is it for?
When I started working with Django, one of the things that most CAPTIVATED me was discovering that the framework already came with a complete tool to manage the data of my application: Django Admin.
Django's admin panel is one of its most powerful features and a prime example of its "batteries included" philosophy. It's a self-generating module that provides a complete interface for managing your application's data without writing any HTML, CSS, or JavaScript code.
This integrated control panel allows you to create, read, update, and delete records (CRUD) without writing a single line of HTML or JavaScript code. In other words, it gives you an administrative interface ready to use from the moment you start a project.
1. Introduction: Django's Integrated Administration Panel
Django Admin is an application that comes installed by default in any project created with the command:
$ django-admin startprojectIts goal is clear: to offer a management interface for your application's models. Thanks to this panel, you can create users, add products, review comments, or manage categories without building a dashboard from scratch.
In my experience, this functionality has been ideal when developing prototypes or internal applications. I don't have to waste time creating management interfaces, and I can focus on the business logic.
2. How to Access the Django Admin Panel
Creating a Superuser
Before you can enter the panel, you need to create a superuser account. In my case, I always do it after migrating the database:
$ python manage.py createsuperuserThe command will ask you for a username, email, and password. Once created, you will have total access to the panel.
Logging in to /admin
By default, Django uses the /admin URL as the access point to the panel.
You just need to run the server with:
$ python manage.py runserverand open in the browser:
http://127.0.0.1:8000/admin
If you use another URL or port, remember to modify it.
Personally, I always verify that the user and the paths are active before registering models.
Advantages of Superuser Access
- Full Access: You have complete control over all parts of the system.
- Basic Authentication: Django already includes basic authentication features (roles, permissions, and user management), although for a registration and login system for regular users (non-administrators), you would need additional modules or implement it yourself.
Basic configuration of the urls.py file
In your main urls.py file, make sure you have the following lines:
from django.contrib import admin
from django.urls import path
urlpatterns = [
   path('admin/', admin.site.urls),
]
This connects the /admin path with the built-in administration application.
When we create new web pages or APIs, we must add these URLs to urls.py for routing.
Take a look at the project-level urls.py file.
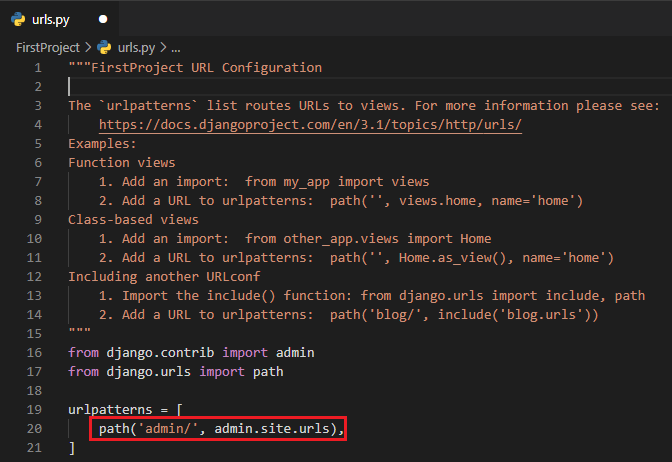
As you can see in the image above, I have marked line 20 with a red rectangle. Here, the first parameter says what our URL is and the second parameter says that this URL will be the administration panel of our project.
After running our server successfully, let's open our browser and go to this website http://127.0.0.1:8000/admin
Note: if you run your project on a different URL, don't forget to change this area.
3. Registering Models in Django Admin
Once your project is running, the next step is to register the models you want to manage.
In my "mystore" project, for example, I have an elements/admin.py file where I register the Element, Category, and Type classes:
from django.contrib import admin
from .models import Element, Category, Type
admin.site.register(Element)
admin.site.register(Category)
admin.site.register(Type)
It's that simple: just by registering your models, Django automatically generates a functional CRUD panel.
You can also use a decorator to register models, something I adopted in my most recent projects because it makes the code cleaner:
@admin.register(Element)
class ElementAdmin(admin.ModelAdmin):
   list_display = ('id', 'title', 'category', 'type')
Looking at the list of records, we notice that Django knows how to print each object. This isn't magic; it's a feature inherent to Python:
The __str__ method: When we define the model in models.py, we include a __str__(self) method that returns a string. This string is what Django Admin uses by default to represent the object in the listing and breadcrumbs.
This gives Python clear self-expression and avoids the verbosity of having to manually tell each interface which field to display as the "title".
4. What exactly does Django Admin allow us to do?
Django Admin offers us a configurable interface through classes to be able to create simple CRUD processes simply through a class scheme; in other words, by just defining a class, some attributes such as indicating the model, which fields we want to be manageable in the forms, fields for the listing, filters, etc.; with this, Django Admin automatically creates a complete CRUD for these fields:
Customizing classes to create CRUDs with Django Admin
from django.contrib import admin
from .models import Comment
# Register your models here.
admin.site.register(Comment)
And that's it, in this entry we saw a simple example of how we can use and customize Django Admin for our project, but remember that you can get more information on how you can customize your CRUD processes through this powerful application; you can continue viewing the official documentation or follow my Django course in which we see a little bit of everything with this famous framework.
5. Customizing Django Admin Step by Step
Django Admin has a high level of customization in how we want to display data, apply filters, searches, which data we want to manage, etc.; for this, we have to define the series of implemented features from a class like the following.
Displaying specific columns with list_display
If you want to display only certain fields in the listing:
class CategoryAdmin(admin.ModelAdmin):
    list_display = ('id', 'text')

admin.site.register(Comment, CategoryAdmin)
Like almost everything in Django, it is simply a Python class that inherits from an internal framework class in which we apply the features; then, we register it using site.register() in which we indicate the model and the admin/features class.
Let's look at some common features that we can apply.
Defining columns for listings
If you want to place specific columns from the listing, just define a tuple called list_display with the columns you want to show:
# Register your models here.

class CategoryAdmin(admin.ModelAdmin):
    list_display = ('id','text')

admin.site.register(Comment, CategoryAdmin)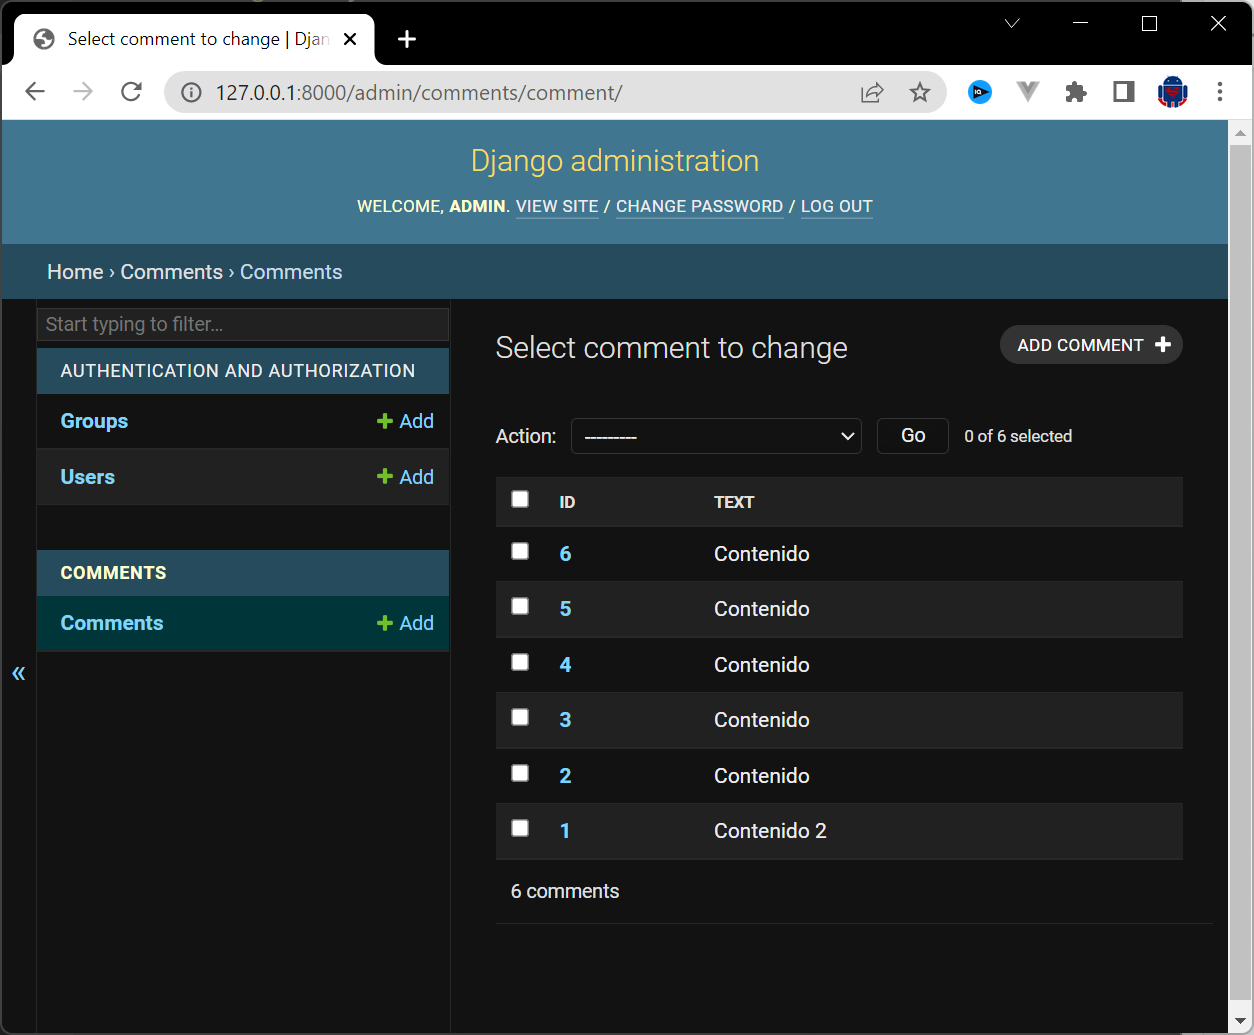
Search fields
We can specify which fields in our table the listing will search by:
class CommentAdmin(admin.ModelAdmin):
    list_display = ('id','text')
    search_fields = ('text', 'id')
Date hierarchy
Right below the search bar, there are navigation links to navigate through a date hierarchy:
class CommentAdmin(admin.ModelAdmin):
    list_display = ('id','text')
    search_fields = ('text', 'id')
    date_hierarchy = 'date_posted'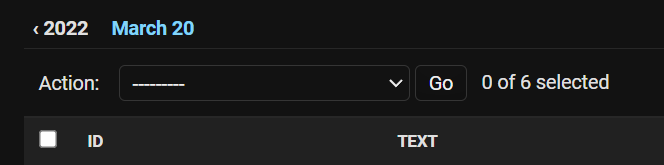
Ordering
We can specify the ordering field in the listing:
class CommentAdmin(admin.ModelAdmin):
    list_display = ('id','text')
    search_fields = ('text', 'id')
    date_hierarchy = 'date_posted'
    ordering = ('date_posted',)
Filters and searching with list_filter and search_fields
These attributes allow easy navigation of large volumes of data:
class CommentAdmin(admin.ModelAdmin):
    list_display = ('id','text')
    search_fields = ('text', 'id')
    date_hierarchy = 'date_posted'
    ordering = ('date_posted',)
    list_filter = ('id', 'date_posted')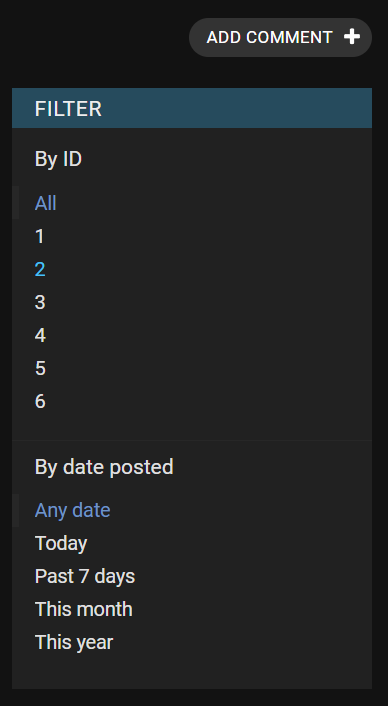
Editable fields
From the listing, you can modify fields:
class CommentAdmin(admin.ModelAdmin):
    list_display = ('id','text')
    search_fields = ('text', 'id')
    date_hierarchy = 'date_posted'
    ordering = ('date_posted',)
    list_filter = ('id', 'date_posted')
    list_editable = ('text',)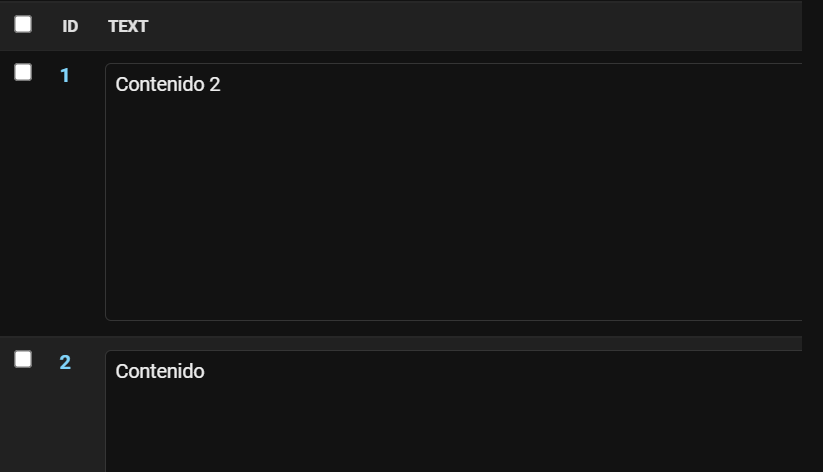
Indicate manageable fields
Depending on the model you are working with, you may be interested in defining only some manageable fields (for creating and editing):
class CommentAdmin(admin.ModelAdmin):
    // ***
    fields = ('text',)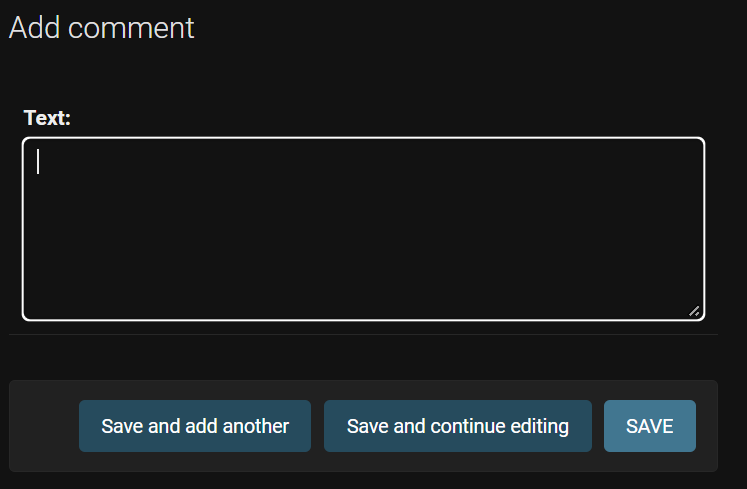
Exclude manageable fields
We can also exclude manageable fields:
class CommentAdmin(admin.ModelAdmin):
    // ***
    #fields = ('text',)
    exclude = ('text',)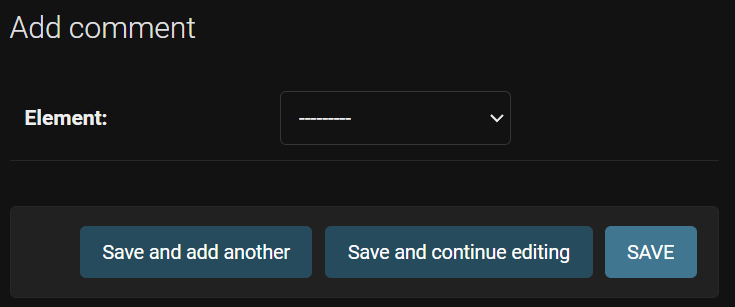
Grouping management fields
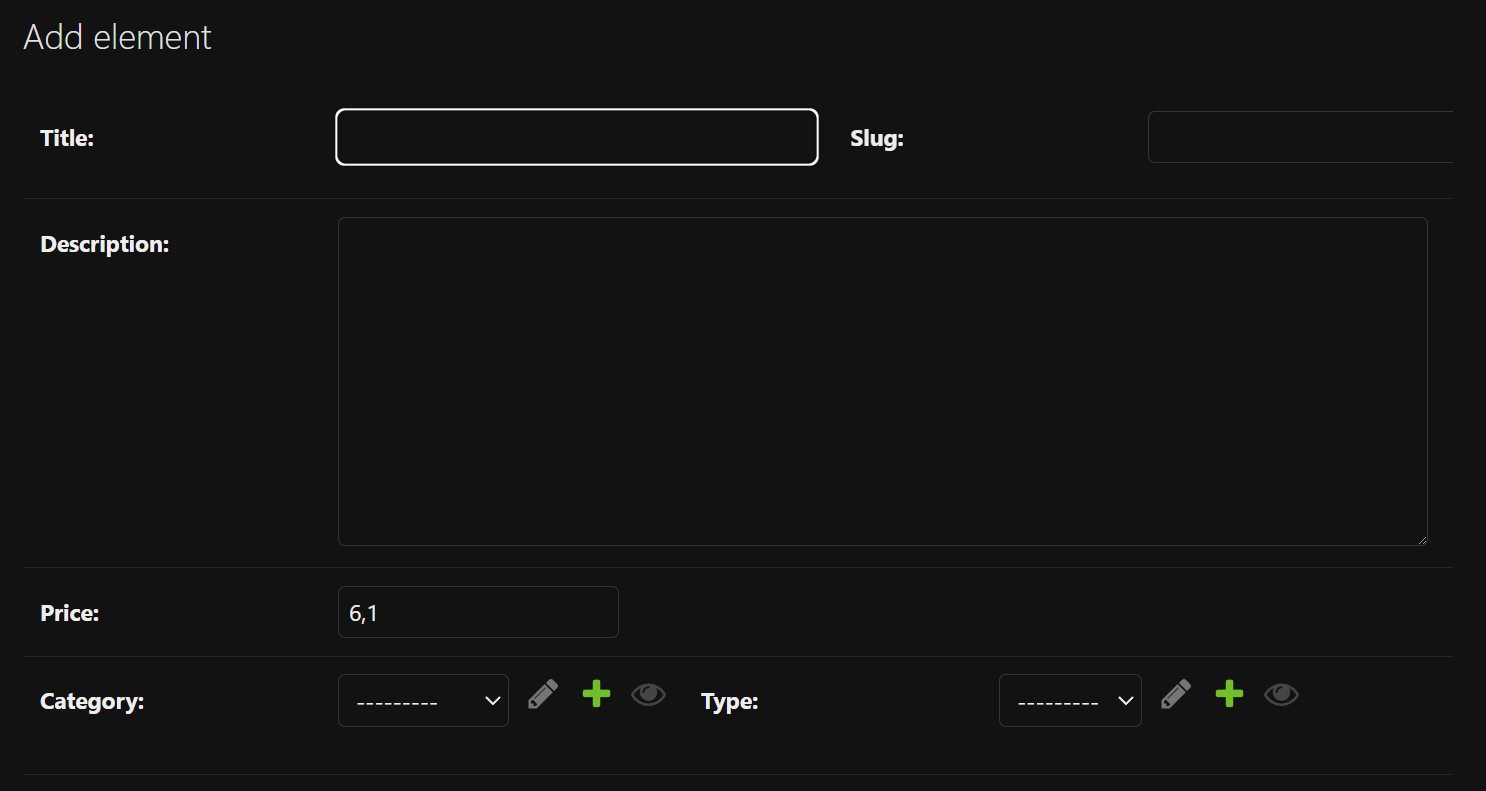
Using tuples, it is possible to group form fields to place them on a single line, for example, if we want to place the title and the slug on a single line, as well as the type and category, we have:
@admin.register(Element)
class ElementAdmin(admin.ModelAdmin):
    list_display = ('id','title','category','type')
    fields = (('title','slug'),'description','price',('category','type'))
And it looks like this:
6. Registering Classes Using a Decorator
Another way in which we can register classes is by using a decorator:
@admin.register(Comment)
class CommentAdmin(admin.ModelAdmin):
    list_display = ('id','text')
    //***
What is a Decorator?
A decorator is a function that "wraps" or "decorates" another function or class, allowing you to extend or modify its behavior without changing its source code. It's used by placing the at symbol (@) followed by the decorator's name, just before the class or function definition.
Advantages of Decorators
This method is preferable because:
- It's more expressive: It immediately makes clear which model is customizing the class.
- It's more concise: It eliminates the need for a separate line at the end of the file.
7. Use Cases and Limitations of Django Admin
Django Admin is excellent for internal panels, small projects, and development stages.
For example, I use it when I need to load test data or validate relationships between models before building an API.
However, it is not intended for end-users. Its design, although powerful, is not customizable to the level of a tailor-made dashboard.
In those cases, I usually integrate my own frontend (React or Vue) with the Django API.
- When to use Django Admin:
- For internal data management.
- In prototype or MVP projects.
- When you need a fast and reliable CRUD.
When to avoid it:
- If the panel will be used by clients or external users.
- When you require a totally personalized visual interface.
8. Group management fields
Using tuples, it is possible to group form fields to place on a single line (side by side), for example, if we want to place the title and the slug on a single line, as well as the type and category, we have:
@admin.register(Element)
class ElementAdmin(admin.ModelAdmin):
    list_display = ('id','title','category','type')
    fields = (('title','slug'),'description','price',('category','type'))
Block Division (fieldsets)
We have a more complete and customizable option than the fields property, which is the fieldsets with which we can create groups of form fields; specifically, through tuples, we can create these divisions between fields that are then represented by a <fieldset> tag; for example:
class ElementAdmin(admin.ModelAdmin):
    ***
    fieldsets = [
        (
            "Regular options",
            {
                "fields": ["slug", "title", "description"],
            },
        ),
        (
            "Advanced options",
            {
                "fields": ["price",],
            },
        ),
    ]
Apart from creating these groups, we can create two default classes in the admin site style sheet: collapse and wide:
- collapse: Field sets with this style will initially collapse in the admin and be replaced with a small “click to expand” link.
- wide: Field sets with this style will be given additional horizontal space.
This is useful for complex forms; you can divide the content into logically labeled sections using the fieldsets attribute. This allows you to structure the form into collapsible blocks (optionally) or simply divide it by headings.
- Structure: fieldsets require a list (array) of tuples. Each tuple represents a block of content.
- Tuple 1 (Title): The first element is the block title (or None if you don't want a title).
- Tuple 2 (Options): The second element is a dictionary that defines the block options, with the 'fields' key being the most important (it contains the list or tuple of fields to display in that block).
Extra: How to automatically generate slugs in Django Admin
There are several ways we can automatically populate the slug field, but I'm going to use the one I consider the simplest and probably the most used. I'd say that in 99.9% of cases, we'll want the slug to be the same as the title.
To do this, go to the Django admin and use the prepopulated_fields property. We specify that the slug field should be populated from the title field.
djangoshopping\<APP>\admin.py
class PostAdmin(admin.ModelAdmin):
    prepopulated_fields = {"slug": ("title",)}
This is a tuple, and since it only has one element, the comma at the end is required.
If you don't include it, it won't be interpreted as a tuple and you'll get an error.
If we included two fields, the comma after the second one wouldn't be required.
Conclusion: Why Django Admin is still an essential tool
In my experience, Django Admin is one of the gems of the framework.
It allows you to validate models, test flows, and manage data effortlessly.
Furthermore, its level of integration with the Django ecosystem (authentication, permissions, security) makes it an ideal tool for small teams or individual developers.
Every time I start a new project, I activate the admin panel from the beginning.
It's my way of verifying that the models and relationships work correctly before moving on to the visual or API phase.
Frequently Asked Questions about Django Admin (FAQ)
- What is Django Admin?
- It is Django's default administrative panel for managing models, users, and project data.
- How do I access the panel?
- Run your server with python manage.py runserver and go to /admin.
- Can I use Django Admin in production?
- Yes, although it is recommended to limit access to authorized personnel and use HTTPS.
- What is the difference between Django Admin and a custom dashboard?
- Django Admin is intended for internal administration; a personalized dashboard is aimed at the end-user and requires custom design.
The next step is to learn how to work with named routes.