
Content Index
- Get all database records with the Django ORM (all())
- The template (HTML View), iterating all records
- Create a route for the listing page
- How to create a paginated listing in Django step by step
- 1. What is a paginated listing and why use it in Django
- Pagination on the view side and the template side
- 2. Preparing the environment: model, view, and base template
- 3. Implementing pagination with the Paginator class
- Pagination in Django
- Generate the links for pagination
- 4. Pagination with generic views (ListView)
- 6. Build the pagination links with Bootstrap 5 design
- Explanation of parameters used
- CRUD links in the table
- Truncate description data: truncatechars:'150'
- Customizing the length
- Conclusion
- Conclusions
- ❓Frequently asked questions about pagination in Django
Information listings are a primary element in any application, whether it's a blog, a product type, for performing a CRUD operation, etc.; all of this is part of the same logic and structure which is loading the list of elements, possibly under a particular criterion (that they are approved, paginated, etc.) and we are going to see how we can create a listing view or template using Django.
We will start from the previous entry in which we already created and executed the migration to our MySQL database; therefore, remember that to create the migration, we had to have created a model.
Get all database records with the Django ORM (all())
So, the first thing we need is to be able to get all the elements; for this we can use the ORM that Django provides us, which, in conjunction with the model, allows us to perform any CRUD operation, in this case, we are interested in the read-only operation.
We are going to our views file called views in our application firstApp and we are going to create a new function called index:
def index(request):And the first thing we are going to do is get the records; that is, the comments, for that we have to load the model we defined earlier. For this, in this same view file (remember that the models file is in the same app):
from .models import CommentAnd now from the function we created earlier, we simply have to refer to the model we loaded; that is, the class:
comments = Comment.objects.all()Here, as we mentioned, we reference the model class called Comment, followed by the objects and then the CRUD type method we want to use, which in this case, since we want to get all the records, we have to use the method called all:
And with this, we get all the records; now we simply have to pass them to the view; for this, we can use the function called render as we did before with the usual parameters which would be:
- The request
- The HTML page or template
- A dictionary with the data that we are going to pass to the view.
return render(request,'index.html',{'comments' : comments })Finally, the code looks like this:
from .models import Comment

def index(request):
comments = Comment.objects.all()
return render(request,'index.html',{'comments' : comments })
The model used looks like the following:
# models.py
from django.db import models
class Comment(models.Model):
   text = models.TextField()
   date_posted = models.DateTimeField(auto_now_add=True)
The template (HTML View), iterating all records
Next, we are going to create a template inside fistApp, which, remember, is the HTML view, and a folder called templates that you have to create, which we will name index.html or whatever name you want it to have:
firstProject\firstApp\templates\index.html
In this template, we are going to place a basic HTML page and simply a directive called for, which works like any for loop in any programming language.
As you can see, it receives an iterable object, which in this case would be the collection of comments, and then we want to print them to the screen; to print a value to the screen, we simply have to use the double curly braces:
<!-- templates/index.html -->
<!DOCTYPE html>
<html lang="es">
<head><meta charset="UTF-8"><title>Listado de comentarios</title></head>
<body>
  {% for c in comments %}
  <div>
    <p>{{ c.text }} - {{ c.date_posted }}</p>
  </div>
  {% endfor %}
</body>
</html>
For the for directive, you have to use the logic tags which are those formed by a curly brace and a percentage sign.
Create a route for the listing page
Now we have almost everything ready, we are going to create the route in the file called (inside the application that you also have to create) urls.py inside the application firstApp:
firstProject\firstApp\urls.py

app_name='comment'
urlpatterns = [
path('', views.index, name='index'),
]
And remember to load the previous file (the routes file) inside your project; for that:
firstProject\firstProject\urls.py

from django.contrib import admin
from django.urls import path, include

urlpatterns = [
path('fisrtApp/', include('firstApp.urls'))
]
As you can see, in the application's urls file, we simply register a route, with no path '', that is resolved by the index function from the index.py file and we optionally give it a name. Then, we register ALL the routes (in this case only one) of the application at the project level, for that we include them using Django's include function.
And with this, if we enter the previous route:
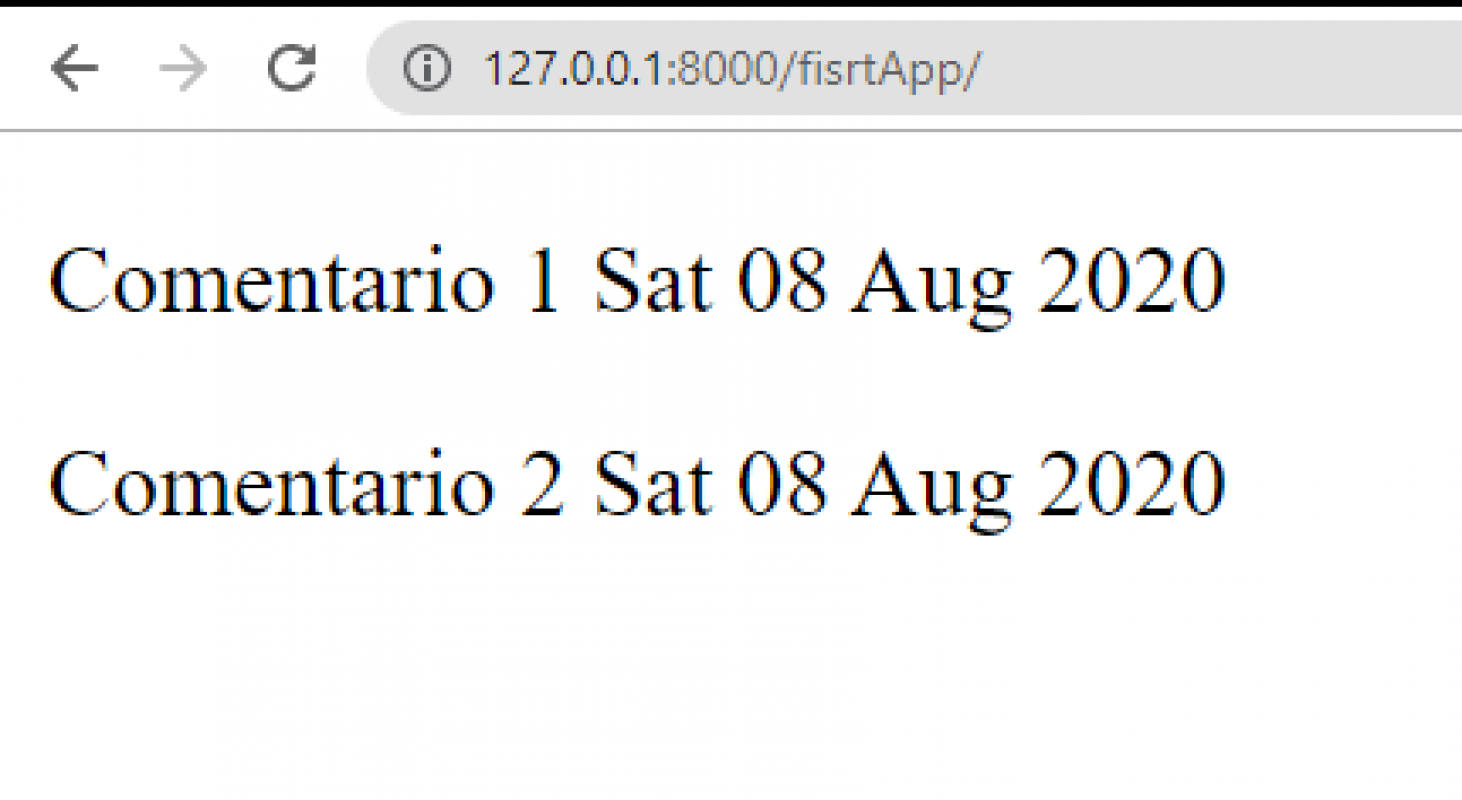
We already have our listing.
How to create a paginated listing in Django step by step
When we start creating typical listings, one of the first operations we have to do is display a paginated table; all of this is part of almost any application. But of course, when records begin to grow, displaying everything on a single page stops being practical compared to what we implemented in the previous section, and that is why we decide to paginate it.
That's where pagination comes into play. In this guide, I will show you how to create a paginated listing in Django, step by step, using both custom functions and generic views (ListView), so you can apply it in any project.
1. What is a paginated listing and why use it in Django
A paginated listing is simply a way to divide large volumes of information into smaller pages.
This improves site performance and user experience, as it avoids loading hundreds of records at once.
Advantages of pagination
- Shorter loading time.
- Cleaner and more navigable interface.
- Lower server resource consumption.
- Possibility of using CSS libraries (like Bootstrap) for an attractive design.
When I tried this in Django for the first time, I realized that the framework already brings everything necessary to do it: you just have to understand how the Paginator works and how to pass the information to the template.
Pagination on the view side and the template side
We are going to paginate on both sides, on one side, the client or the web page, display the listing, make it look nice, with CSS with Bootstrap in this case, although you can use custom CSS, Bulma, Tailwind, or anything you work with.
We are going to learn how we can create a simple, quite generic, and reusable pagination system for our listing.
This is a quite common practice nowadays, where we want to paginate a listing or table of records, such as post publications, a list of products for an online store, etc.
2. Preparing the environment: model, view, and base template
Before paginating, we need to have something to display. In my case, I worked with a model called Comment, but you can use any other (for example, Post or Product) as implemented in the previous section. Up to this point, we would already have our listing working. But it is not paginated yet.
3. Implementing pagination with the Paginator class
Following our example, we are going to create a simple pagination system for comments. Django includes a class called Paginator which is responsible for dividing the records into pages. We just have to indicate how many elements we want per page.
Pagination in Django
In Django, we have a class called Paginator which receives two arguments, the list of all records, and the pagination level, that is, if you want a page with 5 records (page size 5), 10, etc.
As you can see, we also validate that we receive a parameter via get to indicate which page we want to see, in this case we are going to use the parameter traveling via get, called page, but it can have any name; remember to include some validation to avoid problems and to handle a corresponding range:
page_number = request.GET.get('page')So, with Django's Paginator class we pass which list we want to paginate and the pagination level; the rest of the code remains the same as the previous entry:
# views.py
from django.core.paginator import Paginator

def index(request):
    comments = Comment.objects.all()
    paginator = Paginator(comments, 5)  # 5 elementos por página
    page_number = request.GET.get('page')
    comments_page = paginator.get_page(page_number)
    return render(request, 'index.html', {'comments_page': comments_page})
Generate the links for pagination
The main code would be exactly the same as the one used previously, but now we are going to add some pagination links; as you can see, to create a reusable scheme, we are including a view, which are the navigation links:
<body>
    {% for c in comments_page %}
    <div>
        <p>
            {{ c.text|escape }}
            {{ c.date_posted|date:"D d M Y" }}
        </p>
    </div>
    {% endfor %}

    {% include "partials/pagination.html" with page_obj=comments_page  %}
</body>
4. Pagination with generic views (ListView)
If you prefer a cleaner approach, you can use the generic view ListView, which already has integrated pagination.
# views.py
from django.views.generic import ListView
from .models import Comment
class ComentariosView(ListView):
   model = Comment
   template_name = 'index.html'
   context_object_name = 'comments'
   paginate_by = 5
And in your urls.py:
from django.urls import path
from .views import ComentariosView
urlpatterns = [
   path('', ComentariosView.as_view(), name='comentarios'),
]
In the template:
{% for c in comments %}
 <p>{{ c.text }} - {{ c.date_posted }}</p>
{% endfor %}
{% include "partials/pagination.html" with page_obj=page_obj %}
Django automatically handles the pagination logic. Whenever possible, we should use Class-Based Views for our developments, as they are more modular and easily reusable.
We can also use the pagination scheme using the generic views that Django offers us; specifically the ListView generic view, for lists.
We simply have to define a class that extends ListView and specify some parameters:
- The model we are going to work with
- The location of the template, we can perfectly use the one from the previous listing
- The pagination level.
In addition to this, we have to create a function called get_queryset which receives the page as a parameter and we have to return an instance of the current page.
There are many aspects you can customize, in the following code, you can see more parameters that are easy to interpret:
from django.views.generic import ListView
from django.core.paginator import Paginator

class Comentarios(ListView):
    model = Comment
    template_name = 'index.html'
    paginate_by = 3

def get_queryset(self,pag=1):
    comments = Comment.objects.all()
    paginacion = Paginator(comments,'cantidad objetos')
    if len(paginacion.page(1)) == 0:
        return None
    else:
        return paginacion.page(pag)
The parameter that we are going to pass to the template is called objet_list, therefore, we have to change the reference in the template:
{% for c in object_list %}6. Build the pagination links with Bootstrap 5 design
The view to generate the links will be saved in the following location, as you could see in the previous code:
partials/pagination.html
This view will simply receive the complete list of records that we want to paginate; the code itself is not complicated at all, it simply verifies if we have previous or next links and finally iterates according to the pagination range we have to generate the pagination links; in this example, we use Bootstrap 5:
<nav aria-label="Page navigation example">
    <ul class="pagination justify-content-center mt-5">

          {% if page_obj.has_previous %}
              <li class="page-item">
                  <a class="page-link" href="?page={{ page_obj.previous_page_number }}">previous</a>
              </li>
          {% endif %}

          {% for i in page_obj.paginator.page_range %}

              {% if i == page_obj.number %}
                  <li class="page-item active">
                      <a class="page-link" href="#">{{ i }}</a>
                  </li>
              {% else %}
                  <li class="page-item">
                      <a class="page-link" href="?page={{ i }}">{{ i }}</a>
                  </li>
              {% endif %}

          {% endfor %}

          {% if page_obj.has_next %}
              <li class="page-item">
                  <a class="page-link" href="?page={{ page_obj.next_page_number }}">next</a>
              </li>
          {% endif %}

    </ul>
  </nav>
The code, although it may seem complicated, explains itself if you analyze it a bit, we simply want to build navigation links, we have two conditionals, at the beginning and end of the block simply to ask if there are previous or next links to display; and in the middle, we render all the navigation links.
Explanation of parameters used
We use several parameters in the view to build our navigation links:
- page_obj.has_previous: Boolean that indicates if there is a previous page.
- page_obj.has_next: Boolean that indicates if there is a next page.
- page_obj.previous_page_number: Returns the number of the previous page.
- page_obj.next_page_number: Returns the number of the next page.
- page_obj.number: Returns the number of the current page.
- page_obj.paginator.num_pages: Returns the total number of pages.
CRUD links in the table
We can define the links for the rest of the CRUD operations that we will implement in other articles, something like:
<a class="btn btn-sm btn-outline-primary" href="{% url 'detail' e.id %}">Go</a>Indicating the name of the application makes it more reusable.
In order to reference the name of the application, we must define the namespace:
mystore\mystore\urls.py
path('store/', include('elements.urls', namespace='elements')),To avoid an error like the following:
ImproperlyConfiguredError about app_name when using namespace in include()And the:
mystore\elements\urls.py
app_name = 'elements'To avoid an error like the following:
is not a registered namespaceTruncate description data: truncatechars:'150'
When we have long text fields and want to shorten them, it's a good idea to limit their length to improve the interface's appearance.
For this, we can use Django's `truncatechars` filter:
<p>{{ e.description | truncatechars:'150' }}</p>How it works:
Here we specify the `truncatechars` filter and the number of characters we want to display.
For example, to do a quick test, we can use 4 characters:
<p>{{ e.description | truncatechars:'4' }}</p>In this case, the text should not show more than four characters, and indeed it does.
Customizing the length
Obviously, we don't want to limit the text to just four characters.
For a more realistic example, we can set it to 150 characters, which is usually enough to display a readable summary:
<p>{{ e.description | truncatechars:'150' }}</p>This way, the text won't be too long, avoiding the lengthy structure of a novel, while still providing sufficient information.
The character limit can be customized to suit your needs and page design.
Conclusion
With the truncatechars filter, it's very easy to trim long text fields and display a controlled summary, improving the readability and aesthetics of the interface.
Conclusions
Pagination in Django is an essential tool for any application that handles large volumes of data.
Whether you use custom views or generic views (ListView), the pattern is the same: get the data, divide it into pages, and display navigable links.
Pagination is a scheme that we use in any modern framework today and is indispensable for paginating different types of development that we want to do, whether for use in a table, or another customizable element, including a RestApi.
Of course, since Django handles different types of templates, we can define the same one for each type of template, either by using ListViews as a component of generic views or a 100% customizable view/template by us, and everything revolving around the queryset which is our data source.
Of course, since Django handles different types of templates, we can define the same one for each type of template, either by using ListViews as a component of generic views or a 100% customizable view/template by us. In my case, after implementing this several times, I ended up creating a base template that I reuse in all my projects.
I recommend you do the same: define a modular structure so as not to repeat code.
❓Frequently asked questions about pagination in Django
What is the easiest way to paginate a queryset?
Use Django's Paginator class and the get_page() method.
What is the difference between Paginator and ListView?
Paginator is used in custom views (functions), while ListView already includes the logic to paginate automatically.
How to integrate Bootstrap with pagination?
Include Bootstrap's CSS in your project and use the <ul class="pagination"> structure as shown above.
The next step is to learn about "What is Django Admin?".