
Having an authentication system is one of the most basic aspects of any web application, although up to this point we have been able to solve the need by taking advantage of the authentication module provided by Django Admin. It is not possible to use it for users who are not administrators. and that is why in this section we are going to learn how to create a custom authentication module.
The link to the official documentation that we will use in this post (remember that we already know how to deploy Django in production with Railway):
The link to the official documentation that we will use in this chapter:
https://docs.djangoproject.com/en/dev/topics/auth/default/
Currently, we can only access the Admin module to authenticate, but there's no other way for the end user.
Django offers several ways to handle this. The default method is for the superuser, and for a regular user, authenticating through it wouldn't work for obvious reasons, mainly due to permissions issues. As we saw at the end of the previous section, when I tried to access the Admin as a regular user, the system rejected me.
To solve this, we're going to implement a custom authentication module. There are three main approaches:
- Django's built-in routes: Use a package of pre-built routes and simply override them with your desired style. This is the approach we'll take now.
- External packages: Install a more robust package (I'll probably show it to you at the end as a demonstration), which is the one I use in larger projects, such as online stores.
- Class-based views: Similar to what we implemented before, there are also VBCs we can use for authentication.
Expose routes for user authentication
There are certain templates that we can overwrite directly, to do this, we must include the routes to manage the user module:
customlogin\customlogin\urls.py
urlpatterns = [
    ***
    path('accounts/', include('django.contrib.auth.urls')),
]
With this, we expose the following routes:
- accounts/ logout/ [name='logout']
- accounts/ password_change/ [name='password_change']
- accounts/ password_change/done/ [name='password_change_done']
- accounts/ password_reset/ [name='password_reset']
- accounts/ password_reset/done/ [name='password_reset_done']
- accounts/ reset/<uidb64>/<token>/ [name='password_reset_confirm']
- accounts/ reset/done/ [name='password_reset_complete']
We can customize the template of the previous routes; you just have to create a folder called registration followed by one of the following files in the templates folder:
- customlogin\auth\templates\registration\login.html - Para el login
- customlogin\auth\templates\registration\password_change_done.html - Para el login
- customlogin\auth\templates\registration\password_change_form.html - Para el password_change_form
- customlogin\auth\templates\registration\password_change_done.html - Para el password_change_done
- customlogin\auth\templates\registration\password_reset_form.html - Para el password_reset
- customlogin\auth\templates\registration\password_reset_confirm.html - Para el password_reset_confirm
- customlogin\auth\templates\registration\password_reset_complete.html - Para el password_reset_complete
These templates can be customized for each application in Django if necessary.
Building the Login Form
For example, we are going to define the template for the login:
account/templates/registration/login.html
<!DOCTYPE html>
<html lang="en">
<head>
    <meta charset="UTF-8">
    <meta name="viewport" content="width=device-width, initial-scale=1.0">
    <title>Login</title>
</head>
<body>
    {% if  next %}
        If you want to access {{ next }} authenticate!
    {% endif %}
    <form action="{% url 'login' %}" method="post">
        {% csrf_token %}

        {{ form.username.label }}
        {{ form.username }}
        {{ form.password.label }}
        {{ form.password }}
        <input type="submit" value="Send">
    </form>
    <a href="{% url 'password_reset' %}">Forged Password?</a>
</body>
</html>
As you can see, we have complete freedom to customize the login template, but not its view.
As important points we have:
Using the next variable check, which may be present if the user attempts to enter a login-protected route but the user is not authenticated; for example:
http://127.0.0.1:8000/accounts/login/?next=/admin/
next would have the value of:
/admin/
We also customized the previous template by creating a URL for when the user does not remember their password.
The rest of the code is a traditional form in Django; if you try to enter the following URL:
http://127.0.0.1:8000/accounts/login/
You will see a screen like the following:
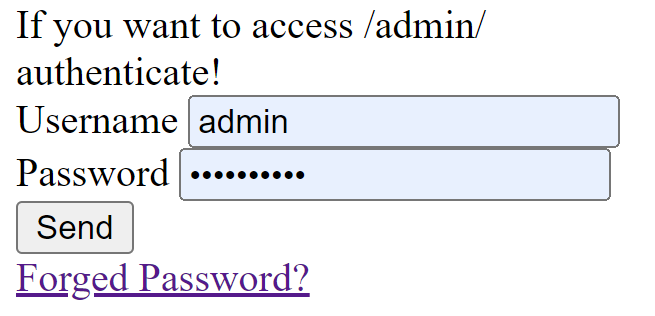
Figure 17-1: Login Form
In which you can authenticate once the migrations have been executed and a user has been created.
Install Bootstrap 5 and Font Awesome
In this section we will mainly want to customize some templates and know their behaviors; one of the keys to this customization is that it has a good design, and that is why we will use Bootstrap again.
Let's start by installing Bootstrap; since Django is a framework without any connection with Node, we must use the Bootstrap CDN which we can obtain from the official page:
Click on "Download" and then again on "Download" in the following section:
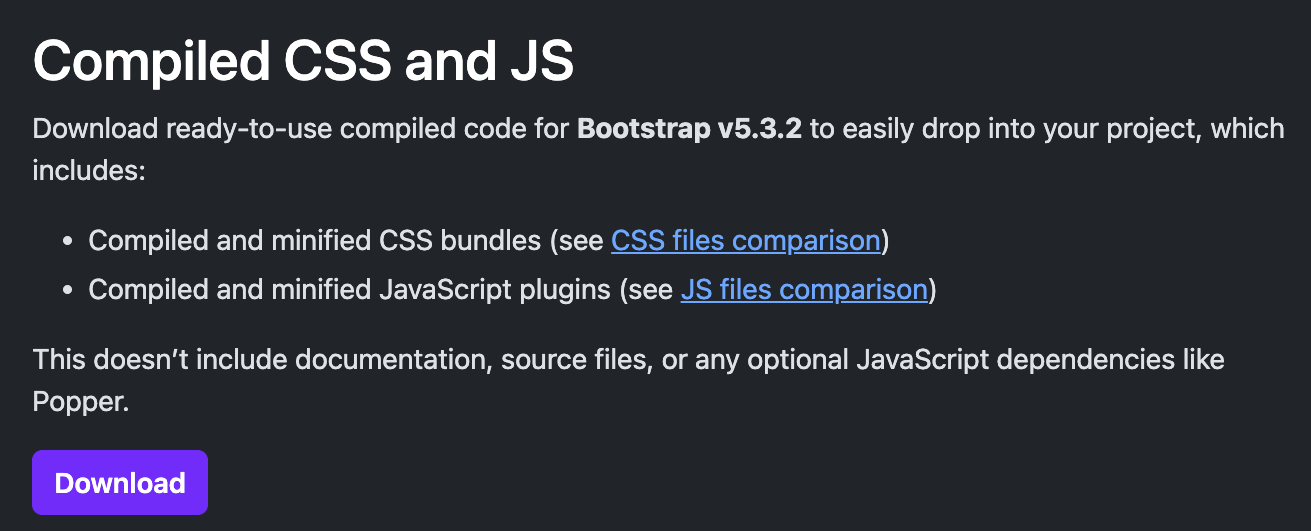
Figure 17-1: Bootstrap CDN
Bootstrap, being a client-side web framework, uses CSS and JavaScript to be able to use any Bootstrap component or functionality; once the previous compressed file has been downloaded and the folder has been generated (which, to simplify the process, we renamed bootstrap) we need the following files:
account/static/
bootstrap/css/bootstrap.min.css
bootstrap/js/bootstrap.min.js
What we are going to copy into the static folder of the project:

Figure 17-2: Bootstrap and Fontawesome installed in the project
We also install the popper dependencies that you can obtain from the same Bootstrap page; we install Fontawesome for the iconography:
<link rel="stylesheet" href="{% static 'fontawesome\css\all.min.css' %}">Remember to download the web source files for free from:
With Fontawesome we have access to multiple SVG icons ready to use.
There is also a specific package for Django in case you prefer to configure it that way:
https://fontawesome.com/docs/web/use-with/python-django
Master template
We create the master template where we import Bootstrap and Fontawesome and use the Bootstrap container class to prevent the content from appearing all stretched with a fixed size so that it does not occupy the entire width:
account\templates\base_user_account.html
<!DOCTYPE html>
<html lang="en">
<head>
    <meta charset="UTF-8">
    <meta name="viewport" content="width=device-width, initial-scale=1.0">
    <title>Account</title>
    {% load static %}
    <link rel="stylesheet" href="{% static 'bootstrap\css\bootstrap.min.css' %}">
    <link rel="stylesheet" href="{% static 'fontawesome\css\all.min.css' %}">
</head>
<body>
    <div class="container" style="max-width: 500px;">
        {% block content %}
        {% endblock %}
    </div>

    <script src="{% static 'popper.min.js' %}"></script>
    <script src="{% static 'bootstrap\js\bootstrap.min.js' %}"></script>
</body>
</html>
Specifying HTML attributes with django-widget-tweaks
The next thing we're going to do is install the Django Widget Tweaks package. As I mentioned earlier when talking about forms, one of the challenges in Django is customizing HTML attributes (like CSS classes) when we don't have direct access to the forms.py file.
In this case, since we're using Django's built-in forms for authentication, we can't easily edit them. By default, these fields come without styles, but for them to work correctly with Bootstrap, we need to inject classes like form-control into them. To achieve this customization, we'll use this package:
https://pypi.org/project/django-widget-tweaks/
Through:
$ pip install django-widget-tweaksWe register the application:
customlogin\customlogin\settings.py
INSTALLED_APPS = [
    ***
    'widget_tweaks',
]
Main features:
- Adding Classes: Using the add_class filter, you can add Bootstrap classes directly to your template's HTML.
- Customizing Attributes: If you have a textarea or any other input, you can use attr to define additional attributes (such as a placeholder or rows) by specifying the attribute name and its value.
{% load widget_tweaks %}

{{ form.username|add_class:"form-control" }}

{{ form.password|attr:"placeholder:Ingresa tu contraseña"|add_class:"form-control" }}
It is important to note that, when using add_label_class, it is done directly on the form field and not on the label, since the plugin when using the previous filter adds the classes in the label and returns the label instead of the field. form, that is, we should not use the following syntax to add classes to labels:
{{ form.username.label|add_label_class:"form-label" }}If not the previous one, since this syntax would give an error.
Authentication templates
Once our project is configured with Bootstrap and Font Awesome technologies, we define the templates for the rest of the templates that we have pending, including the login one but laid out with Bootstrap and Font Awesome.+
account\templates\registration\login.html
{% extends "base_user_account.html" %}
{% load widget_tweaks %}
{% block content %}
<div class="card mt-5">
    <div class="card-header">
        <h4>Login</h4>
    </div>
    <div class="card-body">
        {% if next %}
            <div class="alert alert-warning">
                If you want to access {{ next }} authenticate!
            </div>
        {% endif %}
        <form action="{% url 'login' %}" method="post">
            {% csrf_token %}
           <div class="mb-3">
                {{ form.username|add_label_class:"form-label"  }}
                {{ form.username|add_class:"form-control" }}
           </div>
            <div class="mb-3">
                {{ form.password|add_label_class:"form-label"  }}
                {{ form.password|add_class:"form-control" }}
            </div>
            <div class="d-grid">
                <input type="submit" value="Send" class="btn btn-primary">
            </div>
        </form>
        <a class="float-end mt-3" href="{% url 'password_reset' %}">Forged Password?</a>
    </div>
</div>
{% endblock %}
And a help template to display alert messages in which we can customize the message and color using the tag:
customlogin\account\templates\partials\alert.html
{% if message %}
    <div class="alert {% if tag %}
        alert-{{tag}}
    {% else %}
        alert-info
    {% endif %}">
        {{ message }}
    </div>
{% endif %}
Important points
- We use the card component as the container element of the form.
- This is where we apply the package we installed. Remember that the {% load widget_tweaks %} tag must be included in every template where you use it, as it is not inherited globally. We use the form-label and form-control classes for the label and form field respectively to use Bootstrap CSS.
- We use the alert component to display warning messages such as, in this case, the protected route where the user attempted to enter.
- We use the float-end class to float the link to the right.
- We use the mt-3 and mb-3 classes to add a 3-level margin to the top and bottom.
- We use the d-grid class on the button to make it fill the entire width.
Remember that the above changes are only in CSS and HTML and you can customize them as you like.
The rest of the designed screens can be obtained from the repository, the course, and the complete book at the end of this post.
Extra: Create an authentication backend for custom login in Django
At this point you probably know that Django has a login module that is mainly designed to work with the admin; all this is free by simply creating a project in Django, since applications such as admin and login (auth):
INSTALLED_APPS = [

    'account',
    'django.contrib.admin',
    'django.contrib.auth',
    'django.contrib.contenttypes',
    'django.contrib.sessions',
    'django.contrib.messages',
    'django.contrib.staticfiles',
]
They come for free when creating a project in Django, now, surely at some point you will be interested in creating a custom process for the login, either to replace the original one, or more interesting, to use it in parallel; for this in our configuration file; settings.py, we have the following section (which we have to add if we want to create a custom login in Django):
AUTHENTICATION_BACKENDS = [
    'django.contrib.auth.backends.ModelBackend',
    'account.authentication.AuthByEmailBackend',
]
In which we can configure our authentication backends or to perform the login, as you want to see it; as you can see, it is a list, an iterable, therefore we can define more than one and this is excellent since Django will go one by one asking for the combination of username and password that we establish in the application one by one, and if the first in the false list goes to the second and so on until they are all covered; As you can see, it is a behavior that allows us to extend the basic operation of a Django application to handle login.
The first backend you define would be the one Django uses by default; the following would be a file that defines a class that we are going to create in this post.
Creating our authentication class (Custom Login)
In this post we are going to see how to create a custom backend with Django; for this, the first thing we have to do is create a class, it's basically all we need, a class that we can then register in the list we saw above our settings.py; this class will be created of course, it is in a file with any name and it can be in any application of your project; for example, an application called:
python manage.py startapp accountIn which we are going to create a file called authentication.py with the following content:
from django.contrib.auth.models import User
"""
    Login via email
"""
class AuthByEmailBackend:

    def authenticate(self, request, username=None, password=None):

        try:
            user = User.objects.get(email=username)
            if user.check_password(password):
                return user
        except User.DoesNotExist:
            return None

    def get_user(self, user_id):
        try:
            return User.objects.get(pk=user_id)
        except User.DoesNotExist:
            return None
Explain the above code
As you can see, it is any class, we do not have to inherit from anything, but it does have to have a method with the name authenticate that receives the request, in case you want to pass any additional data, and the username and password are mandatory. .
For the rest, everything remains to do the checks you want to do for the login, in this example, to expand the application, we also search for the email and then we check the hash of the password that Django uses internally for the creation of users; now with this, we go to our settings.py and add the reference to the new class:
AUTHENTICATION_BACKENDS = [
    'django.contrib.auth.backends.ModelBackend',
    'user.authentication.AuthByEmailBackend'
]
Remember that in your custom backend you can define any type of rules to make your custom login.
The next step is to learn how to use Node Tailwind CSS with Django.