
Content Index
In this entry we will see how we can create our first hello world in CodeIgniter 4; Since you remember that at this point we already have the ecosystem completely ready for CodeIgniter 4, which we did previously; At the moment I do not want to talk to you about the structure of our project or the framework, which we will do in a next post, we are going to come from one to carry out some tests and thus learn the basic elements of this framework.
The first thing we notice if we go to app\Controllers is that we have a controller called Home; if you don't know what a controller is, you can search for more information on the Internet "MVC" and you can also check a previous entry that talked about MVC and the MTV variation.
Anyway, in the location mentioned above, we have a controller called Home, if we enter the file we will see something like the following:
<?php namespace App\Controllers;

class Home extends BaseController
{
    public function index()
    {
        return view('welcome_message');
    }

    //--------------------------------------------------------------------

}
Note that we're extending BaseController. This class is located in the root of the controllers folder and allows us to load global configurations or initialize constructor functions that affect all our controllers. There's no need to import BaseController with a `use` because it's in the same namespace as a sibling class.
If you have already developed in Codeigniter 3, you will surely see that what we are doing here is loading a view, a view file found in:
app\Views
Which has been another of the layers of our MVC (in this entry we are only going to deal a bit with two layers, the one of the V and the one of the C that correspond to the view/view and the controller/controller respectively).
Now, where is the view in question? if we go to app\Views you will see the file called welcome_message.php; and if we open it you will see exactly the same code that you have in your browser (we are going to that in the next block).
The next thing you may wonder is about the class that we are extending or inheriting whose location is also at the same level as this example controller, which is what allows us to use this class as if it were a controller.
As for the namespace, it is basically a mechanism that we have to reference the location of a file, which in this case would be the BaseController and with which we can reference it later from other classes, just as we are doing here with the BaseController, yes You look at it and you'll see that we have the same namespace that matches our Home controller that matches the location of the file within the folder set.
Let's create the route:
$routes->presenter('movie');Let's start the server with:
$ php spark serveAnd let's go to our browser:
http://localhost:8080/movie
Run the app in the browser
At the moment we have not done anything, just know some basic elements that we need to know to make our hello world in Codeigniter 4, but let's practice, if you are using Laragon or Laravel Herd on Windows or MacOS you can go to:
http://codeigniter4.test
Where codeigniter4 is the name of your project:
If you are not using it, you can access it as follows:
http://localhost/codeigniter4/public/index.php
or
http://localhost/codeigniter4/public/
One of the important changes that CodeIgniter 4 brings us is that now the startup file index.php is located inside the public folder
You can also use the spark command line, in which we already have a server that we can use to launch our app without having to use Apache from our (W)LAMP with the following command:
php spark serveThen, with this command you will see a result like the following and you can enter now by http://localhost:8080/
Anyway, regardless of how you access, you will see the following window:
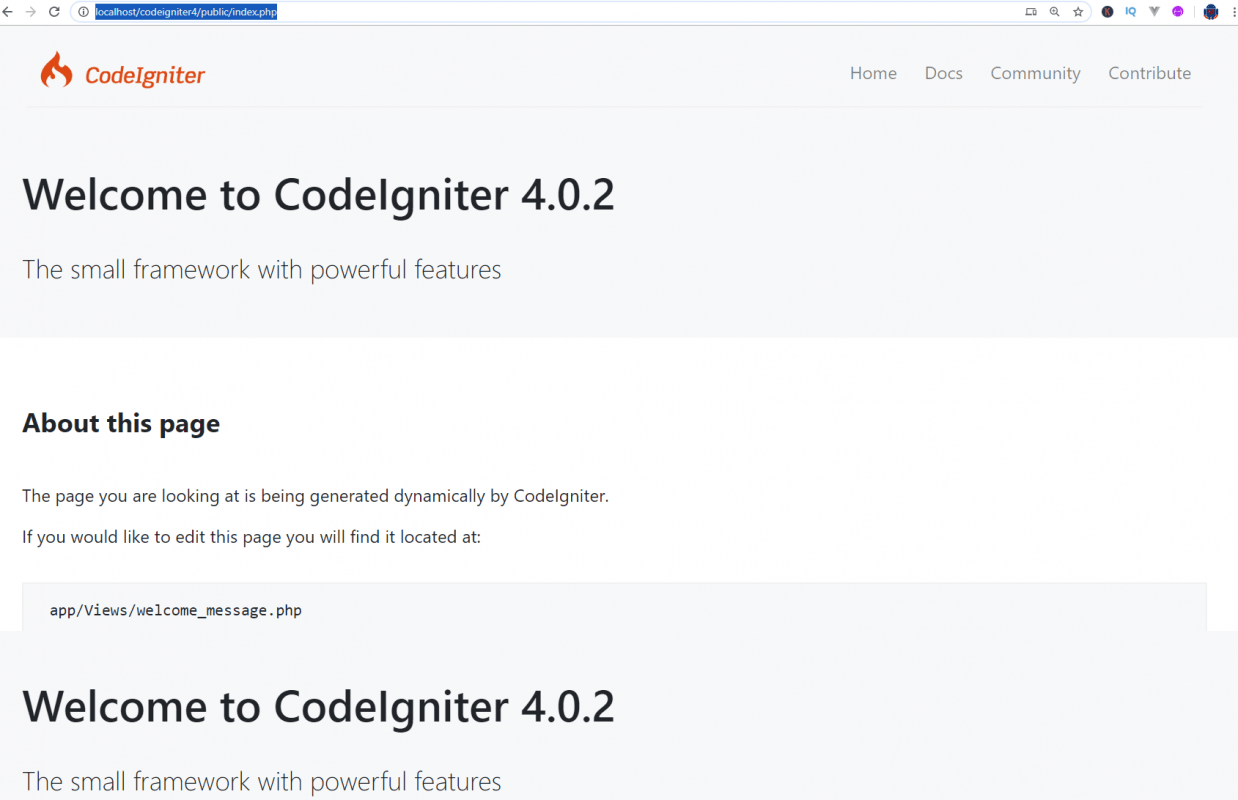
Which is the same body that we parsed earlier from the file called welcome_message.php inside the views folder.
Creating our first function
Now that we know what the project brings us and why it works the way it does, we are going to extend this controller with more views, that is, to be able to see more content and not just a welcome screen, for that we can create more functions in the Home class that has been our controller; for example the following function:
    public function test()
    {
        return "Hola CodeIgniter 4 - Primera vista";
    }
We are going to carry out a more interesting test in which we are going to send an HTML content from our controller:
public function index()
{
   echo "<h1>Hola Mundo</h1>";
}
If we go to our browser:
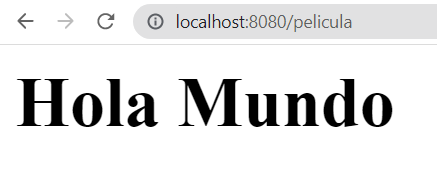
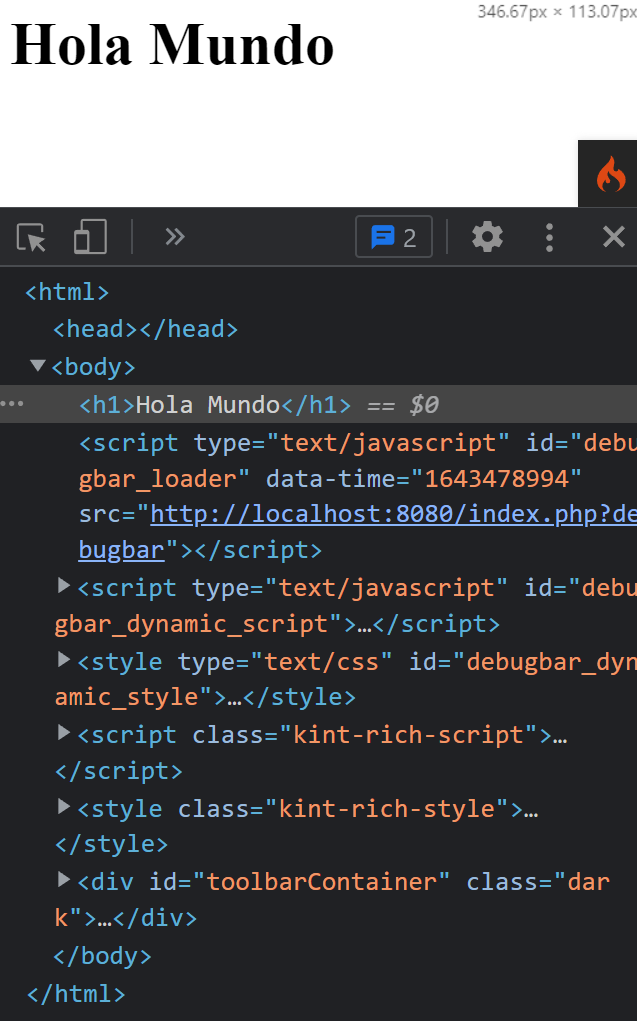
There we have the page, you will see that the letter is now larger, since we use an H1, which is to place the highest level titles in HTML. To see exactly what the browser returns, you can right-click it and see the source code of the page:
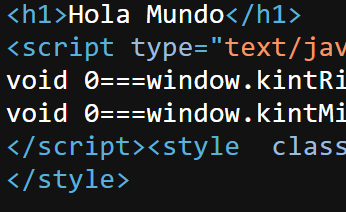
In the first line, we will see our "Hello World" enclosed with the H1 tags; the rest of the body is a bit strange, which are those scripts and styles, don't worry, they are from the debug bar of the framework that you can see in the lower right corner of the browser:

Another option that is the most recommended to follow the course is to open the developers console; for that in Google Chrome we are going to Customize and Control Google Chrome (The three points) - More tools - Tools for developers:
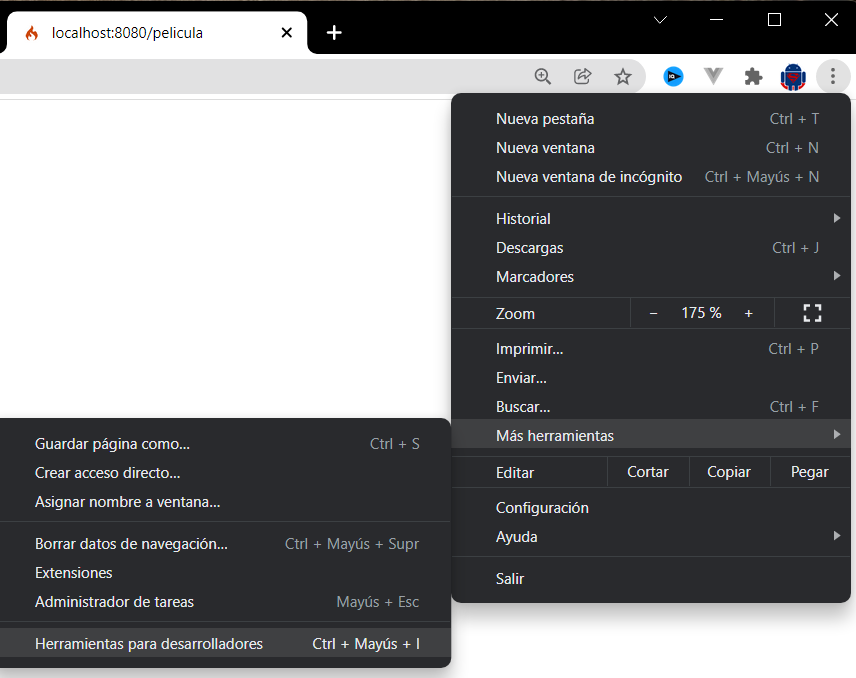
And from the inspector (The arrow located in the upper left corner):
You will see the HTML content; for the additional JavaScript, don't worry, since it is the one generated internally by the framework by the Debug Bar.
Brilliant! But what if we have a real HTML page with a lot of HTML, we want to reuse content, dynamically build content and essentially employ the framework effectively; obviously getting the HTML directly from the controller is a terrible solution.
Management of routes and default controller
Now at this point, you may wonder how we configure the route, what's more, if we analyze a bit you may wonder how we can access the index function in the Home controller in the root of our app; this is done based on a file to handle the routes that if in Codeigniter 3 it was optional, here it is mandatory; to see it you have to go to:
app\Config\Routes.php
And here you will see that we don't have any routes!, but we have some interesting configurations just like in the previous version of CodeIgniter:
$routes->setDefaultController('Home');
$routes->setDefaultMethod('index');
With this couple of lines of code, as you can imagine, we are specifying the controller and the default function in our controller, which by default is displayed in the root of our site, that is:
http://localhost/codeigniter4/public/
or
http://codeigniter4.test
But how can we define our routes then, for that, if we review the official documentation, we will see that we have the use of routes, and how the route that we are interested in configuring would be when our user accesses our browser, that is, a GET request.
As you can imagine, this handling of the routes is very similar to what we do in other frameworks such as Laravel or Django, in which we have an extra file to manage this extra layer in our MVC and indicate which is the route associated with a controller, we specifically indicate which is the URI and the pair of Controller and function that is going to process this route.
Now, as you can suppose, we can create more routes, for example for our new view, for that, as you can see in the route that we have configured, we only have to put would be, the URI, the controller and the function associated with it; and this would be all; in our case:
$routes->get('/test', 'Home::test');For example, if we want our user to be able to access with
http://localhost/codeigniter4/public/index.php/test
or
http://codeigniter4.test/test
We simply create the following route:
$routes->get('/test', 'Home::test');And with this, if we go to our Home controller and create the following function:
public function test() {
   return "Hola CodeIgniter 4 - Primera vista";
}
buala! We accessed our Hello World in the Home controller, now what if you want to create more controllers, for example to create more views that are bundled in this controller:

Creating our first controller and associated view
Perfectly we can follow the same pattern that we saw before to create another controller, for example one called Admin in app/Controllers:
<?php

namespace App\Controllers;


class Admin extends BaseController
{

    public function index()
    {
        return "Admin";
    }
}
Creating the route
Now, we need the mechanism to access it, that is, we need to define a route to be able to access the controller that we created previously:
$routes->get('/admin', 'Admin::index');And with this:

How do you return a view?
To return a view, we use the view() function. Inside this function, we place a string that refers to the filename.
If you look in the app/Views folder, where these files are stored, you'll see that in the root directory there's one called welcome_message.php. To call it, we simply use its name without the .php extension; it's not that it's unnecessary, it's that it shouldn't be added at all.
Conclusions
In this post we took the first steps in CodeIgniter 4, we saw part of its structure and how we can create routes and the methods and controllers that are responsible for processing these routes; which we will see in the next entry.
Remember that if you want more, I have a course on this platform that you can take from this website.
Next step, learn how to use migrations in CodeIgniter 4.