Content Index
I bought a laptop as part of my entire workstation setup, and it initially came with 500 GB, which felt quite small for everything I wanted to install.
In the end, I bought a 2 TB M.2 drive to expand it, giving me a total of 2.5 terabytes of storage. Unfortunately, while trying to remove the existing M.2 from the laptop, I stripped the screw... meaning I rounded it out.
This mishap caused operational complications for months. Because I couldn't remove or firmly secure the screw, the M.2 drive ended up installed at an improper physical tilt. During that period, using the laptop required extreme caution against any sudden movements or external vibrations that could cause the component to detach and trigger a short circuit on the motherboard.
Removal Attempts and Failed Tools
With the goal of fixing the problem, I purchased various specialized tools from abroad. Initially, I tried a precision electric screwdriver, which is highly effective for general chassis disassembly but lacked the specific torque and friction needed to release a worn-out screw head.
Later, I bought a generic screw kit that unfortunately did not include the thread pitch or dimensions required for the M.2 port, as well as a damaged screw extractor set that also failed to yield positive results. After opening the computer four consecutive times, traditional extraction methods systematically failed due to the tiny size of the screw, whose actual scale is difficult to gauge with the case closed.
Among the techniques documented on support platforms that I evaluated or attempted to implement were the following:
I tried everything to get it out:
- Adhesive or Welding Bond: This involves applying a dot of high-strength glue or tin solder directly onto the screw head to permanently bond the screwdriver. I ruled out this option due to the critical risk of spilling conductive material or adhesive onto the logical traces of the motherboard.
- Rubber Band Method: Based on placing a piece of elastic band over the stripped head to improve the screwdriver's grip. This technique did not work because the diameter of the M.2 screw is excessively small, preventing the rubber from settling and transferring the pulling force evenly.
- Thermal Expansion: I tried to apply localized, controlled heat using a fine electronics soldering iron to expand the metal and loosen the thread, but the technique generated no changes in the component's fixation.
- An electric screwdriver (highly recommended for opening things up, but it didn't work for this).
- A small screw kit (it didn't come with what I needed).
- An extractor (didn't work either).
I tried to get that screw out about four times, and in three of those, I failed catastrophically.
Other Failed Methods to Remove the Stripped Screw
- I tried several methods I saw on YouTube:
- The glue or solder thing: putting a dot of solder on the screw and turning it with the screwdriver.
- I didn't dare to do it, because it could fall onto the board.
- Rubber bands or cloths: placing them over the head of the stripped screw to gain traction.
- It didn't work. I think it was because of the tiny size of the screw.
- The glue or solder thing: putting a dot of solder on the screw and turning it with the screwdriver.
- Heating the screw: I did it with a small tool, but it didn't work either.
- Pliers: initially, they didn't work for me either.
What Actually Worked: Pliers, Force, and Control
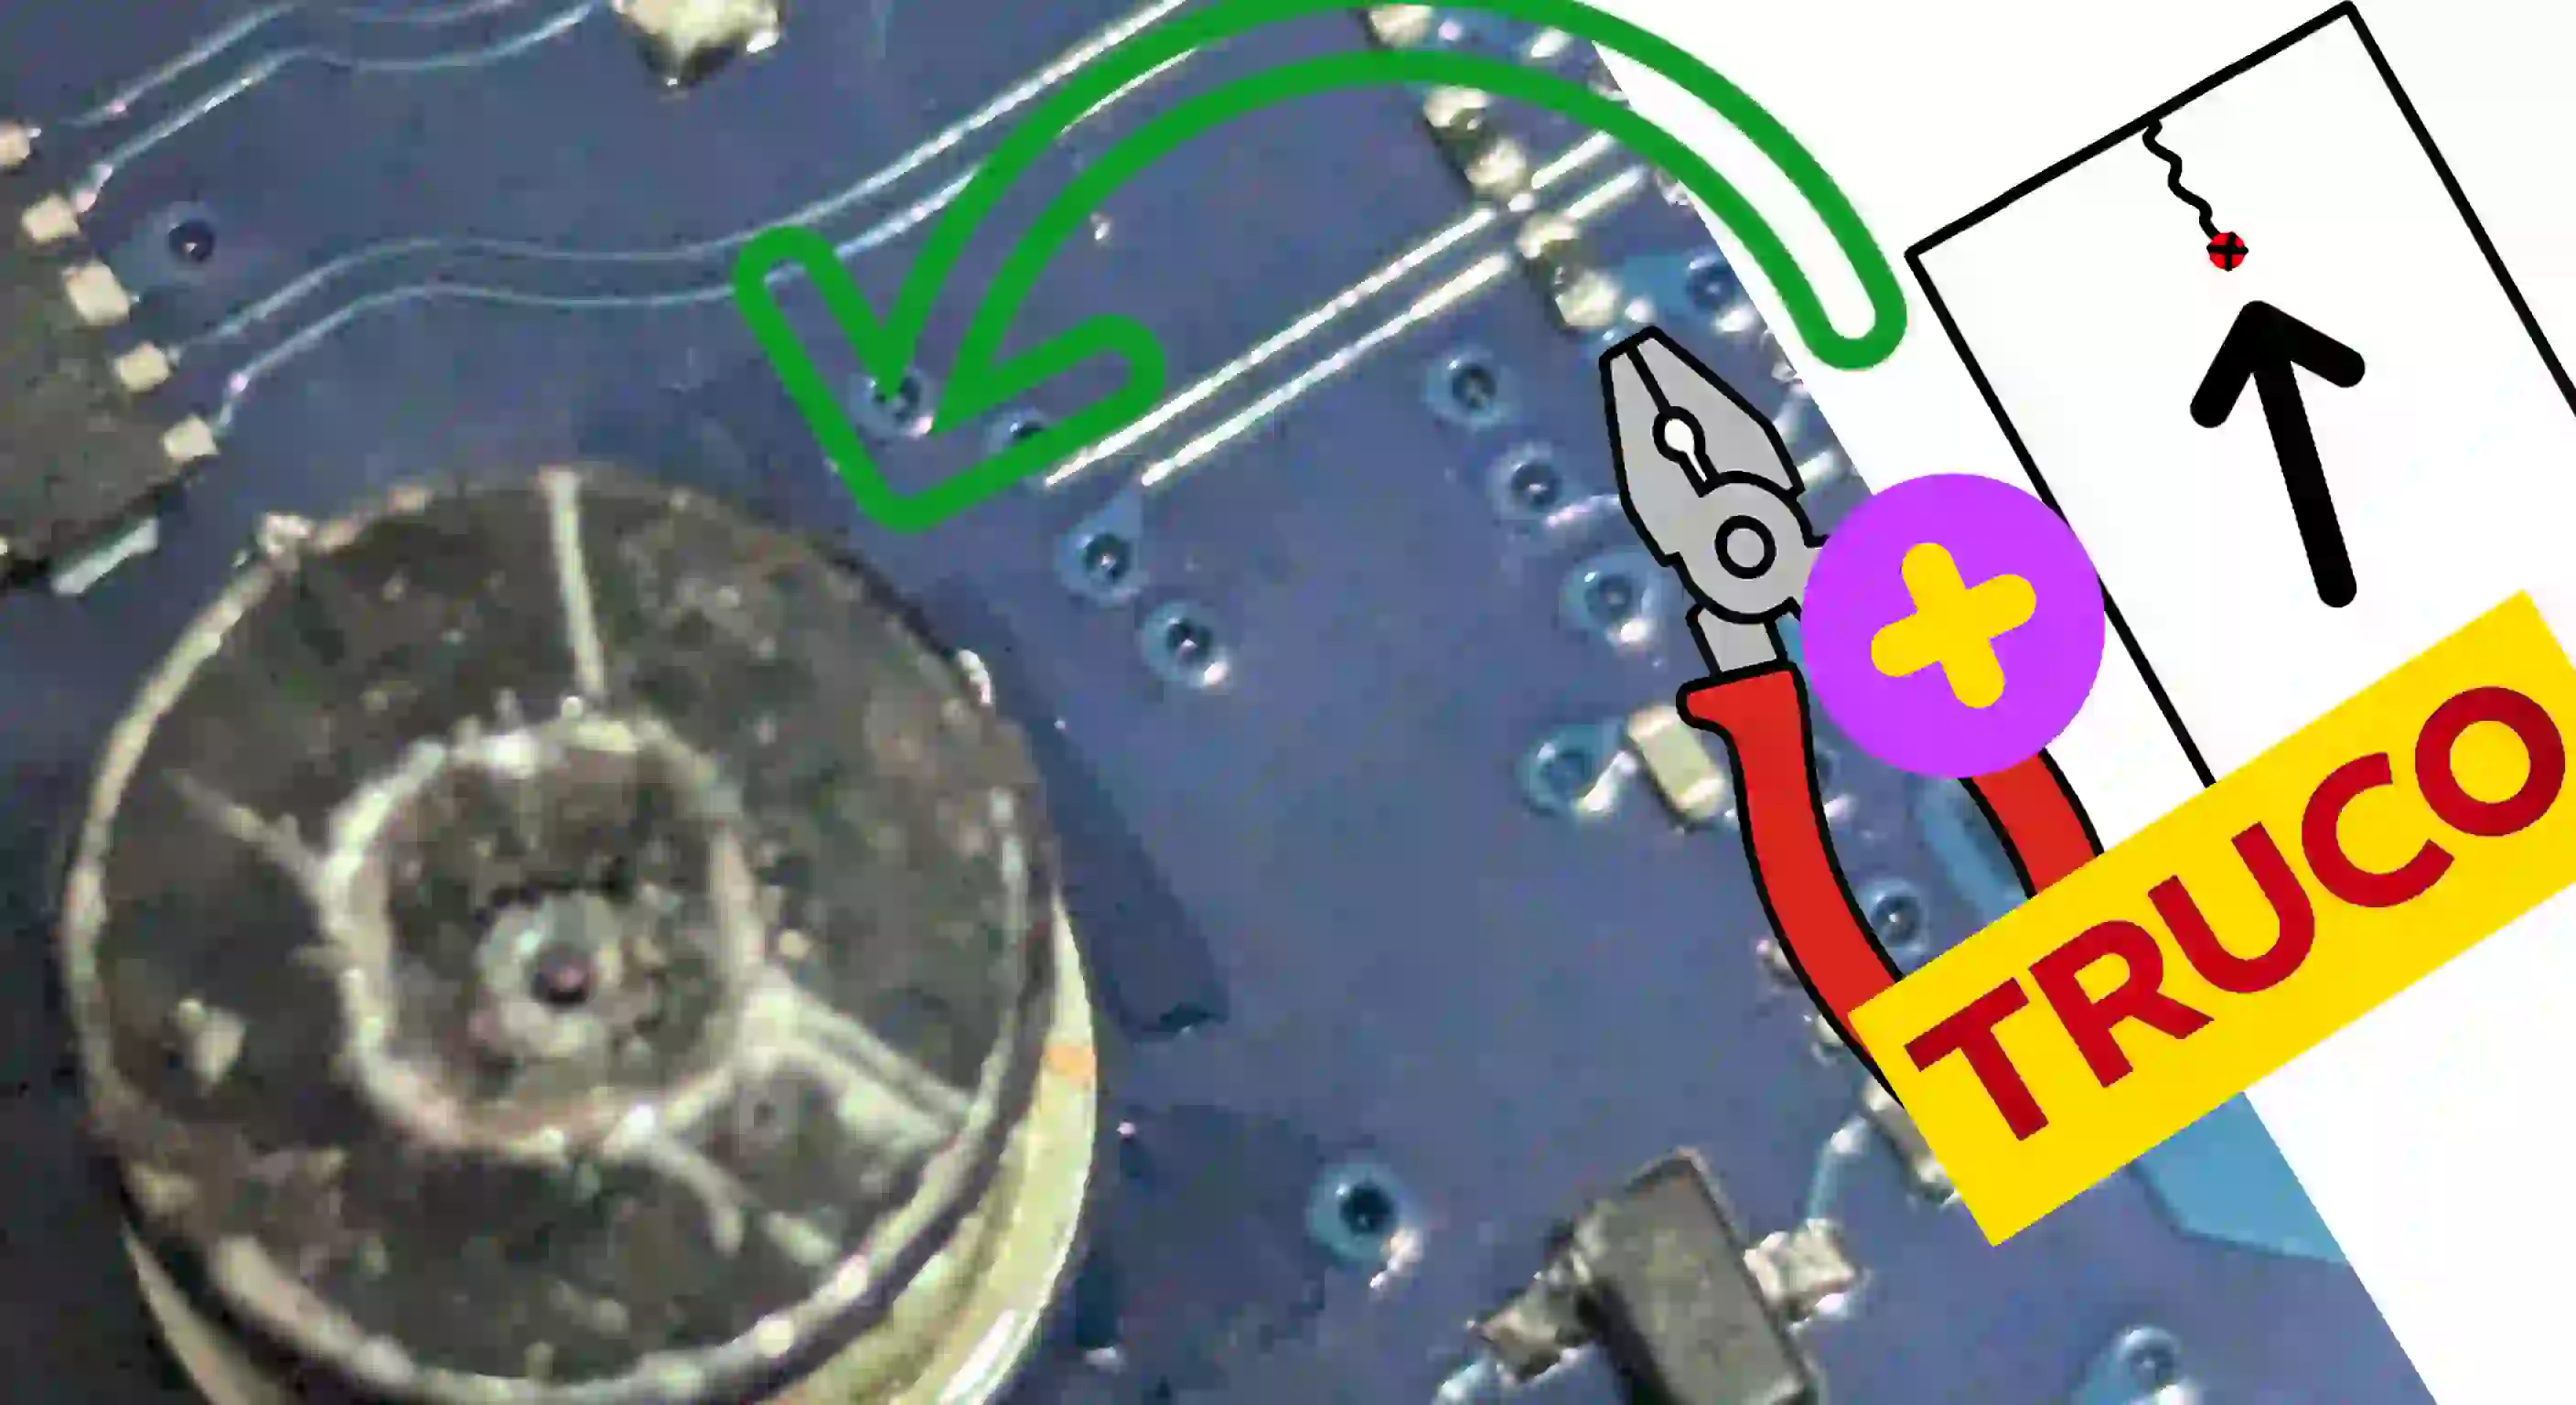
In the end, what worked was my old friend from 20 years ago, a simple pair of pliers.
Why Didn't It Work Before?
Because I tried to be too delicate, so I wouldn't break everything.
But then I thought: “Either I push harder or I can't do it.”
And it was by applying more force —but carefully— that I managed to get it out.
Important Tips
Before you try something like this, two important things:
1. Use a Protective Sheet
When you are going to apply more force, the tool is likely to slip.
So, use a small sheet underneath, so that all the metal bits from the screw fall there and don't fall onto the board, because they could cause a short.
Additionally, that forceful pressure can also deform the corners of the screw, which actually helped me, because the more squared it becomes, the easier it is to grip with the pliers.
When exerting high torque on a soft alloy screw with pliers, the edges will deform and shed microparticles and metal shavings. If these residues fall onto the motherboard, they can lodge themselves underneath surface-mount devices (SMD) and cause a catastrophic short circuit when powering on the equipment.
To mitigate this risk, make a small perforation in the center of a common sheet of paper and insert it over the stripped screw, so that the sheet completely covers the surface of the motherboard and surrounding circuits, acting as a collection shield for any metal debris.
2. Protect the Motherboard: Avoid the Reflex Strike
The main danger when applying extreme force to a micrometric screw is a sudden loss of grip. When the pliers slip uncontrollably, the inertia of the movement drives the tool directly downward, impacting and destroying the microcomponents on the board.
To counteract this downward force vector, it is mandatory to adopt a posture of maximum mechanical hold:
- Place both arms firmly against the sides of your body to physically limit the vertical range of motion of your elbows.
- Grip the pliers firmly using both hands in a coordinated manner. This distributes the workload and provides millimeter-level control over the axis of rotation.
- Apply the torque concentrically and progressively. In the event that the tool loses traction, the locked position of the arms will prevent the pliers from slamming down onto the motherboard.
Through this dual-gripping technique and a controlled increase in squeezing torque, the screw head deformed enough to allow the jaws of the pliers to get a firm, right-angle grip, finally succeeding in unscrewing and extracting the damaged piece without compromising the integrity of the laptop.