
Content Index
Having passed the tests of our app on Google Play, I want to show you how to implement Picture-in-Picture mode.
For that, I'm using this plugin called floating, as you can see. This is its official page:
https://pub.dev/packages/floating/example
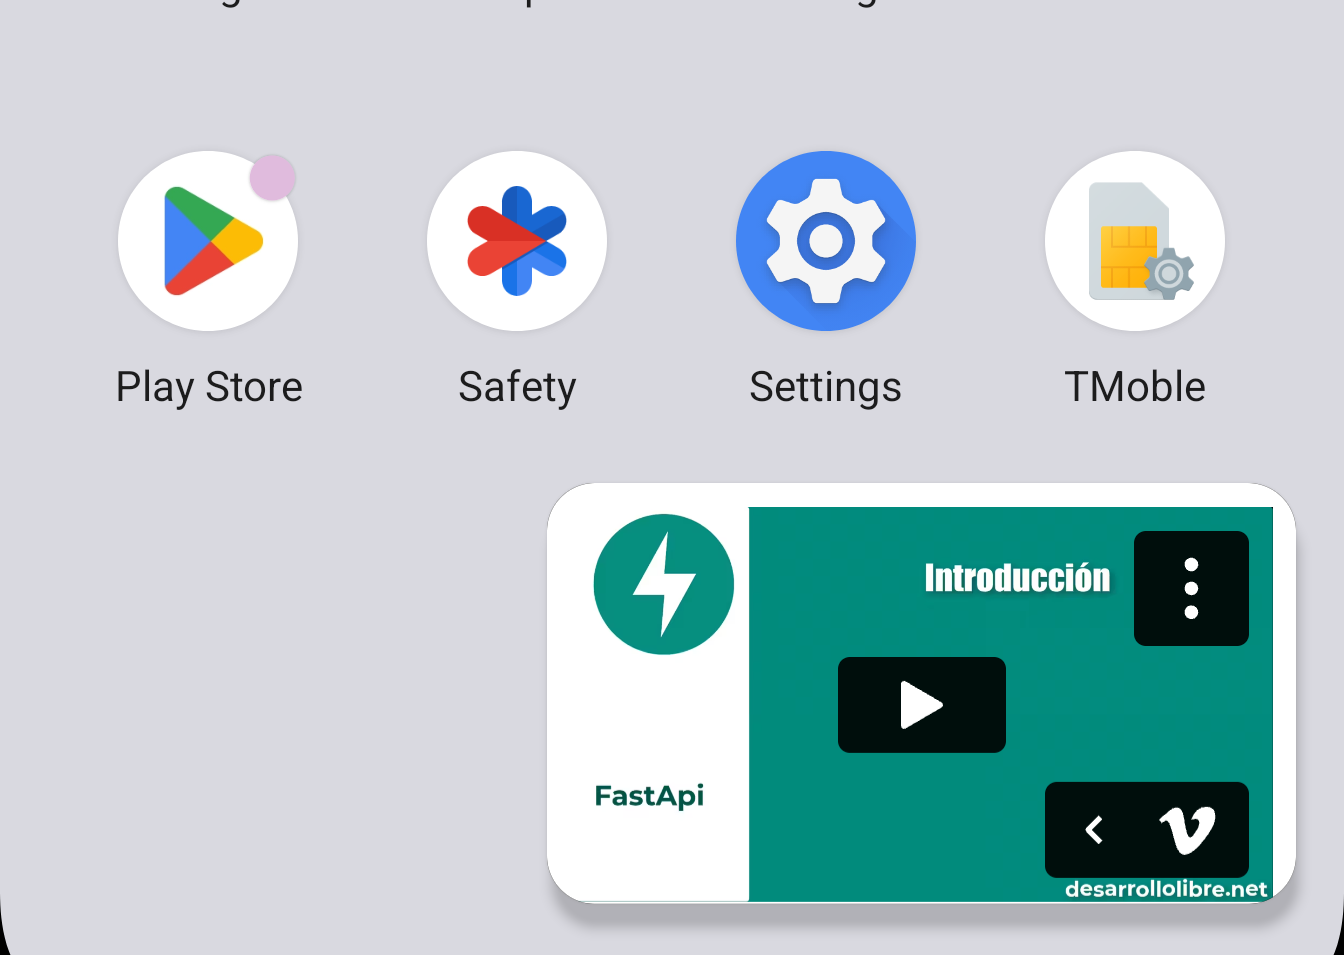
Picture in Picture mode allows viewing videos or other content in a floating window:
To do this, we will use the following package:
https://pub.dev/packages/floating
The package is only available for Android.
We install the package with:
pubspec.yaml
dependencies:
  ***
  floating:
And below is an example, which—in my humble opinion—is a bit confusing. I'll show you my own implementation, which I find clearer.
Also, remember to enable PIP mode on Android:
android\app\src\main\AndroidManifest.xml
<manifest xmlns:android="http://schemas.android.com/apk/res/android">

    <application
        android:label="DL: Cursos/Libros"
        android:name="${applicationName}"
        android:icon="@mipmap/ic_launcher">


        <activity
            android:name=".MainActivity"
            + android:supportsPictureInPicture="true"
            ***
Custom class: CustomPIP, for the PIP
It all starts with a class called CustomPIP, where I define features such as:
- PIP mode.
- Body mode (full mode).
In my case, for example, when I'm in the Academy app and select one of the courses I've already purchased, that full course becomes the "body."
Here I activate Floating, configure its widget-specific options, and within the StatefulWidget, I check if it's enabled, since not all Android systems allow it. So, you have to first check if it's available.
class CustomPip extends StatefulWidget {
  final Widget body;
  final Widget pip;

  late PointADS point;

  final floating = Floating();

  activatePIP() {
    floating.enable(const ImmediatePiP());
  }

  CustomPip({super.key, required this.body, required this.pip});

  @override
  State<CustomPip> createState() => _CustomPipState();
}

class _CustomPipState extends State<CustomPip> {
  bool canUsePiP = false;

  @override
  void initState() {
    if (Platform.isAndroid) {
      // verifica si el pip esta disponible
      widget.floating.isPipAvailable.then((value) {
        canUsePiP = value;
        setState(() {});
      });
    }
    super.initState();
  }

  @override
  Widget build(BuildContext context) {
    if (Platform.isAndroid) {
      // verifica si el pip esta disponible
      return PiPSwitcher(
        childWhenDisabled: widget.body,
        childWhenEnabled: widget.pip,
      );
    }

    return widget.body;
  }
}
I save that information for later use. Then I activate the switcher (as they call it), which basically determines what the body (the entire page) is and what the content will be in PIP mode.
Integrating the PIP into the detail view
Using it is very simple. This is the configuration I created, and what I recommend.
On the detail page (the one you're seeing on the screen), I have all the normal settings. What I'm interested in here is saving an instance of the player, which will be placed in PIP mode.
For example: here, if I don't activate PIP mode correctly, only the maximize option appears. So, you have to leave it enabled beforehand.
Instantiating CustomPIP with your view
Here I create an instance of CustomPIP, to which I pass the entire scaffold, that is, the complete structure of your widget, which can be any view. I also pass the content I want to keep in PIP mode:
  _initCustomPIP() {
    videoReproductor = VideoTutorialReproductor(
      paymentType: tutorialModel.payment?.type ?? '',
      tutorialSectionClassModel:
          tutorialModel
              .tutorialSectionsModel[appModel.selectedSectionIndex]
              .tutorialSectionClassesModel[appModel.selectedClassIndex],
      typeVideo: tutorialModel.type,
    );

    customPIP = CustomPip(
      pip: videoReproductor,
      body: Scaffold(
        ***
    );
  }
Then I create this property (customPip) and use it inside the build method. It's that simple.
The widget redraws when entering/exiting PIP mode
When we're in PIP mode, we can't really modify anything that's playing with this plugin. It has to maintain what it was doing before, that is, the widget's status.
A key point: you have to preserve the state. Usually, when switching from PIP mode to full mode (and vice versa), the widget tends to redraw completely, so you need to implement logic to prevent this.
Custom class: CustomPIP, for PIP
It all starts with a class called CustomPIP, where I define characteristics such as:
- PiP mode.
- body mode (full mode).
In my case, for example, when I am in the academy application and I select one of the courses already acquired, that complete course is the "body".
Here I activate the Floating, configure its own widget options, and within the StatefulWidget I verify if it is enabled, since not all Android systems allow it. So you have to ask first if it is available.
class CustomPip extends StatefulWidget {
  final Widget body;
  final Widget pip;
  late PointADS point;
  final floating = Floating();
  activatePIP() {
    floating.enable(const ImmediatePiP());
  }
  CustomPip({super.key, required this.body, required this.pip});
  @override
  State<CustomPip> createState() => _CustomPipState();
}
class _CustomPipState extends State<CustomPip> {
  bool canUsePiP = false;
  @override
  void initState() {
    if (Platform.isAndroid) {
      // checks if pip is available
      widget.floating.isPipAvailable.then((value) {
        canUsePiP = value;
        setState(() {});
      });
    }
    super.initState();
  }
  @override
  Widget build(BuildContext context) {
    if (Platform.isAndroid) {
      // checks if pip is available
      return PiPSwitcher(
        childWhenDisabled: widget.body,
        childWhenEnabled: widget.pip,
      );
    }
    return widget.body;
  }
}
I save that information to use later. Then I activate the switcher (as they call it), which basically establishes what the body is (the full page) and what the content will be in PiP mode.
PiP integration in the detail view
Using it is very simple. This is the configuration I made, and which I would recommend to you.
On the detail page (the one you see on the screen), I have all the normal configurations. What interests me here is saving an instance of the player, which is what will be placed in PiP mode.
For example: here, if I don't activate PiP mode correctly, only the maximize option appears. So you have to leave it activated beforehand.
Instantiating CustomPIP with your view
Here I create an instance of CustomPIP, to which I pass the entire scaffold—that is, the complete structure of your widget, which can be any view. I also pass the content I want to keep in PiP mode:
  _initCustomPIP() {
    videoReproductor = VideoTutorialReproductor(
      paymentType: tutorialModel.payment?.type ?? '',
      tutorialSectionClassModel:
          tutorialModel
              .tutorialSectionsModel[appModel.selectedSectionIndex]
              .tutorialSectionClassesModel[appModel.selectedClassIndex],
      typeVideo: tutorialModel.type,
    );
    customPIP = CustomPip(
      pip: videoReproductor,
      body: Scaffold(
        ***
    );
  }
Then I create this property (customPip) and use it within the build method. Simple as that.
The widget is redrawn when entering/exiting PiP mode
Since when we are in PiP mode, actually, for this plugin we cannot modify absolutely anything of what is playing. It must stay exactly with what it was doing before—that is, the status of the widget.
A key point: you have to preserve state. Usually, when changing from PiP to full mode (and vice versa), the widget tends to redraw completely, so logic must be implemented to avoid it.
The next step is to make your app look beautiful, and for that, a first step is to learn how to configure your own fonts in Flutter.