
Content Index
- What is Flask and why it is ideal for getting started with Python
- What it means for Flask to be a "microframework"
- Differences between Flask and Django
- Installing Flask and preparing the development environment
- Installing Flask with pip
- Creating your first "Hello World" with Flask
- Minimum structure of a Flask project
- Line-by-line explanation of the code
- Running the Flask application and viewing the result
- Enabling debug mode in Flask
- Common errors when starting with Flask and how to fix them
- "Port 5000 already in use"
- Flask does not display the page in the browser
- "An attempt was made to access a socket in a way forbidden by its access permissions"
- Recommendations for Flask beginners
- Conclusion and next steps
- Frequently asked questions about Flask
If you are taking your first steps in web development with Python and you already have your environment ready to develop in Flask, this is the natural next step: creating your first functional application. Flask is one of the lightest and most flexible frameworks in the Python ecosystem, and for that reason, it has become the favorite entry point for many developers.
When I started with Python frameworks, I discovered that Flask is the perfect candidate to begin with: its minimalist structure lets you focus on understanding server logic without getting distracted by unnecessary layers or modules that you don't need yet.
Flask is a Python web microframework, ideal for creating server-side web applications. Being a microframework, it comes with only the bare minimum needed to run, allowing you to discover how each part of the framework works without getting confused by files or folders you didn't generate yourself. This contrasts with more robust frameworks like Django, which when creating a new project already includes an extensive directory structure with multiple preconfigured files.
What is Flask and why it is ideal for getting started with Python
Flask is a web microframework for Python. The term "micro" does not mean it is limited or underpowered, but rather that it includes only the essentials to get an app running: an internal web server (Werkzeug) and a routing system. Everything else —authentication, ORM, forms— is added by you as needed through extensions from the Flask ecosystem.
This philosophy makes it a perfect tool for learning how a web application actually works, because every piece that appears in your project is a piece you consciously placed there.
What it means for Flask to be a "microframework"
Being a microframework implies that Flask does not impose a rigid structure on your project. You decide how to organize your code, what libraries to use, and how to scale your application over time. That freedom is precisely what makes it so attractive to beginners: you truly learn how the parts of a web application connect, instead of following an opaque convention that you don't fully understand.
Differences between Flask and Django
When I first tried Django, I was impressed by its robustness, but also by the number of folders and files it generates when creating a project from scratch.
With Flask, on the other hand, you can have a fully functional application in just a few lines of code. This makes it ideal for understanding from the inside how a web application works: the lifecycle of an HTTP request, how routes are defined, how the response is generated. With Django, many of those things happen "like magic"; with Flask, you see them happen.
Installing Flask and preparing the development environment
Before writing code, let's prepare the environment for our first app. First, create a folder on the Desktop or wherever you prefer to host the project —for example, primera_app— and then open the terminal (on Linux/Mac) or CMD (on Windows) and navigate to that directory with the cd command.
As a code editor, you can use Visual Studio Code, although for this initial exercise even Notepad is sufficient. Now, enter the folder you created:
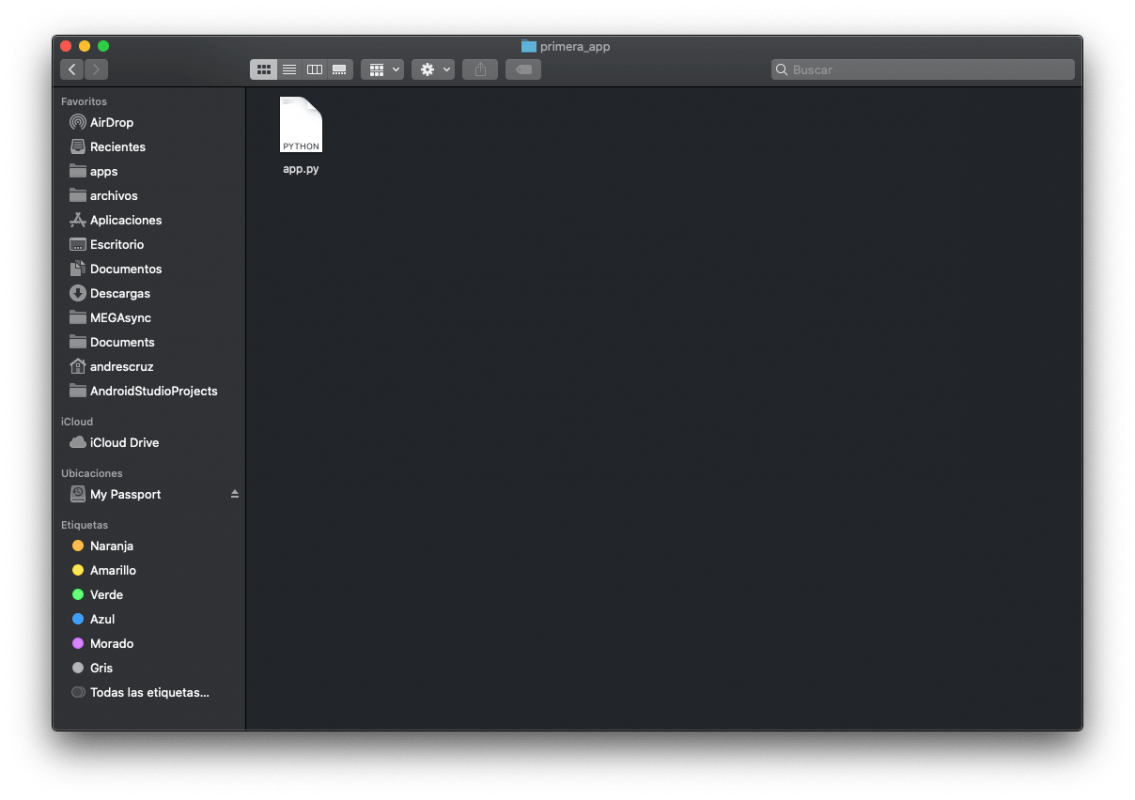
Before writing code, it is good practice to set up a virtual environment to isolate project dependencies and avoid conflicts with other Python installations on your system.
Creating a virtual environment in Python for Flask
In your terminal or console, run:
$ python -m venv venv
$ source venv/bin/activate # On Linux/Mac
$ venv\Scripts\activate # On Windows
You will see that the name of the environment appears in parentheses at the beginning of the prompt —for example, (venv)—, indicating that it is active correctly. This isolates project dependencies and prevents future errors.
Installing Flask with pip
With the virtual environment active, install Flask by running:
$ pip install FlaskOnce the installation is complete, you can use Flask in your project. You can verify that it installed correctly with pip show Flask, which will show you the installed version.
Creating your first "Hello World" with Flask
It's time to create the "Hello World" with Flask: implementing the bare minimum needed to see something in the browser and understand how the server responds to a request.
Minimum structure of a Flask project
For now, the project structure is deliberately simple:
/primera_app
└── main.py
Create the main.py file inside the project folder and write the following code:
main.py
from flask import Flask
app = Flask(__name__)

@app.route('/')
def hello_world() -> str:
    return 'Hello Flask!'

if __name__ == '__main__':
    app.run()
That block of code is a fully functional web application based on Flask. This is where the term "microframework" makes total sense: with just a few lines you already have an operational web server that responds to HTTP requests. When accessing the root of the site, Flask will execute the hello_world() function and return the text 'Hello Flask!' to the browser.
Line-by-line explanation of the code
from flask import Flask: we import the framework's base class. It is the core of every Flask application.app = Flask(__name__): we create an instance of the application. The__name__argument tells Flask the name of the current module, which is necessary to locate resources like templates or static files.@app.route('/'): this decorator associates thehello_world()function with the root route ('/'). Every time someone makes aGETrequest to that URL, Flask will execute that function.return 'Hello Flask!': the response the user will see in the browser.app.run(): launches the local development server based on Werkzeug, which listens onhttp://127.0.0.1:5000by default.
Running the Flask application and viewing the result
Start the development server by running in your terminal:
$ python main.pyIn the terminal you will see output similar to this:
 * Serving Flask app 'main'
 * Debug mode: on
WARNING: This is a development server. Do not use it in a production deployment. Use a production WSGI server instead.
 * Running on http://127.0.0.1:5000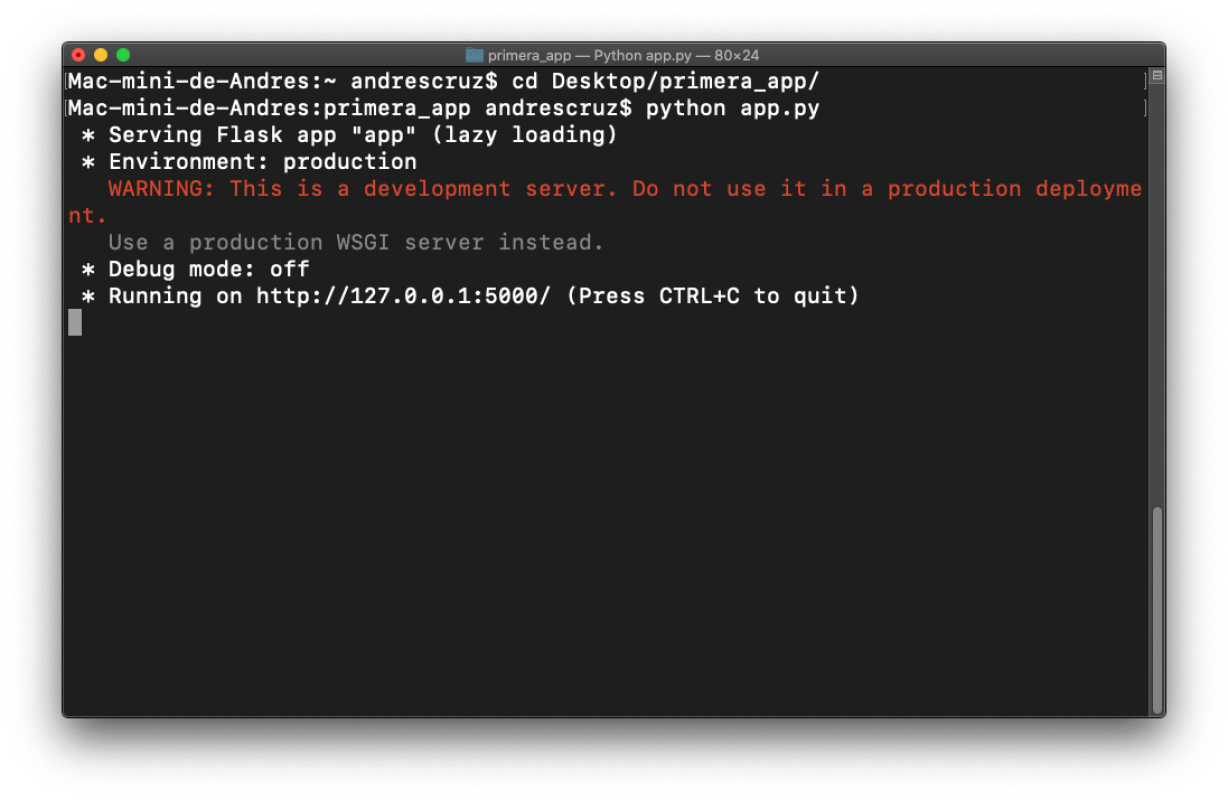
Open your browser and access:
http://127.0.0.1:5000
You will see the message:
Hello Flask!
on screen. The 127.0.0.1 address is your own machine's loopback (equivalent to localhost), and 5000 is the default port used by Flask.
Let's analyze the key parts of the code in more detail. Through:
from flask import Flask
app = Flask(__name__)
We import the Flask class and create an instance called app. From that instance, multiple project-level configurations can be performed: database connection, email sending, routing system, among others. For now, we use it solely to define a route:
@app.route('/')This decorator is how Flask connects a URL with a Python function. In this example, the '/' route is assigned to the hello_world() view function. When a user accesses that URL, Flask executes the function and returns its result as an HTTP response.
Finally, the application is launched with:
if __name__ == '__main__':
    app.run()
The if __name__ == '__main__': conditional checks whether the current module is the main program being executed —and not a module imported from another file—. If true, Flask's internal web server (Werkzeug) starts. This is a Python convention that prevents the server from accidentally starting when importing the module from another script.
By the way, if you want to return HTML content instead of plain text, simply change the return value:
main.py
@app.route('/')
def hello_world():
    return '<h1>Hello World!</h1>'
Flask will interpret that string as HTML and the browser will render it correctly.
Enabling debug mode in Flask
Debug mode is an essential tool during development. With it active, Flask displays detailed errors directly in the browser and console, allowing you to identify and fix issues quickly and efficiently. Furthermore —and this is just as valuable— the server automatically reloads every time you save changes to the source code, without needing to stop it and restart it manually.
With your Flask application created, enable debug mode by passing debug=True to app.run():
if __name__ == '__main__':
    app.run(debug=True)
With this, the server will automatically reload upon every change. You can also enable debug from an external configuration file, which is recommended as the application grows, to keep the code well organized.
Important: never enable debug mode in a production environment. Debug mode exposes internal application information that can pose a security risk.
Common errors when starting with Flask and how to fix them
"Port 5000 already in use"
Port 5000 is already being used by another process. You can change the port directly from app.run():
app.run(debug=True, port=5001)Or stop the process occupying that port before launching Flask.
Flask does not display the page in the browser
Verify that you are in the correct project folder and that the virtual environment is active before running python main.py. If the terminal does not show the message Running on http://127.0.0.1:5000, the server likely did not start correctly; check the error messages in the console.
"An attempt was made to access a socket in a way forbidden by its access permissions"
This is an operating system permissions error that prevents starting the server on the specified IP or port. You can resolve it by changing the host or port in app.run():
app.run(debug=True, host="0.0.0.0", port=5050)Using host="0.0.0.0" makes the server listen on all available network interfaces, which is also useful if you want to access the app from another device on your local network.
Recommendations for Flask beginners
- Always use virtual environments. It keeps each project's dependencies isolated and avoids conflicts between package versions.
- Never use the development server in production. Flask's built-in server (
Werkzeug) is intended exclusively for local development. For production, use WSGI servers like Gunicorn or uWSGI. - Read the terminal messages. Flask provides very useful clues about what is happening. Before searching on Google, read the full traceback; almost always the answer is right there.
- Enable debug mode only in development. Never leave it active on a production server.
Conclusion and next steps
In this tutorial, we saw how to install Flask, create a virtual environment, write a minimal application, and run it on the local development server. We also understood line by line what each part of the code does and how to enable debug mode to facilitate development.
Personally, what I liked most about Flask when starting out is that it lets you learn from the ground up, without excessive configurations or hidden magic. Every line of code has a clear and visible purpose.
The natural next step is to explore:
Flask is the ideal starting point to grow toward real projects in Python.
Frequently asked questions about Flask
- What is Flask and what is it used for?
- It is a Python microframework for creating server-side web applications in a simple, flexible, and extensible way. You can use it for anything from a small personal project to an API in production.
- How to create a "Hello World" with Flask step by step?
- Install Flask with
pip install Flask, createmain.py, define the'/'route with@app.route('/'), and runpython main.py. Then openhttp://127.0.0.1:5000in your browser.
- Install Flask with
- Why is Flask called a microframework?
- Because it offers only the minimum to run —a routing system and an internal web server— without imposing structure or additional dependencies. You add what you need.
- How to return HTML instead of text in Flask?
- Change the
returnof the view function to an HTML string, for example:return '<h1>Hello World</h1>'. Flask will send it as an HTML response to the browser.
- Change the
- What is the difference between Flask and Django?
- Flask lets you build from scratch with total freedom; Django provides a complete structure and established conventions, designed for large projects with many modules. For learning, Flask is more transparent; for projects with many out-of-the-box features, Django may be more convenient.
- What address do I access when starting Flask?
- By default, Flask listens on
http://127.0.0.1:5000. The IP127.0.0.1corresponds to your own machine (localhost) and port5000is the one Flask automatically assigns to the development server.
- By default, Flask listens on