
Content Index
- CodeIgniter 4 requires PHP 8.2 to function
- Install CodeIgniter 4 manually
- Install CodeIgniter 4 via composer
- MacOS
- The best way to install CodeIgniter 4: manual vs composer
- Recommended environment for developing your CodeIgniter 4 projects
- On Windows and MacOS
- Linux
- MySQL and PostgreSQL databases on macOS and Windows with DBngin
CodeIgniter 4 is a modern PHP framework characterized by being easy to use, a better learning curve than other frameworks like Laravel, few requirements, easy to configure and install, and therefore, it is a great framework that we can learn to take the first steps with PHP.
CodeIgniter is an agile framework used for web application development; being a framework, it provides a large number of features and functionalities for developers following modern schemes and patterns; it is a scalable framework thanks to the fact that it uses composer, we can easily install new dependencies and keep the project up to date.
CodeIgniter 4 has been in development for many years and is finally available in a stable version; CodeIgniter is the chosen one by many (including myself) for its simplicity and speed when developing our applications.
CodeIgniter, like any PHP framework, requires LAMP to function; that is, Apache, MySQL (or other supported databases) and PHP; although it has its own server, so you can do without Apache.
In short, CodeIgniter 4 is ideal for small and medium-sized projects, let's see how to install it.
We are going to learn how we can install CodeIgniter 4, for which we have two different ways; one completely manual and the other via composer; these are the only two ways we have to work with C4.
Developer Tip: If you work in a team, always choose Composer. Not only does it make updating the framework easier, but it also ensures that all developers have the exact same dependency versions thanks to the composer.lock file. Never upload your vendor folder to the repository; let Composer generate it in each environment.
| Feature | Manual Installation | Installation with Composer |
|---|---|---|
| Recommended use | Quick tests / Learning | Professional projects |
| Library management | Manual (difficult) | Automatic (via composer.json) |
| Updates | Manual (complicated) | Command: composer update |
| Architecture | Based on 'system' folder | Based on vendor (modern) |
CodeIgniter 4 requires PHP 8.2 to function
What you will need is PHP, which is our programming language and where this framework is written.
PHP 7 has been with us for a long time and it is normal for 5.x to take a backseat, and a modern framework like CodeIgniter 4 cannot be the exception and, unlike version 3, it uses a modern version.
Install CodeIgniter 4 manually
For this option, we have to go to the official site which would be https://codeigniter.com/
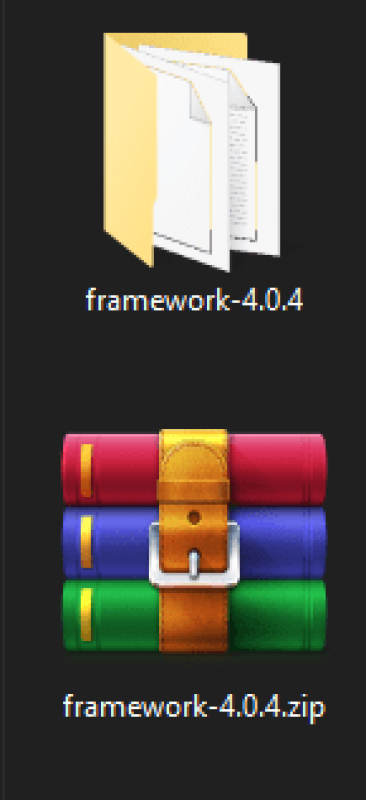
And download the framework (you can now download it directly as the default option from the official website) which comes in a compressed file, then we unzip it, throw it into our server and voilà, we are ready to use it.
Open the file app/Config/App.php and configure your base URL.
If necessary, configure your database in app/Config/Database.php
To install CodeIgniter 4 manually, we simply have to download the framework from the main website and unzip it:
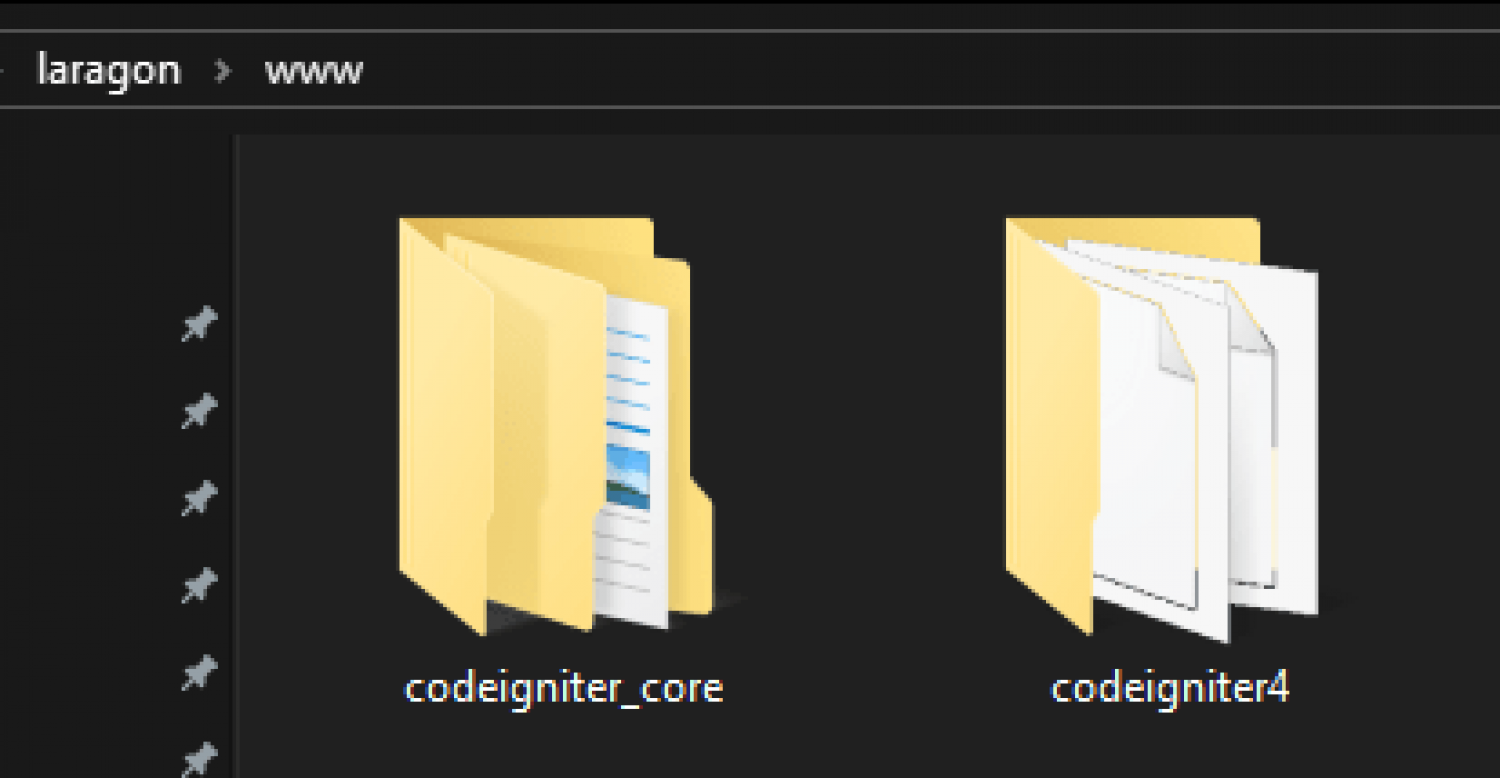
You give the folder the name you want for your project and copy it to your server, which in my case I am in a Windows environment and using Laragon with CodeIgniter 4:
You copy it to your server and that's it, that would be all, it's basically the same installation as its predecessor, CodeIgniter version 3:
This option is ideal for doing some tests with the framework; but in the end, if we get used to working with Composer, we can both create the project and update it and perform the various tasks that Composer allows us; with Composer, we have a more direct and with fewer steps way to do the tasks indicated above.
As you can see in the previous image, in this project we already have Composer enabled to be able to work; however, by default the project does not work with Composer...
I know this may seem confusing, but, when you compare with the project we will create in the next section with Composer you will see that a folder is missing... for this option, the manual installation, you will see that there is a folder called system which is where the core of our framework is located; even if we execute Composer commands like:
$ composer updateAnd the vendor folder is generated, with all the dependencies, our project will still point to the system folder; therefore, we would have to make extra adaptations to our project to make it work through Composer and with it, all the advantages that this manager offers us; but it wouldn't make any sense, since, if we want to use Composer, the best thing we can do is create the project from the beginning with Composer.
In conclusion, this option is recommended for doing some tests with the framework and nothing more, since we do not have a direct way to work with Composer and what this implies, impossibility -or in the best of cases- complications to update and install PHP dependencies. Since, if we want to extend the framework with PHP libraries or update the framework, we are greatly limited and we can easily solve both limitations if we use Composer.
Install CodeIgniter 4 via composer
To install C4 via composer we can use the following command which you can check in the official documentation in case it changes or is updated at some point:
$ composer create-project codeigniter4/appstarter project-rootWhere project-root is the name of the project:
$ composer create-project codeigniter4/appstarter peliculasMacOS
Another way is to do it manually:
On Mac, there are also "next, next next..." software like Xampp which can help you perfectly to follow this book, but if you want to have something a bit more modular, you can use Homebrew to set up your environment:
https://brew.sh/index_es
Homebrew is nothing more than a package manager, in short, a program that allows us to install other programs like PHP, MySQL, etc; in my blog and YouTube channel I have some resources that can be used to install these tools and with this, to be able to install your PHP and MySQL; since Apache is installed by default.
For install PHP:
https://formulae.brew.sh/formula/php
For install MySQL:
https://formulae.brew.sh/formula/mysql
The best way to install CodeIgniter 4: manual vs composer
Today, the most recommended way to work with CodeIgniter 4 would be via composer, and the reason is that this way you can easily update the framework and install dependencies, that is, other packages easily via composer.
Composer is a package management system for the PHP programming language that allows you to install and generally manage packages or libraries, also known as dependencies, in a simple and efficient way using commands; we can add dependencies to our project such as packages for handling excel, social login, among others; these packages can be easily added or removed using commands.
Apart from being able to manage dependencies, we have a hidden added benefit which is that it allows these dependencies to be kept up to date easily; since, in the end, a project that uses a framework like CodeIgniter consists of several dependencies that can be managed through Composer as we mentioned before.
Recommended environment for developing your CodeIgniter 4 projects
In this section we will explain how we can install C4 on our computer, depending on the OS you are using.
On Windows and MacOS
If you are using Windows or MacOS, I recommend you use Laravel Herd, which is the environment for Laravel but since it is PHP, you can use it with CodeIgniter perfectly, which is the environment we use when we develop applications in Laravel;
On Windows, you can also use your Wampp or any variant like Xampp. Install composer yourself and that's it.
Another difference is that you would have to create your virtual host if you DO NOT use Laravel Herd to work with C4 in case you want to access your project through a clean URL.
Linux
If you are using Linux, you cannot use Laravel Herd, since this software is only available for Windows Operating Systems; you would have to perform the manual installation of your LAMPP exactly as we explain in:
Finally, to access the project in C4, you can do it perfectly from localhost:
Or if you use a virtual host, for example:
<VirtualHost *:80>
    # Define the base path for your website
    DocumentRoot "C:/server/www/democodeig4/public/"
    # The main domain name
    ServerName democodeig4.test
    # Alternative domain names (optional)
    ServerAlias *.democodeig4.test
    # Path for the error log file (Recommended)
    ErrorLog "C:/server/www/democodeig4/logs/error.log"
    # Path for the access log file (Recommended)
    CustomLog "C:/server/www/democodeig4/logs/access.log" combined
    # Specific directory configuration
    <Directory "C:/server/www/democodeig4/public/">
        # Allows configuration overrides (e.g., .htaccess)
        AllowOverride All
        # Enables rewriting module, includes files, and symbolic links (Optional, but common)
        Options +Indexes +FollowSymLinks +MultiViews

        # Allows access to all users
        Require all granted
    </Directory>
</VirtualHost>
Or you can also use the spark serve command:
$ php spark serveAnd if you go to your browser, in any of the above cases you will see something like the following:
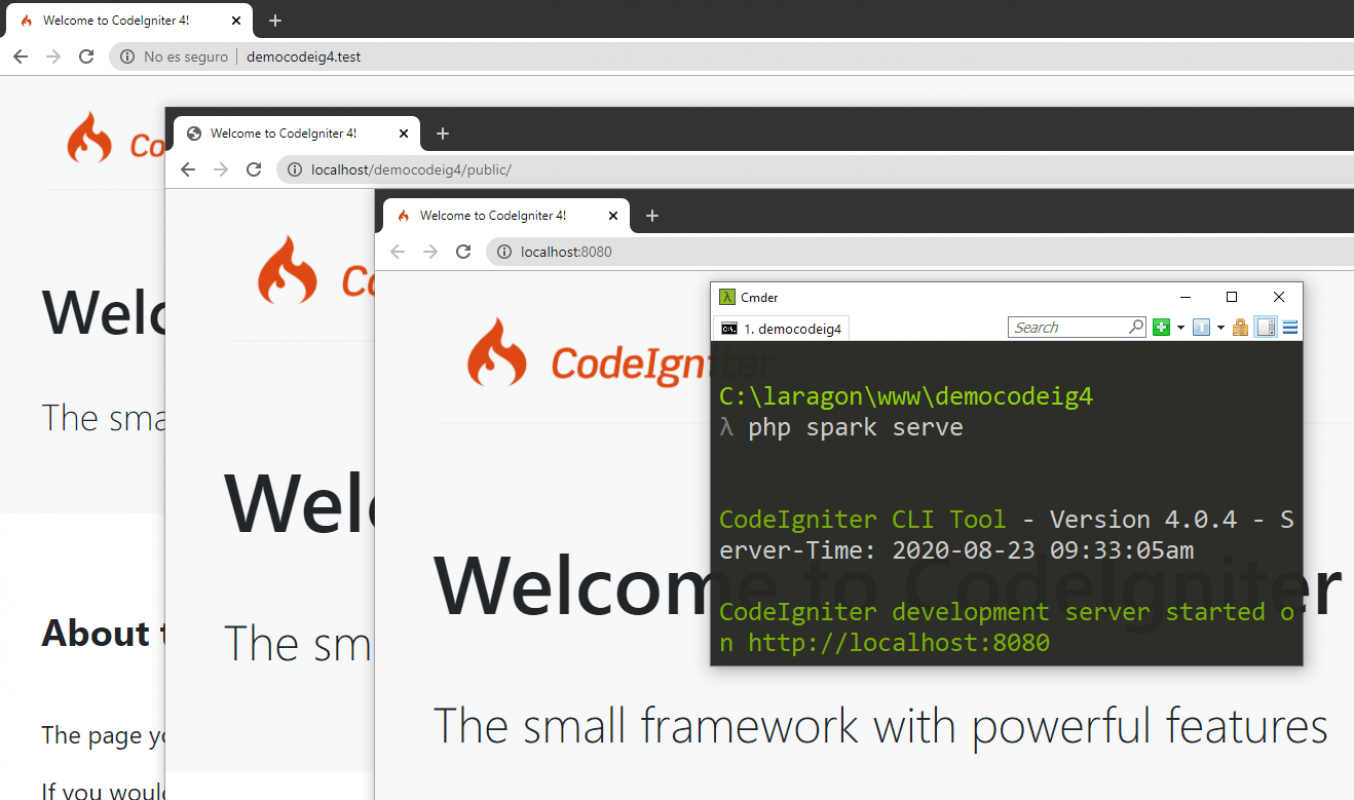
And that would be all, with this we have our project ready to start developing our applications in this simple but powerful framework.
MySQL and PostgreSQL databases on macOS and Windows with DBngin
Here you also have to create your database on Mac, there are 1000 ways to do it. Well, on Windows there is 1 way to do it. On Mac you are a little more limited and the one I recommend is this one called dbngin, which is the one I am using, which allows you to do it for Mac and for Windows, which allows you to create your systems for your database here:
So again in case you were wondering how I'm setting up all this stuff I'm using behind the scenes and I've explained it to you there and without further ado let's move on to the next section.
Next step, your first Hello World in CodeIgniter 4.