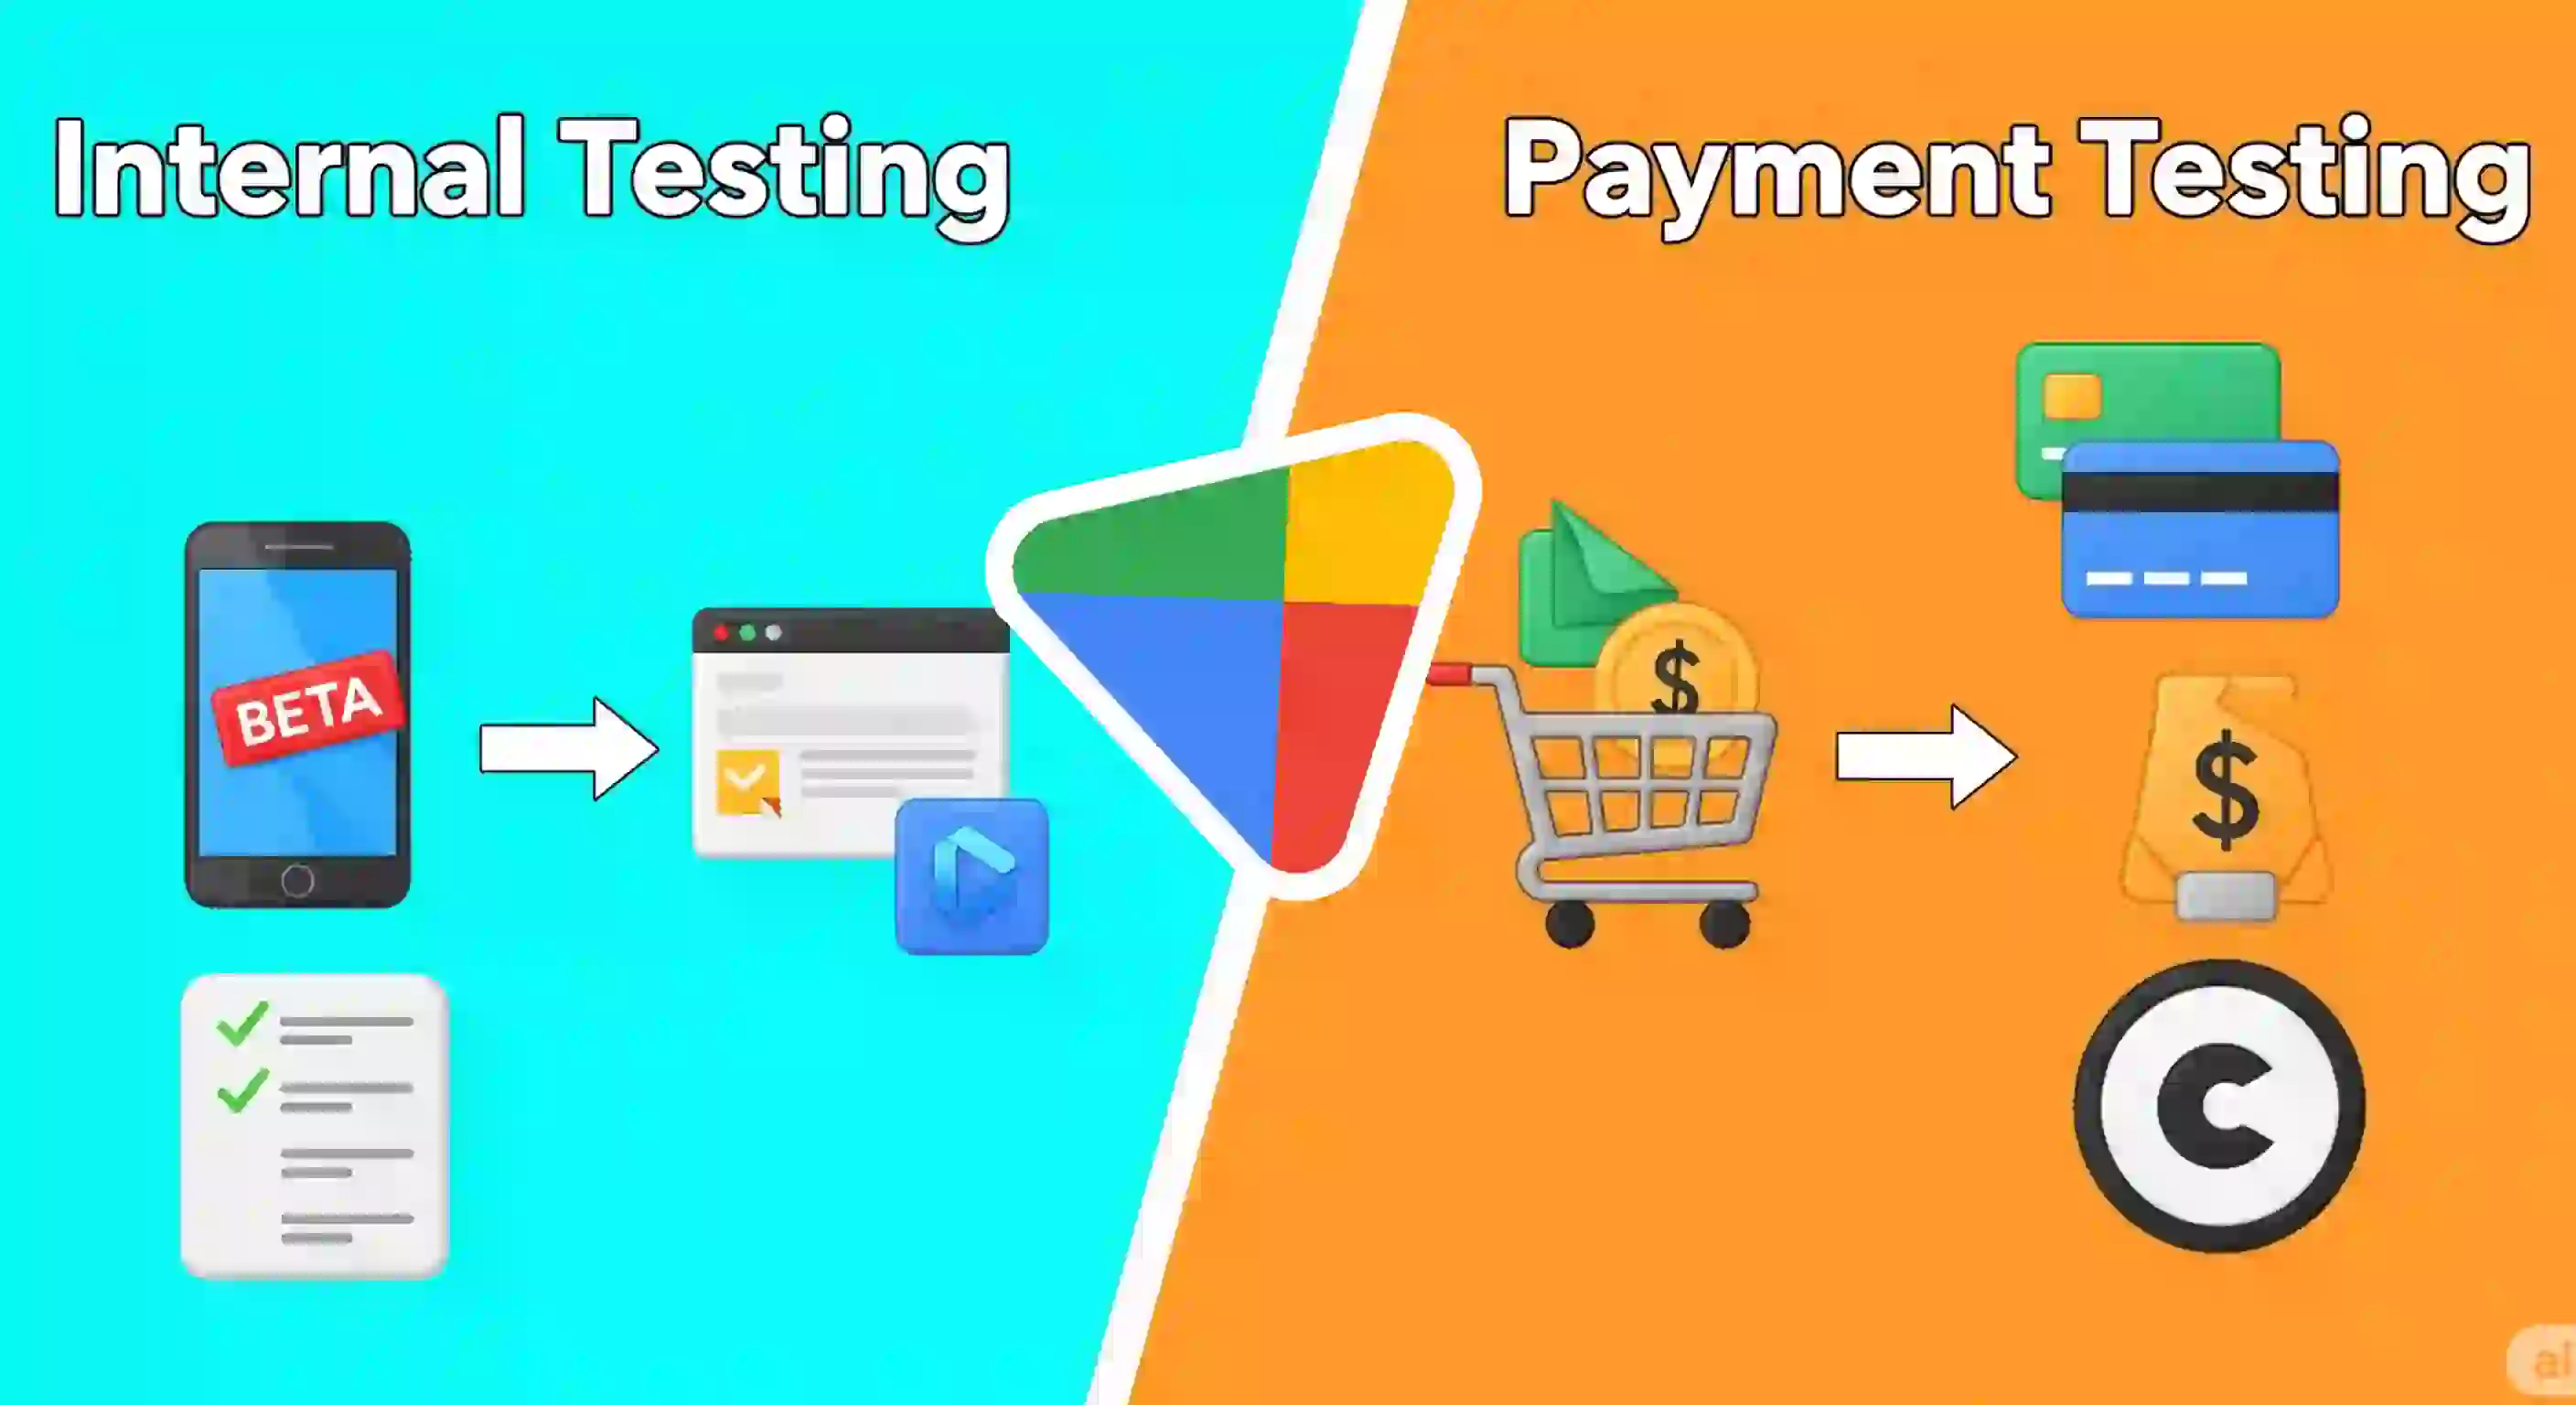
Internal Testing on Google Play (Android) and Steps for Payment Testing
In this post, I'm going to explain two things:
- How you can create a test in the Google Play console (specifically, an internal test, which is what I used).
- How you can make payments in an Android app, specifically in Flutter.
Although I won't show you the code, I will explain the process you need to follow. I'm assuming you already have the code implemented. In any case, in another video, I'll show you how you can make a payment on Google Play using Flutter (in general terms).
Payment gateways and Google Play
Important point: when we have an Android app that we want to upload to Google Play, we cannot use external payment gateways like Stripe or PayPal. You can only use those provided by Google.
This is due to their policies, and although I won't go into details, remember that Google takes 30% of digital sales because it forces you to use its payment gateway for digital services.
To sell a product, you must:
- Select your app.
- Go to the "Price" section.
- If your app is free, you can't change this later. You would have to create a new app.
- But you can sell subscriptions or products. Let's go to the "Product Sales" section.
In my case, since I sell courses and books with variable prices, I prefer to create generic products like "course_book_9_dollars."
You can do something similar or create specific products. Click "Create Product," follow the form (it's simple), and that's it.
Important: Save the product identifier, as it is used in the payment implementation.
Create internal tests
Once you've implemented the code to make payments on Google Play from Android, you can't test it on the emulator. If you try, you'll get an error indicating that Google Play can't be accessed from that device.
You need a physical device and be in the testing program.
This is problematic because uploading the app means you lose access to the debug console and breakpoints.
After creating the products and having your app ready, you need to:
Create an internal test from the Google Play Console.
Generate the build and go to "Internal Testing" → "Create a new version".
The steps are the same as for production.
After uploading, you must create a tester group. I added myself, but you can add more email addresses.
Important: Generate the access link to the testing program. When you open it, you must accept the invitation. If you're already in, you'll see a button that says "Leave the program."
Install the test app
Once inside the program, you must install the app from that link.
The page is confusing because it mixes the public link with the testing link.
But the one we're interested in is the one that allows you to install the trial version (although it doesn't explicitly say so).
Select the device and install it. If you've already done this, there's no need to do it again.
Note: If you have the public version installed, you must uninstall it before installing the trial version, and vice versa.
Make test payments
Once installed, you will be able to see the purchase window in the Android app.
Summary of steps
- Create products from the Google Play Console.
- Upload the test version (same as production, but under "Internal Testing").
- Create a tester group.
- Generate the test link and install it on a physical device.
- Make sure you're enrolled in the program.
- Make the in-app purchase (you'll see it's a test order).
I agree to receive announcements of interest about this Blog.
I talk about how to create an internal test for your Android app and steps for testing Google Play payments.

