
In a previous entry we talked a little about the future (and present) of Kotlin in the world of Android application development using this programming language that little by little tries to replace Java as the primary and official language in the development of Android applications; one of the reasons that are exposed in that entry that you can consult, is the simplification of the different elements that we can develop, an example of this is the development of the RecyclerView of an adapter as we will see below.
To give continuity and support to some of the arguments made in the previous entry, today we will see how to make a simple list of elements through a RecyclerView clearly using Kotlin as programming language; that is, no Java.
RecyclerView on Android with Kotlin: Same approach, events, classes but different syntax
The classes to use to create a list with RecyclerView with Kotlin will be the same used for the development of a Recyclerview using Java. the model class, adapter and of course the activity, we will also need a couple of layouts; one for the activity and another for the list that would become our RecyclerView.
The model class of our adapter
Here we must define the class or model that will define our object, if it is a person, if it is a car, if it is a computer or in this case we define an Item class that will have an identifier and a description that would be one of the simplest things that We can define:
data class Item(val id: Long, val title: String, val description: String)The main Activity: the one that implements the Adapter
A novelty that Kotlin has with respect to Java is that through the name of the element identifier in the layout; (for example android:id="@+id/rv_item" to define the identifier of the RecyclerView in the layout of our activity) it is enough to reference in the activity or class that establishes the content of said view, and therefore in Kotlin it is no longer necessary to set the value of such variables as it is done in Java-Android; this is achieved by means of a plugin/include that is imported at the time of making the reference and automatically by Android Studio (import kotlinx.android.synthetic.main.activity_main.*):
RecyclerView rv_item = (RecyclerView) findViewById(R.id.rv_item);
Although we can also make the classic version that we use in Android with Java; finally the Activity code:
import android.content.Context
import android.os.Bundle
import android.support.v7.app.AppCompatActivity
import android.support.v7.widget.LinearLayoutManager
import android.widget.Toast
import kotlinx.android.synthetic.main.activity_main.*
import mykotlin.dl.recyclerview.recyclerviewkotlin.adapter.ItemAdapter
import mykotlin.dl.recyclerview.recyclerviewkotlin.model.Item
import kotlin.dl.recyclerview.recyclerviewkotlin.R

class MainActivity : AppCompatActivity() {

   override fun onCreate(savedInstanceState: Bundle?) {
       super.onCreate(savedInstanceState)
       setContentView(R.layout.activity_main)

       val items =  getLists()

       rv_item.layoutManager = LinearLayoutManager(this)
       rv_item.hasFixedSize()
       rv_item.adapter = ItemAdapter(items)

       rv_item.layoutManager = LinearLayoutManager(this)
       rv_item.adapter = ItemAdapter(items)

   }

   fun getLists(): ArrayList<Item> {
       var lists = ArrayList<Item>()
       lists.add(Item(1, "Item 1", "Descripcion 1"))
       lists.add(Item(1, "Item 2", "Descripcion 2"))
       lists.add(Item(1, "Item 3", "Descripcion 3"))
       lists.add(Item(1, "Item 4", "Descripcion 4"))
       return lists;
   }
}
The previous activity is in charge of defining the layout type (which in this case will be a ListView type list) and populating (filling) an Item type ArrayList with some test data and of course, creating an instance of the adapter that will create the list that we define in the next block within this entry.
The adapter class: Defines the logic and behavior of the RecyclerView
The adapter class, which is the one that is in charge of defining the behavior and style of each one of the components of the list, as we can see, makes the same name to override each one of the functions inherited from the RecyclerView.Adapter class; again we use the name of the items of each element defined in the view without needing to reference them first (eg: itemView.tv_description with the autogenerated import from the IDE import kotlinx.android.synthetic.main.adapter_item.view.*):
import android.support.v7.widget.RecyclerView
import android.view.LayoutInflater
import android.view.View
import android.view.ViewGroup
import kotlinx.android.synthetic.main.adapter_item.view.*
import kotlin.dl.recyclerview.recyclerviewkotlin.R
import mykotlin.dl.recyclerview.recyclerviewkotlin.model.Item

class ItemAdapter  (val userList: ArrayList<Item>) : RecyclerView.Adapter<ItemAdapter.ViewHolder>() {

   override fun onCreateViewHolder(parent: ViewGroup, viewType: Int): ViewHolder {
       val v = LayoutInflater.from(parent.context).inflate(R.layout.adapter_item, parent, false)
       return ViewHolder(v)
   }

   override fun onBindViewHolder(holder: ViewHolder, position: Int) {
       holder.bindItems(userList[position])
   }

   override fun getItemCount(): Int {
       return userList.size
   }

   class ViewHolder(itemView: View) : RecyclerView.ViewHolder(itemView) {

       fun bindItems(item: Item) {
           itemView.tv_title.text=item.title
           itemView.tv_description.text=item.description

       }
   }
}
We override the usual methods, onBindViewHolder to return the current item getItemCount to return the size of the collection of objects onCreateViewHolder to specify the layout of our list as well as compose the view and finally the ViewHolder class that allows defining each of the compound elements in our layout and specify its content and of course the constructor method where we initialize the fundamental components or that we require.
The layout of our activity
As for the layouts, they remain exactly the same as the ones we use in Java-Android; More than that there is not much to say, from our activity we specify a RecyclerView element and the other layout is the one specified by employee for our list:
<?xml version="1.0" encoding="utf-8"?>
<android.support.constraint.ConstraintLayout xmlns:android="http://schemas.android.com/apk/res/android"
   xmlns:app="http://schemas.android.com/apk/res-auto"
   xmlns:tools="http://schemas.android.com/tools"
   android:layout_width="match_parent"
   android:layout_height="match_parent"
   tools:context="mykotlin.dl.recyclerview.recyclerviewkotlin.MainActivity">

   <android.support.v7.widget.RecyclerView
       android:layout_width="match_parent"
       android:id="@+id/rv_item"
       android:layout_height="wrap_content">

   </android.support.v7.widget.RecyclerView>

</android.support.constraint.ConstraintLayout>
The layout of our list
<?xml version="1.0" encoding="utf-8"?>
<LinearLayout xmlns:android="http://schemas.android.com/apk/res/android"
   android:layout_width="match_parent"
   android:layout_height="wrap_content"
   android:orientation="vertical">

   <TextView
       android:id="@+id/tv_title"
       android:layout_width="match_parent"
       android:layout_height="wrap_content" />

   <TextView
       android:id="@+id/tv_description"
       android:layout_width="match_parent"
       android:layout_height="wrap_content" />

</LinearLayout>
As we can see the logic used is the same that we use with Java, I invite you to review some of the previous entries that are listed at the end of this entry and compare them with these to see the similarity that exists between the two.
Finally, we get a list like this:
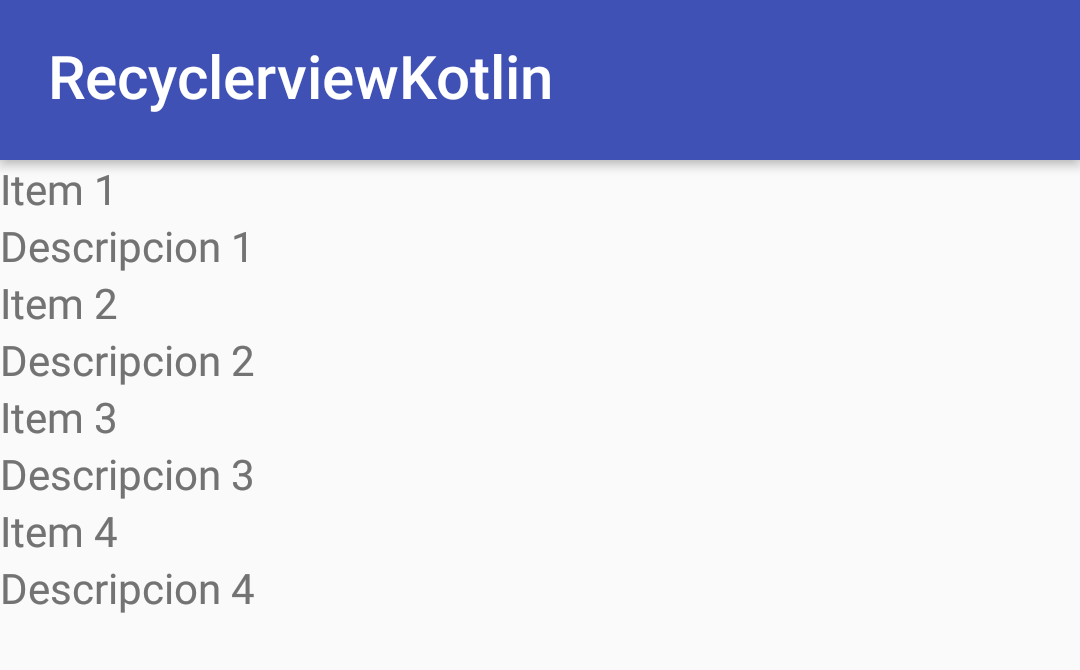
You can give it the style you want by modifying the layout or the style XML as you prefer, to give it the design to your liking; The idea in this post was to show how to create a RecyclerView using Kotlin as programming language and not focus on the design.
Conclusion
As we can see, Kotlin is a complete language that allows us to develop Android applications easier (at least as far as syntax is concerned) than with Java, you can use other elements that we already saw in previous posts to give the list more life previously presented:
I agree to receive announcements of interest about this Blog.
It explains how to create a simple RecyclerView step by step using Kotlin as the programming language instead of Java.
- Andrés Cruz